HueForge Printing for Beginners: Everything You Need to Get Started
Everything you need to start making HueForge prints — what equipment you need, which filament to buy first, how the process works, and common beginner mistakes to avoid.
Quick Answer
You need any FDM 3D printer, 2 or more colors of PLA filament ($18-25 per spool), and the HueForge software. Most beginners produce good prints within their first 3-5 attempts. The total startup cost beyond a printer is roughly $120-260.
If you've seen those stunning, almost photographic 3D printed art pieces showing up on Reddit, TikTok, or at craft fairs and thought "I want to do that" — this is your starting point. Those prints are made with a tool called HueForge, and while the results look incredibly complex, the barrier to entry is a lot lower than you might expect.
You don't need a high-end printer. You don't need an art background. You don't need forty colors of filament lined up on a shelf. What you do need is a basic understanding of how HueForge works, a few practical decisions about equipment and materials, and the patience to learn through printing.
This guide covers everything a beginner needs to go from "what is this?" to holding a finished print. No deep technical dives — just the essentials to get you moving.
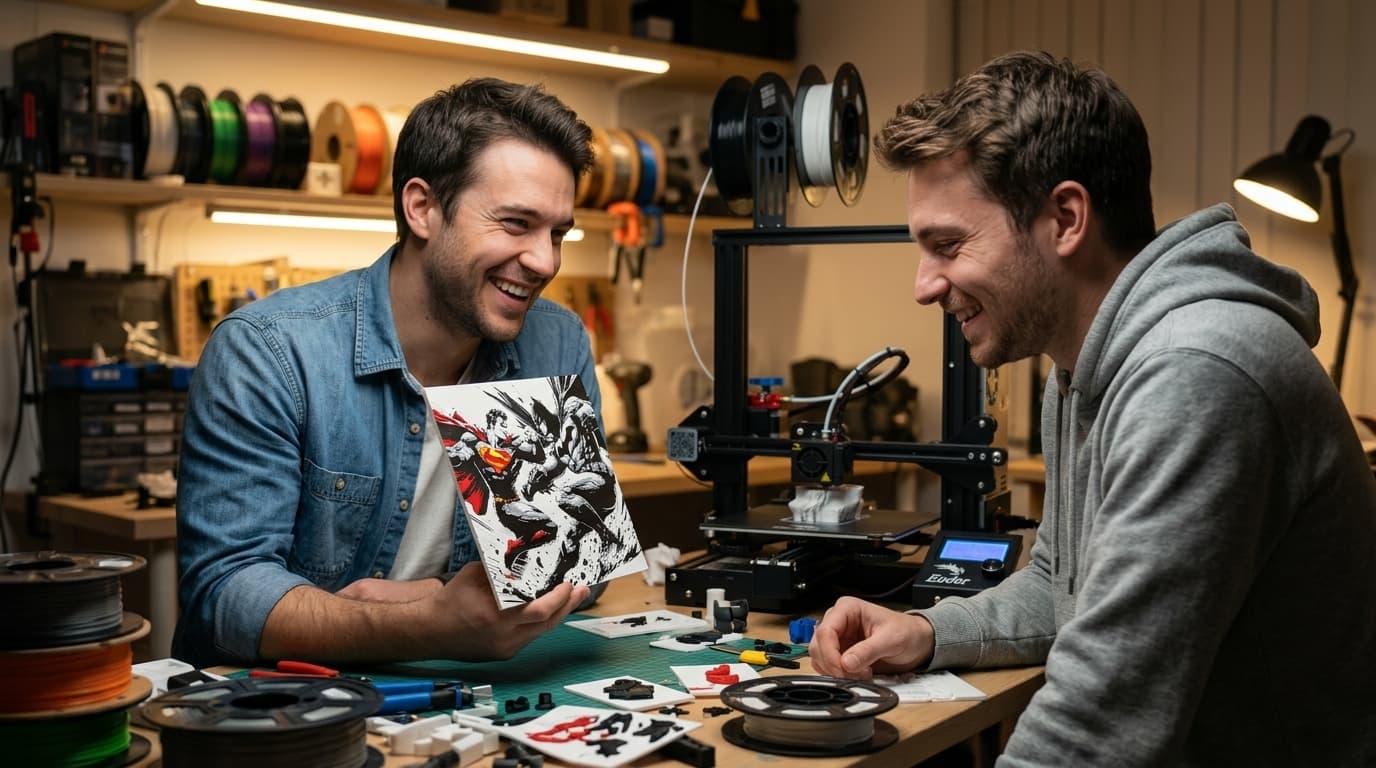
What Exactly Is HueForge?
HueForge is software that turns images into 3D-printable models by using stacked layers of colored filament to create a picture with tonal depth and detail. Instead of printing a flat image on the surface, it uses the translucency of plastic to blend colors through controlled layer thickness.
Think of it like this: if you stack several sheets of tinted glass on top of each other, the places where the sheets are thicker appear darker and more opaque, while thinner areas let more light — and the color of the lower sheets — show through. HueForge applies this same principle to 3D printing. Each layer of filament is a different color, and the software varies the thickness across the print to control how much of each underlying color is visible at any given point.
The result is an art piece that has a quality you can't get with regular multi-color printing. There's a painterly, almost photographic depth to the image that comes from actual light interacting with actual material, not from ink or paint on a surface.
HueForge itself is a paid software application — you purchase a license and use it on your own computer to either create new models from images or to prepare existing models for printing. The software handles the complicated math of converting an image into precisely calibrated layers. Your job is to choose the right colors, load the model, and let your printer do its thing.
Do I Need a Special 3D Printer for HueForge?
No. Any FDM 3D printer that can produce consistent layers with PLA filament can print HueForge models. You don't need a multi-material system, an enclosed chamber, or anything exotic.
This is one of the most common misconceptions among beginners. Because HueForge prints use multiple colors, people assume you need an AMS (Automatic Material System) or similar multi-filament setup. You don't. HueForge prints change color at specific layer heights — you simply pause the print, swap the filament manually, and resume. It's low-tech and it works perfectly.
That said, some printer qualities do matter. Layer consistency is the big one. HueForge's visual effect depends on precise control over layer thickness, so a printer that produces even, reliable layers will give you better results than one that's inconsistent. Most modern printers from established brands handle this well out of the box. If you can print a clean calibration cube, you can print HueForge.
Bed size determines the maximum print size you can make. A standard 220×220mm bed accommodates most HueForge wall art comfortably. Larger beds let you go bigger, but plenty of beautiful prints — bookmarks, desk art, smaller frames — fit easily on compact printers.
If you do happen to own a multi-material system, it can automate the filament changes and save you the manual swaps. That's a convenience, not a requirement. Many of the best HueForge prints in the community come off basic, single-extruder machines with manual color changes.
What Filament Should I Buy First?
Start with PLA from a reputable brand — Polymaker, eSun, and Bambu Lab are popular choices in the HueForge community — and build a small, versatile palette of 6 to 10 colors rather than buying everything at once.
PLA is the standard material for HueForge. It prints easily at low temperatures, has well-documented Transmission Distance (TD) values across many brands, and is available in a huge range of colors. There's no reason to start with anything else.
The specific colors to buy depend on what you want to print, but a practical starter set covers the basics most models need. At minimum, grab black, white, and one or two grays. From there, add a dark brown, a medium warm tone like tan or beige, and a couple of colors that match the types of models you're interested in — greens and blues for landscapes, skin tones for portraits, bright primaries if you're drawn to pop art subjects.
Resist the urge to buy a rainbow. Thirty spools sound exciting right now, but you'll use five of them constantly and wonder why you bought the other twenty-five. Start with a focused set, learn how those colors interact in actual prints, and expand based on what you actually need. Each new spool should solve a specific gap you've identified, not fill a theoretical one.
If you want to stretch your budget, bookmark-style models and smaller prints are great for your first few projects. They use minimal filament, print quickly, and let you test color combinations without committing a lot of material.
How Does the Printing Process Actually Work?
You load a model into HueForge (or download a pre-configured one), assign your filament colors to each layer, export the print file, and print it on your machine — pausing to swap filament at each color change.
Here's the basic workflow from start to finish:
The process starts with a model. You can either create one yourself by importing an image into HueForge and configuring the layers, or — more common for beginners — download a ready-made model from a designer. Ready-made models come with recommended filament colors and are already configured, so you're mostly just matching colors and printing.
Once you have a model and your colors selected, HueForge exports a standard print file (G-code) that your printer can read. The file includes pause commands at each layer where you need to change filament colors.
During the print, your printer will pause at each color transition point. You swap the current filament for the next color, feed it through, and resume. Depending on the model, this might happen two to seven or more times during a single print. Each swap takes a couple of minutes at most.
The total print time depends on the model size. A bookmark might take an hour or two. A large wall piece could run six to twelve hours. But since HueForge prints are thin, they generally print faster than you'd expect for their physical dimensions.
When it finishes, you peel it off the bed and you're looking at a finished piece of art. Some people add backlighting or framing, but the print itself is complete as-is.
Where Do I Find Models to Print?
HueForge models are available from individual designers across several platforms, including dedicated design marketplaces, Etsy, and community sites. HuePick is built to help you discover and browse models, making it easier to find designs that match your interests and filament collection.
The HueForge community has grown rapidly, and there's a genuinely impressive range of models available — pet portraits, landscapes, pop culture subjects, abstract art, seasonal themes, bookmarks, and more. Some models are free, many are paid (typically $2 to $8), and quality varies as with any creative marketplace.
When you're starting out, look for models that are marked as beginner-friendly or that use fewer colors (two to four). These are faster to print, require fewer filament swaps, and are more forgiving of slight color substitutions. A three-color bookmark is a much better first project than a seven-color detailed portrait.
Pay attention to what information the model listing includes. Good listings tell you the recommended filaments (with brand and color names), the number of layers, the approximate print time, and the expected size. Some include photos of actual prints alongside the software preview, which gives you a more realistic sense of the final result. These details aren't just nice-to-have — they help you make an informed decision and set realistic expectations.
What Are the Most Common Beginner Mistakes?
The biggest mistakes beginners make are overbuying filament before their first print, choosing overly complex models to start with, and not paying attention to Transmission Distance values. All three are easy to avoid once you're aware of them.
Starting too ambitious. A detailed eight-color portrait of your dog is an awesome goal. It's a terrible first print. Start with something simpler — a two or three-color bookmark, a small landscape, a basic graphic. Learn how the color changes work, how your printer handles thin layers, and how the filament actually behaves before you take on a project where precision matters.
Ignoring TD values. Transmission Distance isn't just a number for experts. It's the foundation of how HueForge calculates your layers. If you plug in the wrong TD value for your filament, the print won't match the preview — and you won't know why. Use published TD data from the HueForge database, community resources, or tools like HuePick. Don't guess.
Buying too much filament upfront. We covered this, but it's worth repeating because it's the most common source of buyer's remorse in the hobby. Start with a small, versatile palette. Expand based on actual needs after your first several prints.
Skipping the slicer preview. Before you print, review the sliced file in your slicer's preview mode. Step through the layers and make sure the color changes are where you expect them. This two-minute check can save you hours of print time and wasted filament.
Not photographing your results. This sounds minor, but keeping a record of what filaments you used and how the print turned out is incredibly valuable. It builds your personal knowledge base and makes every subsequent print a little easier.
How Long Before I'm Making Good Prints?
Most people are producing prints they're genuinely proud of within their first three to five attempts. HueForge is more forgiving than it looks, and the learning curve is shorter than most 3D printing skills.
Your very first print might not be perfect. The colors might be slightly off, or you might fumble a filament swap and get a small artifact. That's normal. But HueForge is remarkably tolerant of small imperfections — the layered translucency effect tends to smooth over minor issues in a way that solid-color printing doesn't.
By your second or third print, you'll have the filament change process down, you'll have a better sense of how your filaments look in practice versus on the spool, and you'll start developing preferences and intuitions. By your fifth print, you'll be choosing colors with confidence and starting to tackle more complex models.
The community is also genuinely helpful. HueForge forums, Reddit communities, and Facebook groups are full of people who remember being beginners recently and are happy to share advice. If a print doesn't turn out the way you expected, posting a photo and asking "what happened?" will usually get you a clear, constructive answer quickly.
What Should My First Print Be?
Pick a simple model with two to four colors, a subject you're excited about, and a design that's been printed successfully by others. Bookmarks are a particularly good first project — they're small, fast, and use minimal filament.
Your first print is about learning the process, not producing a masterpiece. You want something where the stakes are low but the reward is real. A clean, simple bookmark you can actually use or give to someone is more satisfying and educational than an ambitious wall piece that didn't quite work out.
Look for models with community feedback — photos from other people's prints, comments about what worked, notes on which filaments produced good results. This kind of social proof tells you the model is well-designed and that others have navigated the process successfully.
Have your filament ready, your TD values entered, and your slicer previewed before you start the print. When the first color change happens, take your time with the swap. There's no rush — the printer is paused and waiting for you. Clean the nozzle, feed the new color, let it purge until the new color runs clean, and resume.
When you pull that first finished print off the bed and see an image emerge from layers of colored plastic, the whole process clicks. It's one of those moments in 3D printing where the technology feels a little bit like magic — and from there, you'll want to print everything.


")