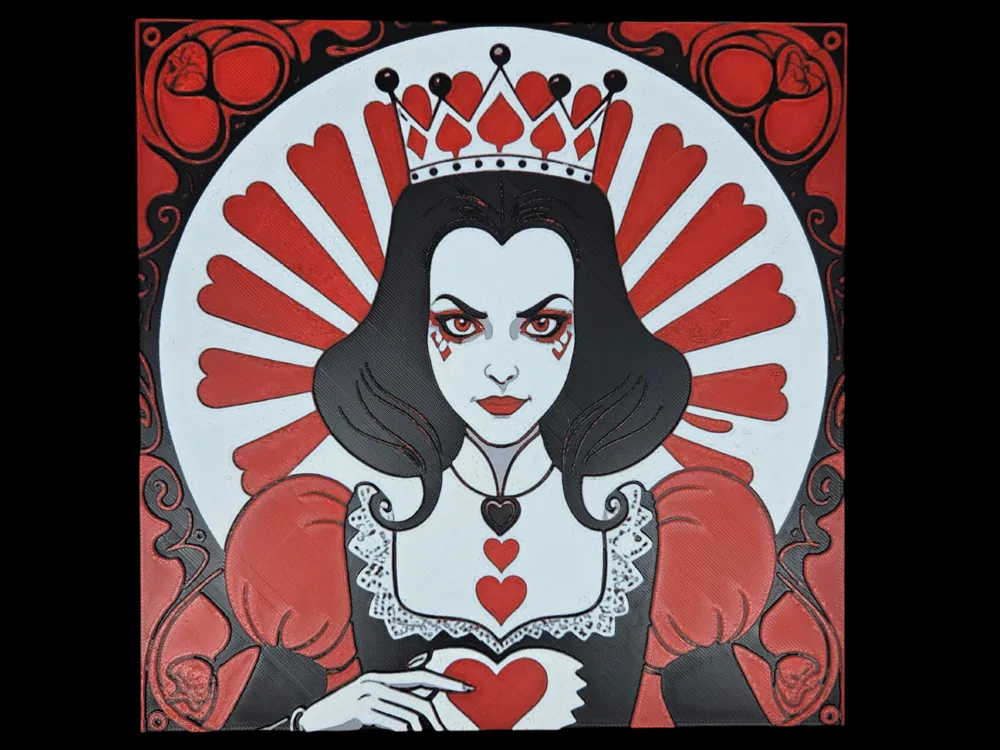
Card Faces: Queen of Hearts
by BusyKikiBee
Regal authority radiates from this striking Queen of Hearts portrait, where gothic elegance meets playing card artistry. BusyKikiBee's design transforms the classic card face into a sophisticated composition featuring dramatic red and white contrasts against deep black details. The crowned figure emerges with piercing eyes and ornate costume details, while decorative rays and flourishes frame the royal subject. This artwork-format piece captures both the traditional card aesthetic and adds layers of artistic depth through careful color placement and bold graphic elements.
View on MakerWorldRequired Filaments4
Bambu Lab Basic Black
Bambu Lab Basic Red
Bambu Lab Matte Ash Gray
Bambu Lab Matte Ivory White
Why filament details may vary
Filament details (brand, color, and TD value) may not exactly match the designer's original specification. In some cases, the designer didn't specify exact filaments and we've matched the closest options we could find. Always check the original listing for full details.
Some filament links are affiliate links — we may earn a small commission at no extra cost to you. Learn more
Sign up to track your filament inventory and check your matches.
Create accountYou Might Also Like
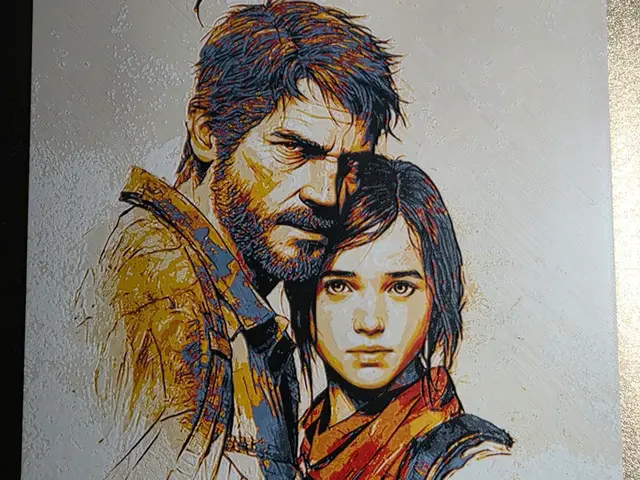
The last of us Hueforge
by 3D-Mentiel
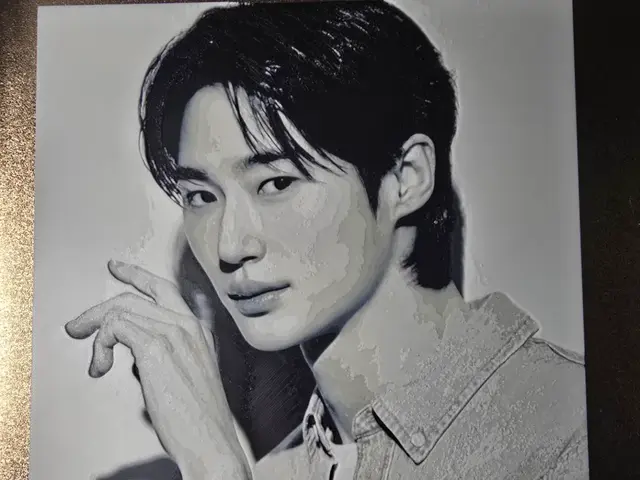
Byeon Woo Seok Hueforg
by 3D-Mentiel
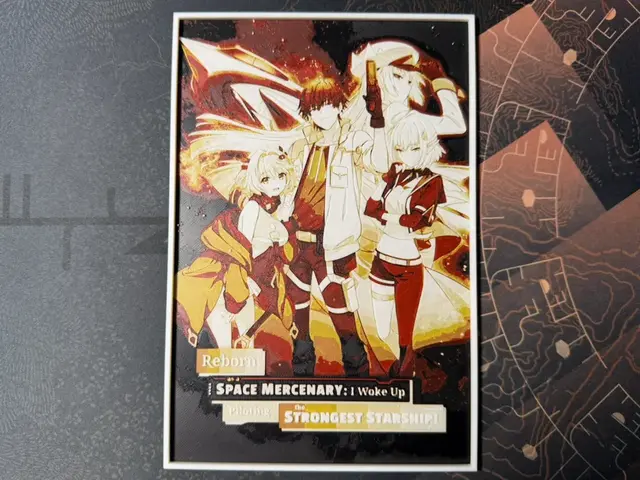
Reborn as a Space Mercenary ... - HueForge
by ZorPrime7
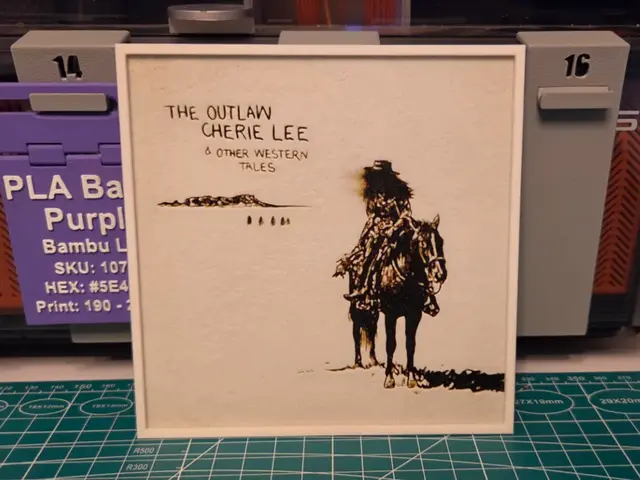
Shaboozey "The Outlaw Cherie Lee" Album - Hueforge
by Lumpy3D
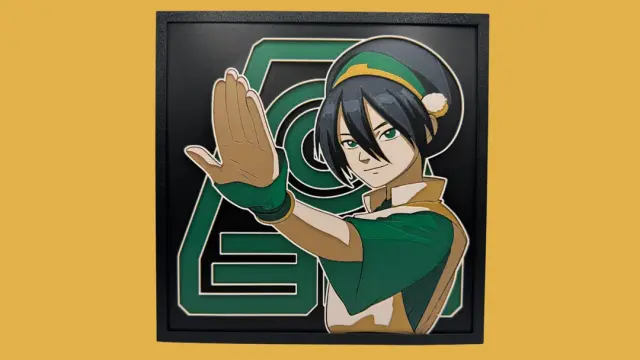
Toph Beifong - Avatar Hueforge
by Canadian Gamer
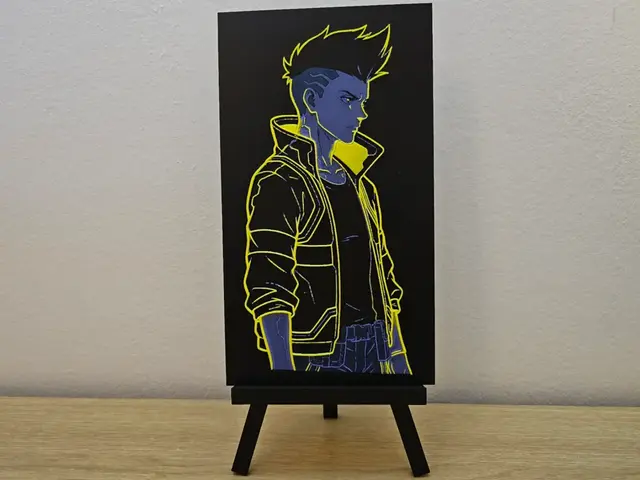
David Martinez Edgerunners HueForge
by Opao
Recent Articles
View all
Best 3D Printed Gifts for Everyone on Your List — Made with HueForge
The best 3D printed gifts for everyone on your list, made with HueForge — custom pet and portrait art, ornaments and gift tags, bookmarks, and fandom prints matched to the recipient, plus how to turn gift requests into income.
Best Christmas 3D Prints for HueForge: Ornaments, Santa & Holiday Movie Posters
The Christmas 3D prints worth making as HueForge filament paintings — tree ornaments, Santa and snowmen, holiday movie posters, festive fandom crossovers, and gift tags, grouped by theme.
Best Anime 3D Prints for HueForge: From Shōnen Classics to the Modern Wave
The best anime 3D prints to make as HueForge filament paintings — One Piece, Naruto, Dragon Ball, Demon Slayer, Jujutsu Kaisen, Frieren, Gundam, and anime bookmarks, each linked in the HuePick catalog.