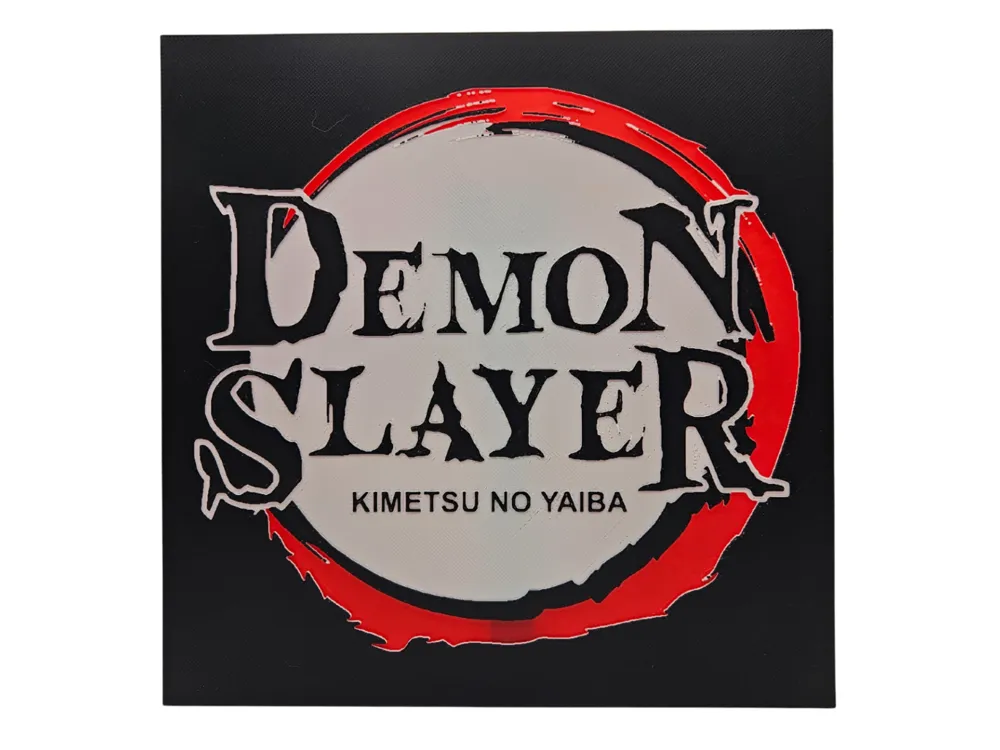
Demon Slayer Logo Hueforge
by BusyKikiBee
Bold and commanding, the iconic Demon Slayer: Kimetsu no Yaiba logo dominates this striking HueForge piece with unmistakable energy. The design centers on the series' signature circular emblem — a dramatic brushstroke ring rendered in vivid crimson red against a deep black background, with the title text sitting inside a pale silver-grey field. The lettering of "Demon Slayer" carries that familiar jagged, gothic weight fans know instantly, while "Kimetsu No Yaiba" appears in clean, restrained type beneath it, creating a satisfying contrast between wild and composed. The layered filament work gives the piece genuine visual depth — the red brushstroke circle reads as slightly raised and tactile, while the white-outlined lettering pops forward from the grey interior with crisp definition. The matte black border frames everything with intention, making the red and white elements feel almost luminous against it. This piece would sit naturally on a display shelf alongside other anime collectibles, or mounted on a wall as a clean, confident statement of fandom — the kind of piece that reads just as well across a room as it does up close.
View on MakerWorldRequired Filaments3
Bambu Lab Basic Red
Bambu Lab Matte Ivory White
Bambu Lab Basic Black
Why filament details may vary
Filament details (brand, color, and TD value) may not exactly match the designer's original specification. In some cases, the designer didn't specify exact filaments and we've matched the closest options we could find. Always check the original listing for full details.
Some filament links are affiliate links — we may earn a small commission at no extra cost to you. Learn more
Sign up to track your filament inventory and check your matches.
Create accountYou Might Also Like
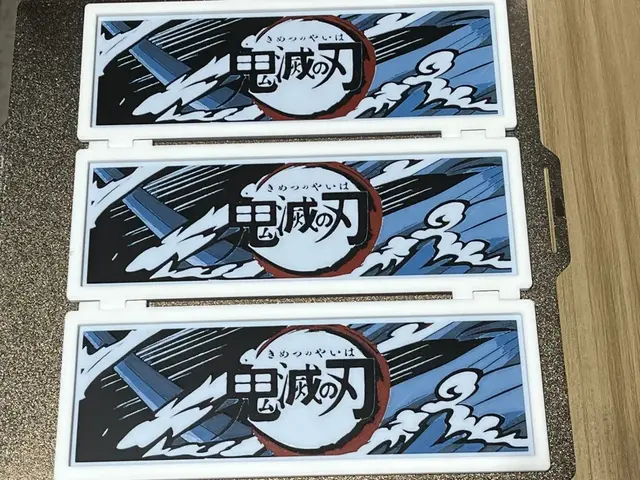
Demon Slayer Trifold and Logo
by FantasyZ
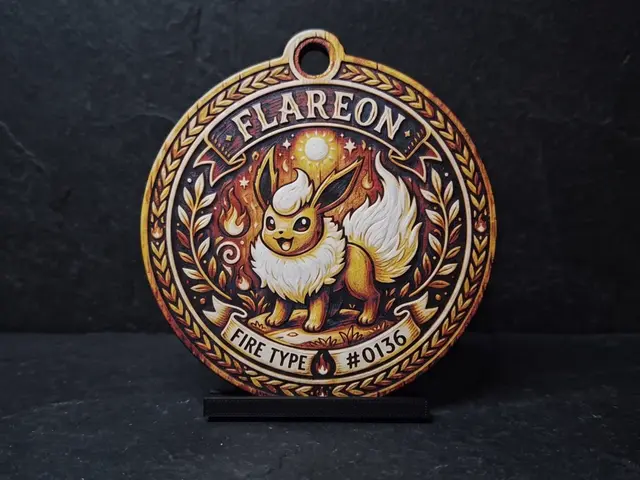
Flareon #0136 Pokemon Ornament
by LED
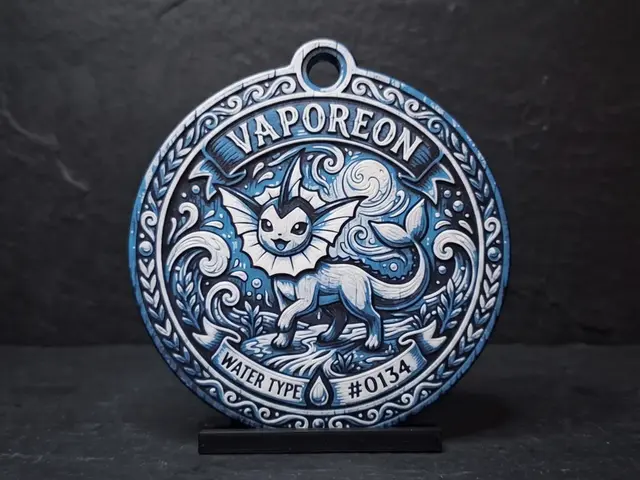
Vaporeon #0134 Pokemon Ornament
by LED
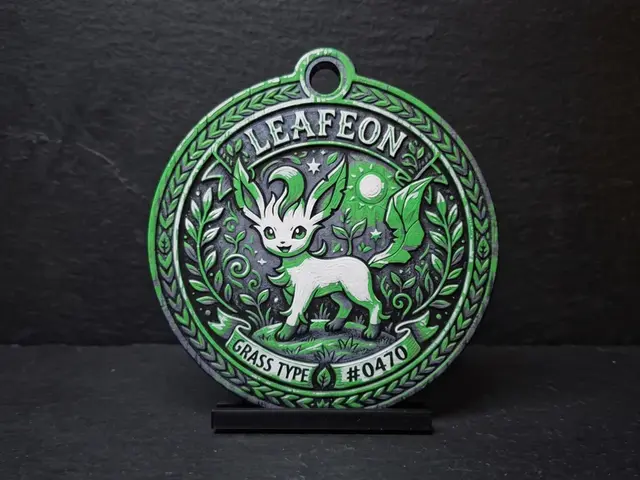
Leafeon #0470 - Pokemon Ornament
by LED
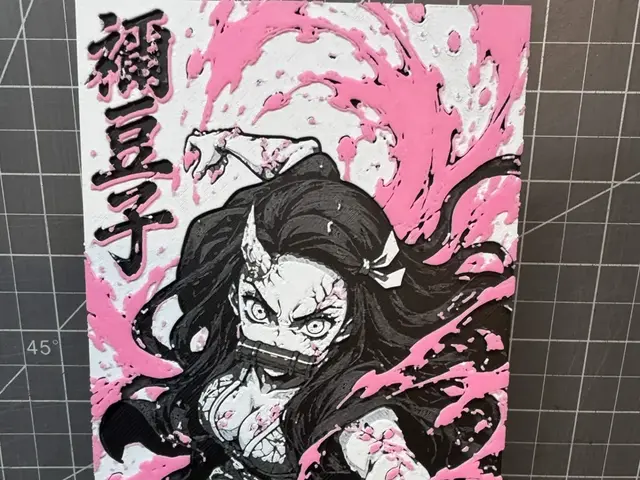
Hueforge of Nezuko Kamado from demon slayer
by SBC Creations
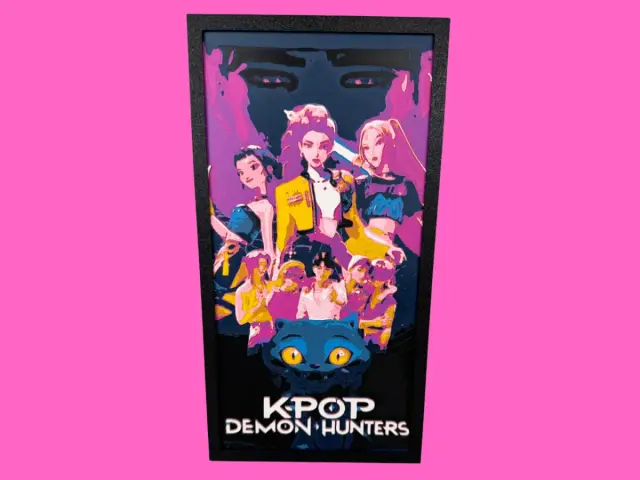
KPOP Demon Hunters with Saja Boys
by Canadian Gamer
Recent Articles
View all
Best 3D Printed Gifts for Everyone on Your List — Made with HueForge
The best 3D printed gifts for everyone on your list, made with HueForge — custom pet and portrait art, ornaments and gift tags, bookmarks, and fandom prints matched to the recipient, plus how to turn gift requests into income.
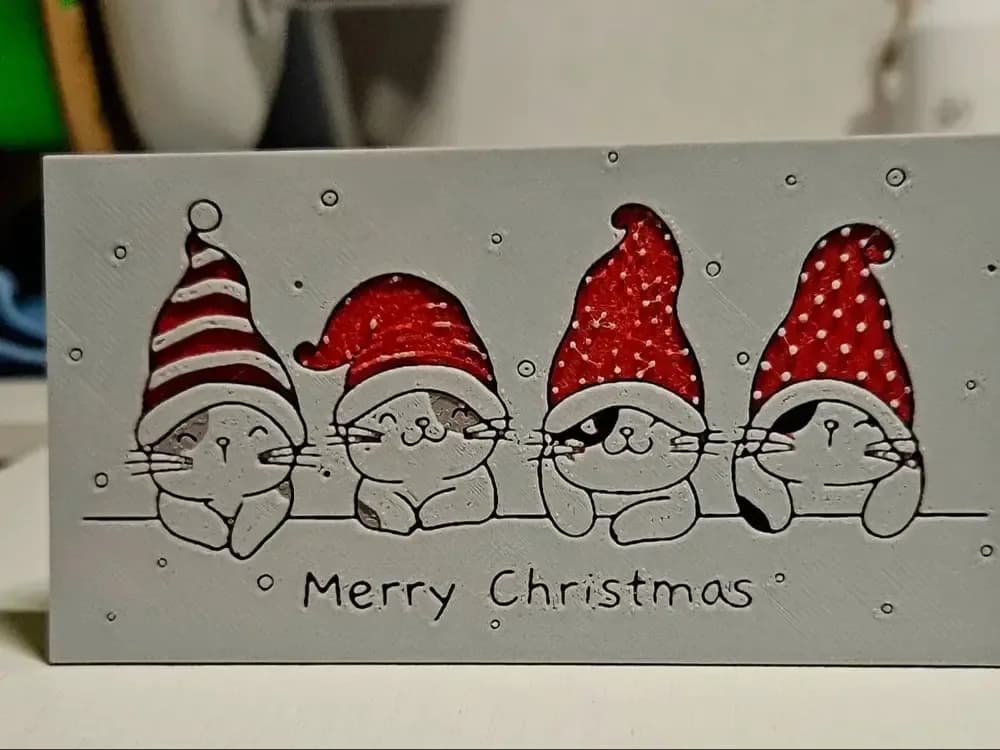
Best Christmas 3D Prints for HueForge: Ornaments, Santa & Holiday Movie Posters
The Christmas 3D prints worth making as HueForge filament paintings — tree ornaments, Santa and snowmen, holiday movie posters, festive fandom crossovers, and gift tags, grouped by theme.
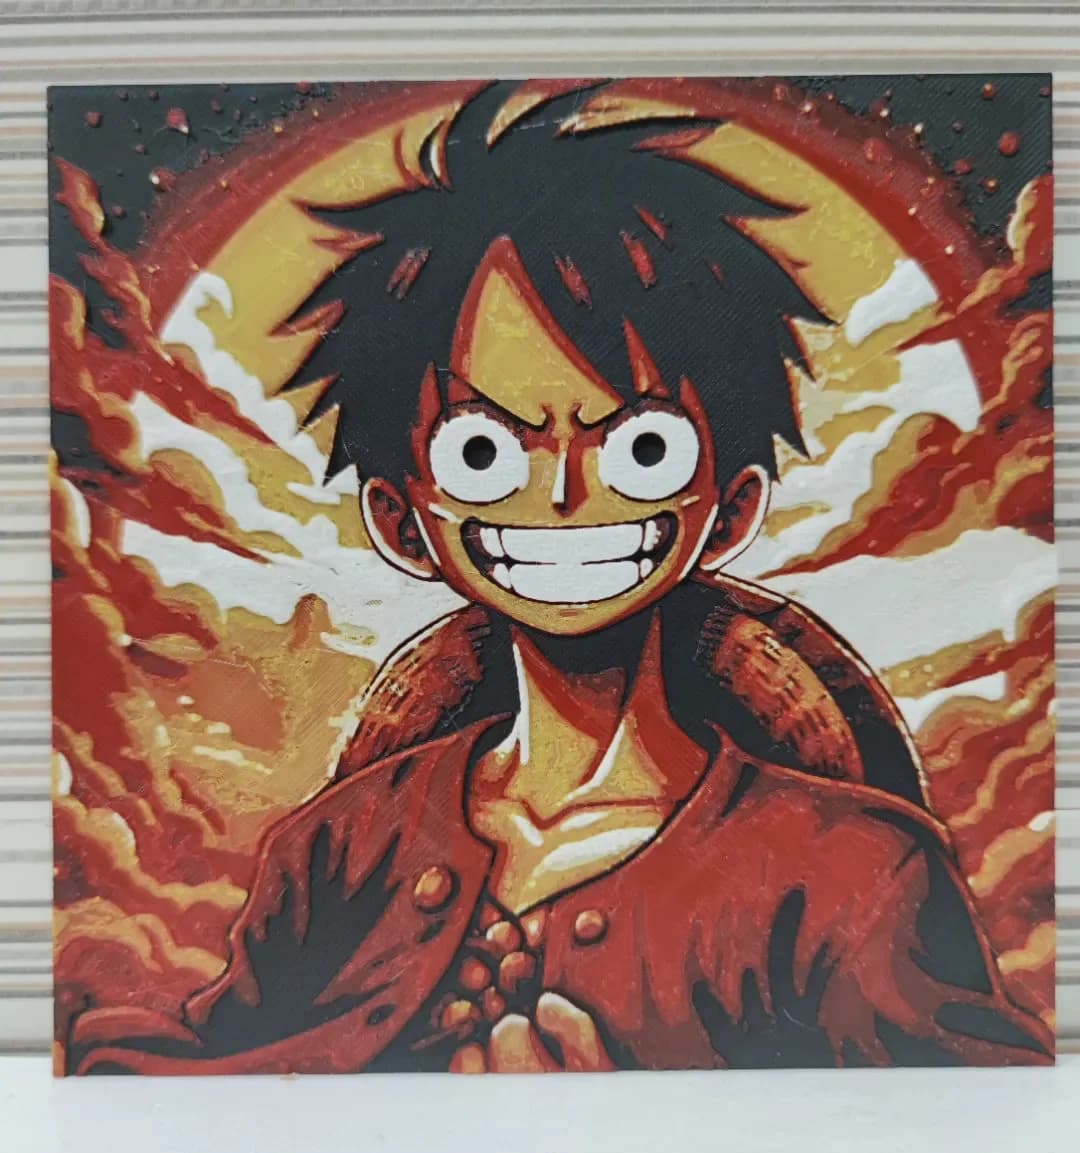
Best Anime 3D Prints for HueForge: From Shōnen Classics to the Modern Wave
The best anime 3D prints to make as HueForge filament paintings — One Piece, Naruto, Dragon Ball, Demon Slayer, Jujutsu Kaisen, Frieren, Gundam, and anime bookmarks, each linked in the HuePick catalog.