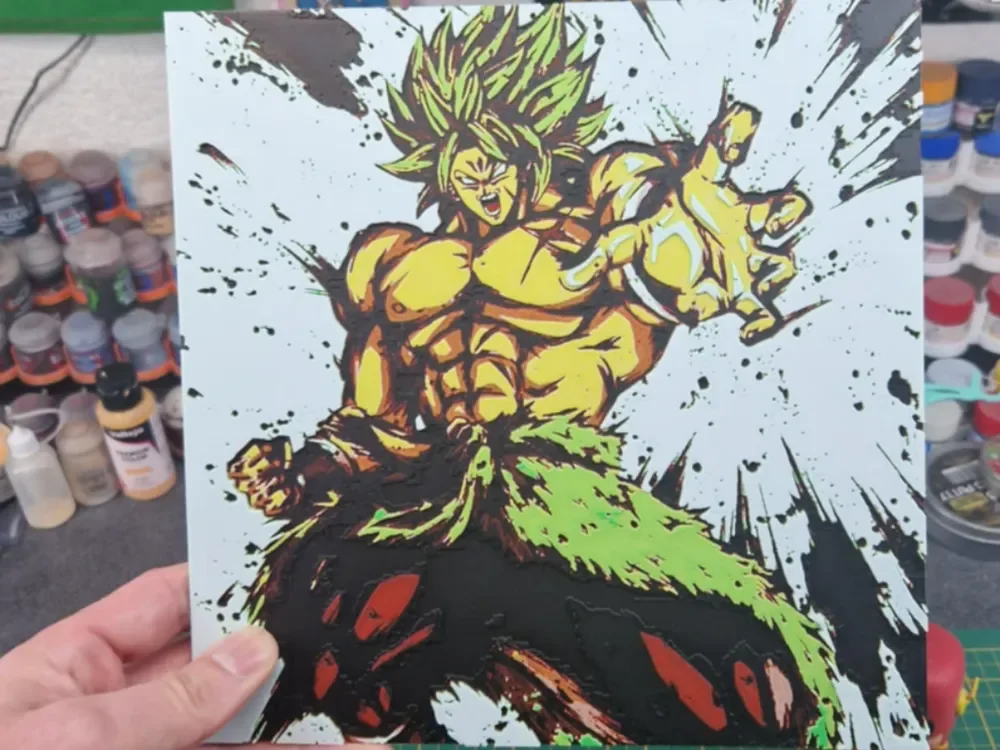
Dragon Ball Super - Broly Hueforge
by Dakiren
Legendary Super Saiyan Broly erupts from the canvas in explosive fury, his massive frame radiating raw power through dynamic green and yellow energy bursts. Dakiren's masterful composition captures the iconic warrior mid-transformation, with spiky golden hair and bulging muscles rendered in striking yellows against dramatic black splashes. The violent energy aura swirls around him in vibrant greens, creating an electrifying tribute to Dragon Ball Super's most formidable fighter.
View on MakerWorldRequired Filaments5
Bambu Lab Basic Black
Bambu Lab Basic Red
Bambu Lab Basic Yellow
Bambu Lab Basic Jade White
Bambu Lab Basic Bambu Green
Why filament details may vary
Filament details (brand, color, and TD value) may not exactly match the designer's original specification. In some cases, the designer didn't specify exact filaments and we've matched the closest options we could find. Always check the original listing for full details.
Some filament links are affiliate links — we may earn a small commission at no extra cost to you. Learn more
Sign up to track your filament inventory and check your matches.
Create accountYou Might Also Like
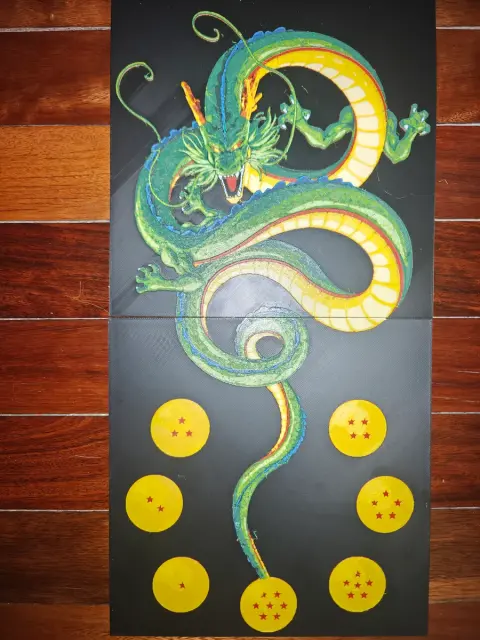
Shenron Dragon
by TheHueforgeLady
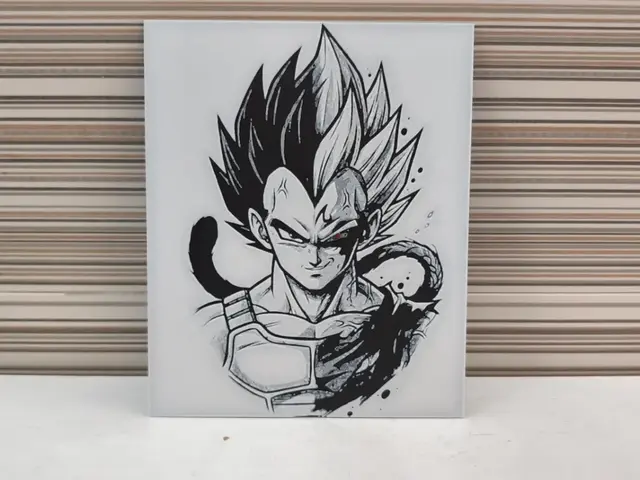
Vegeta Split HueForge – Prince of All Saiyans
by Litolunar
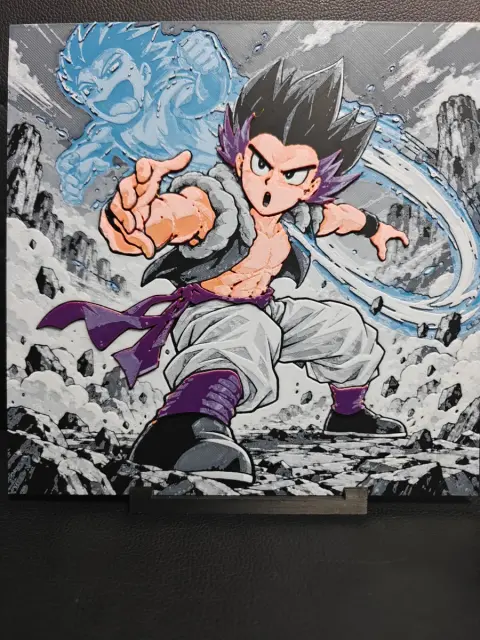
Gotenks
by TheHueforgeLady
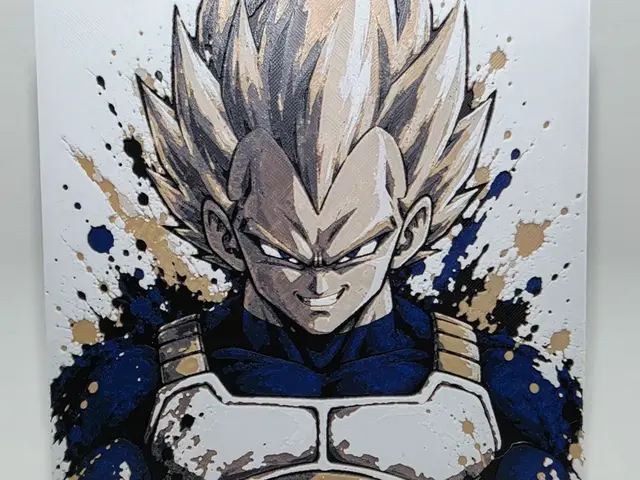
Graffiti Super Saiyan Vegeta Hueforge
by 3Ree Printing
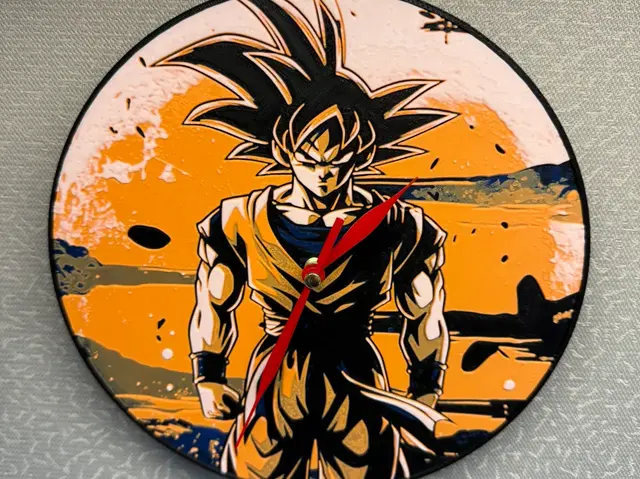
Goku Clock
by Layered Visions
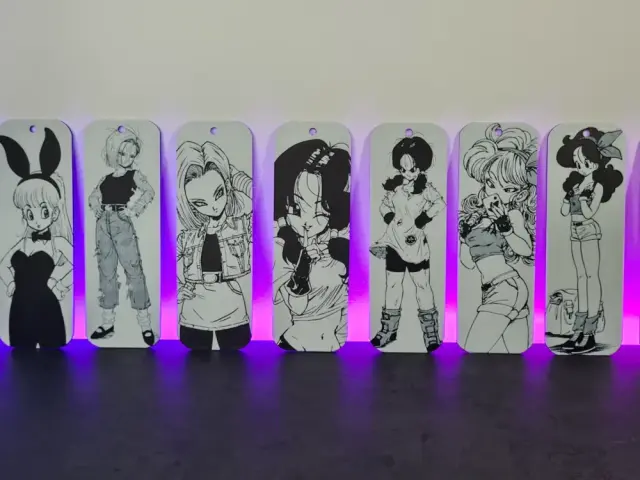
Dragon Ball Girls Hueforge BookMark Black & White
by Montoya Maker
Recent Articles
View all
Best 3D Printed Gifts for Everyone on Your List — Made with HueForge
The best 3D printed gifts for everyone on your list, made with HueForge — custom pet and portrait art, ornaments and gift tags, bookmarks, and fandom prints matched to the recipient, plus how to turn gift requests into income.
Best Christmas 3D Prints for HueForge: Ornaments, Santa & Holiday Movie Posters
The Christmas 3D prints worth making as HueForge filament paintings — tree ornaments, Santa and snowmen, holiday movie posters, festive fandom crossovers, and gift tags, grouped by theme.
Best Anime 3D Prints for HueForge: From Shōnen Classics to the Modern Wave
The best anime 3D prints to make as HueForge filament paintings — One Piece, Naruto, Dragon Ball, Demon Slayer, Jujutsu Kaisen, Frieren, Gundam, and anime bookmarks, each linked in the HuePick catalog.