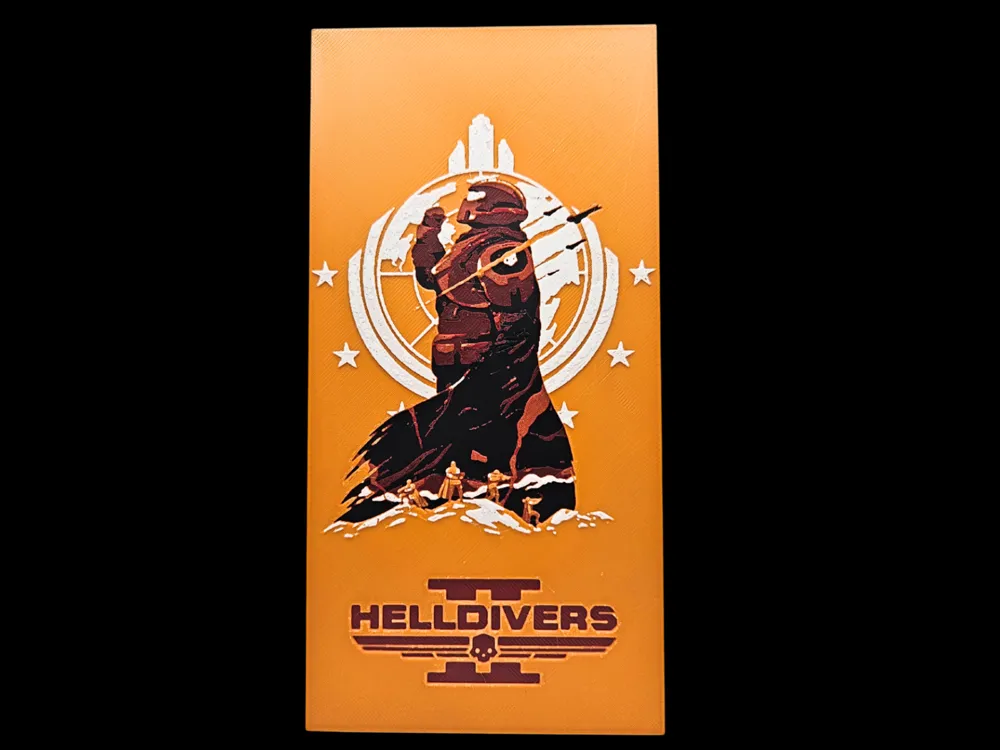
Helldivers II (100x200mm hueforge)
by BusyKikiBee
A towering silhouette of armored determination dominates this striking work, surrounded by the iconic Super Earth emblem and scattered stars. Rendered in bold oranges that fade to deep burgundy shadows, the composition captures the heroic propaganda aesthetic of Helldivers II perfectly. At 100x200mm, this vertical piece showcases dramatic contrast between the bright background and the soldier's imposing dark form, while small figures at the base emphasize the epic scale of humanity's galactic struggle.
View on MakerWorldRequired Filaments4
Bambu Lab Basic Black
Bambu Lab Basic Maroon Red
Bambu Lab Basic Pumpkin Orange
Bambu Lab Matte Ivory White
Why filament details may vary
Filament details (brand, color, and TD value) may not exactly match the designer's original specification. In some cases, the designer didn't specify exact filaments and we've matched the closest options we could find. Always check the original listing for full details.
Some filament links are affiliate links — we may earn a small commission at no extra cost to you. Learn more
Sign up to track your filament inventory and check your matches.
Create accountYou Might Also Like
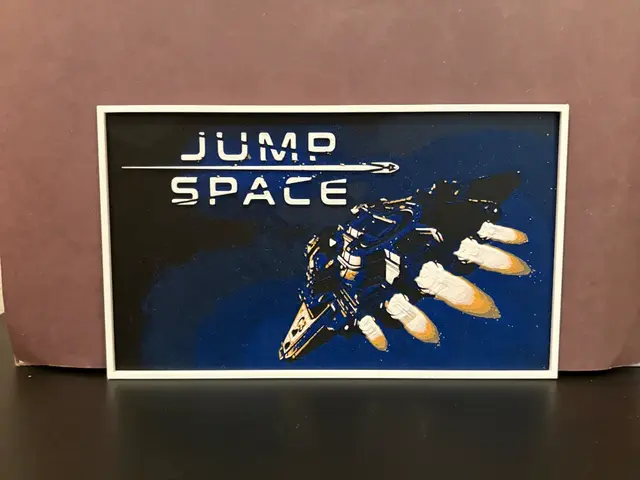
Jump Space Hueforge
by Estiv
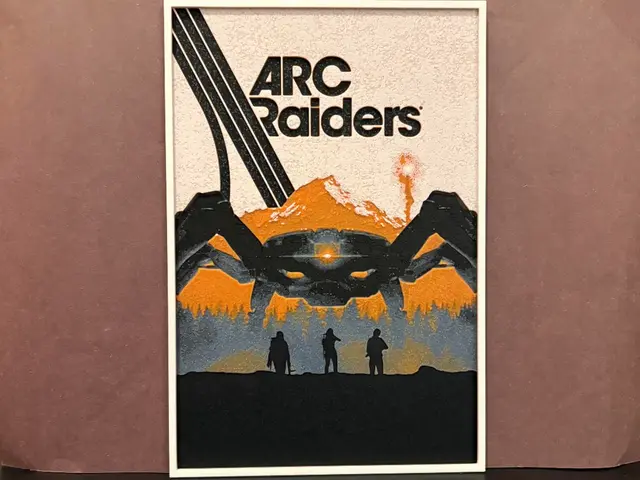
Arc Raiders Hueforge
by Estiv
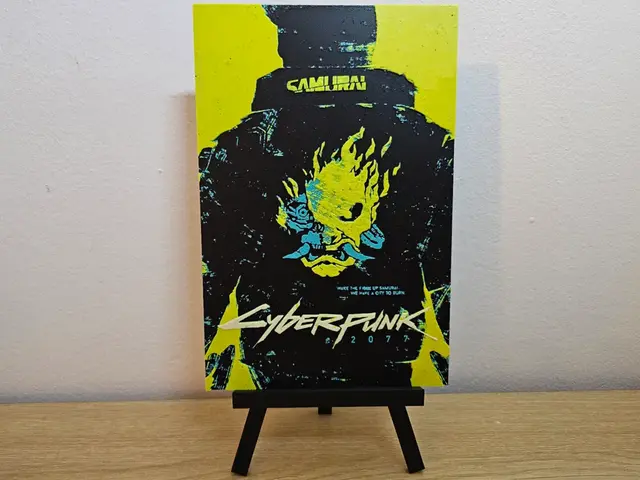
Cyberpunk 2077 Hueforge
by Opao
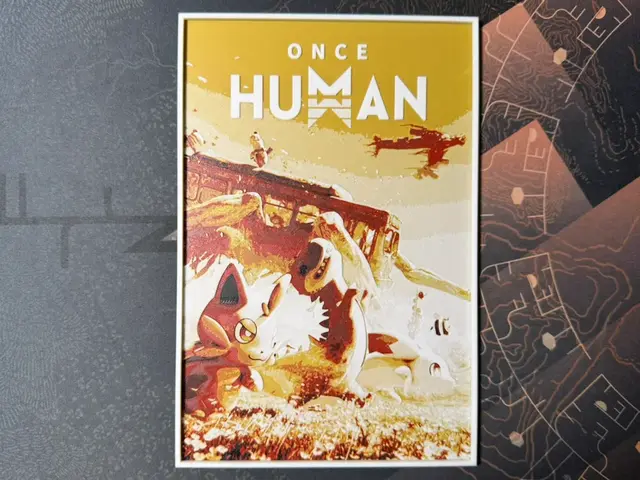
Once Human - HueForge
by ZorPrime7
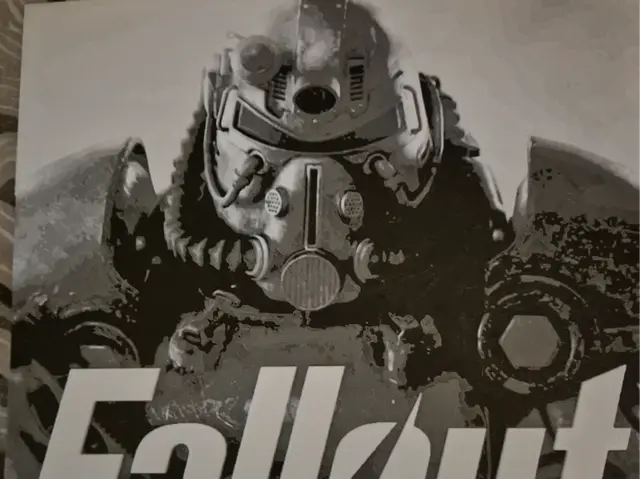
Fallout Power Armour Wall Art
by FiremanprintsIRL (BR3Design)
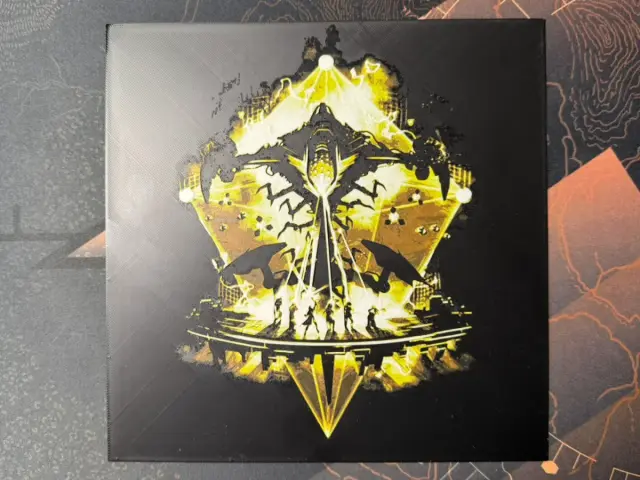
Destiny - Leviathan Raid Lair - Eater of Worlds
by ZorPrime7
Recent Articles
View all
Best 3D Printed Gifts for Everyone on Your List — Made with HueForge
The best 3D printed gifts for everyone on your list, made with HueForge — custom pet and portrait art, ornaments and gift tags, bookmarks, and fandom prints matched to the recipient, plus how to turn gift requests into income.
Best Christmas 3D Prints for HueForge: Ornaments, Santa & Holiday Movie Posters
The Christmas 3D prints worth making as HueForge filament paintings — tree ornaments, Santa and snowmen, holiday movie posters, festive fandom crossovers, and gift tags, grouped by theme.
Best Anime 3D Prints for HueForge: From Shōnen Classics to the Modern Wave
The best anime 3D prints to make as HueForge filament paintings — One Piece, Naruto, Dragon Ball, Demon Slayer, Jujutsu Kaisen, Frieren, Gundam, and anime bookmarks, each linked in the HuePick catalog.