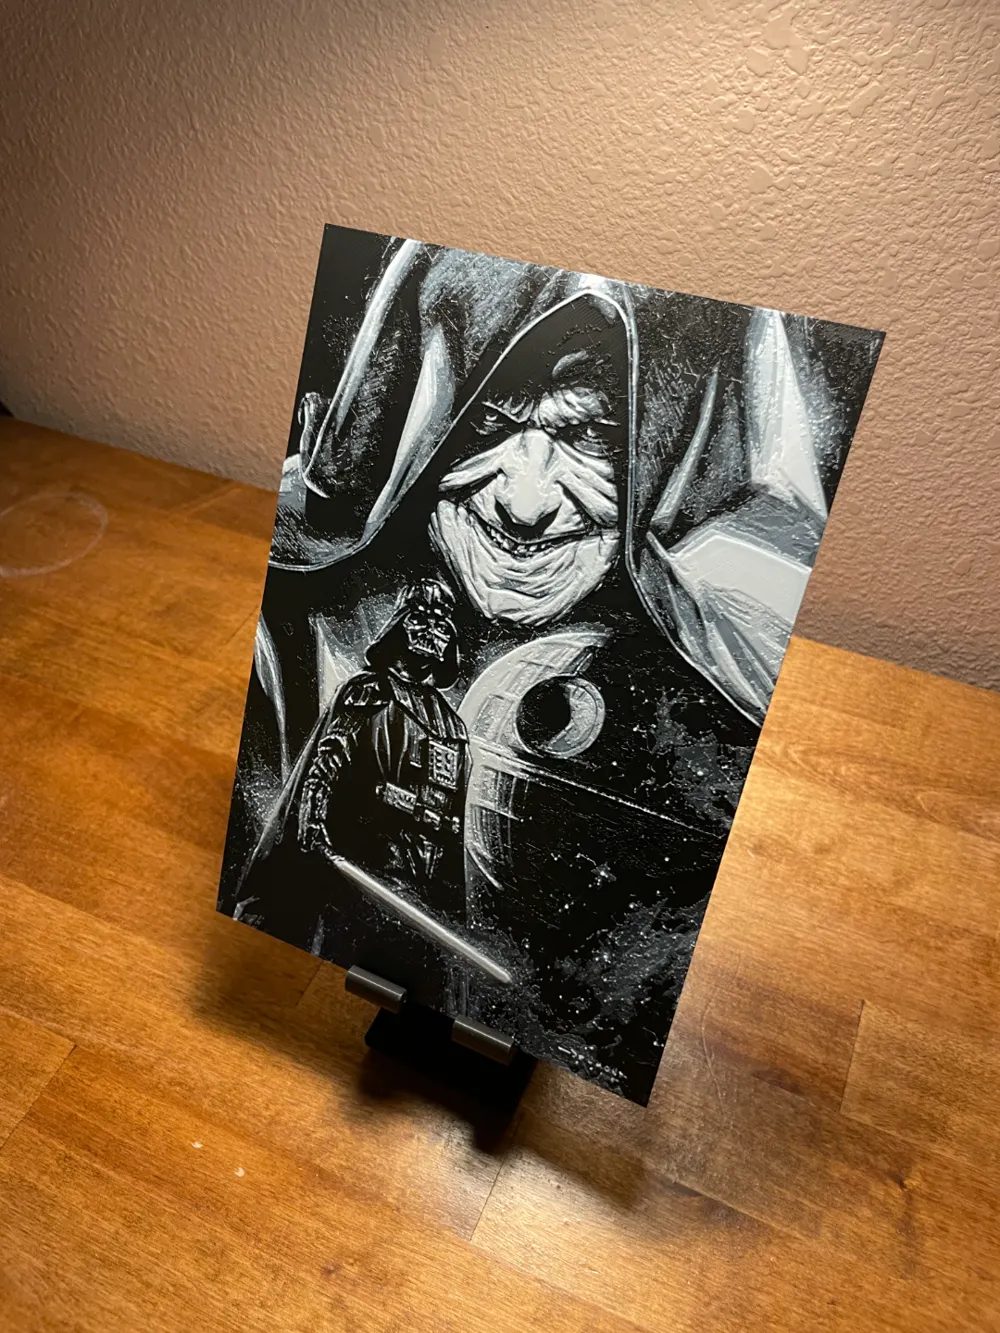
Hueforge - Star Wars - Darth Vader and Sidious
Emperor Palpatine's sinister visage looms large in this dramatic monochromatic composition, his weathered features twisted in malevolent satisfaction as young Darth Vader kneels in submission below. Cloudy Nostalgia masterfully captures the pivotal master-and-apprentice dynamic through stark contrasts of light and shadow, with the Emperor's flowing robes creating sweeping dramatic lines that frame the scene. This striking print transforms the iconic Sith duo into a powerful study of corrupted power rendered in deep blacks and brilliant whites.
View on MakerWorldRequired Filaments3
Bambu Lab Basic Black
Bambu Lab Basic Blue Gray
Bambu Lab Basic Jade White
Why filament details may vary
Filament details (brand, color, and TD value) may not exactly match the designer's original specification. In some cases, the designer didn't specify exact filaments and we've matched the closest options we could find. Always check the original listing for full details.
Some filament links are affiliate links — we may earn a small commission at no extra cost to you. Learn more
Sign up to track your filament inventory and check your matches.
Create accountYou Might Also Like
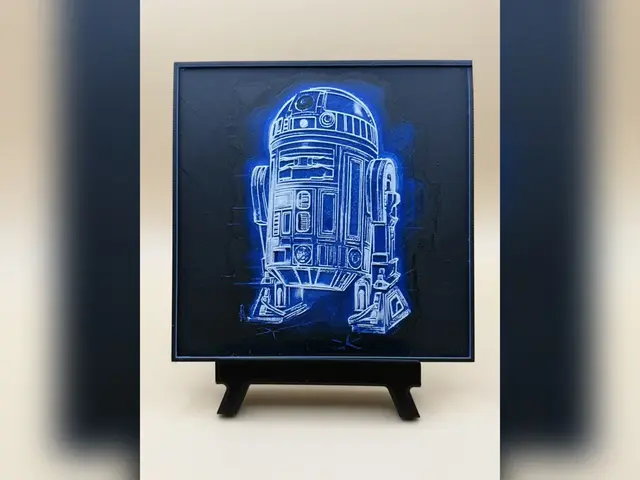
R2-D2 Blueprint HueForge Print
by Thadius
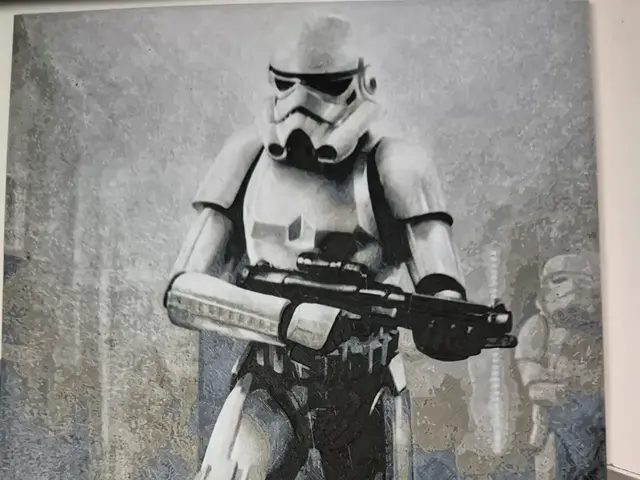
Star Wars Stormtrooper Wall Art 2
by FiremanprintsIRL (BR3Design)
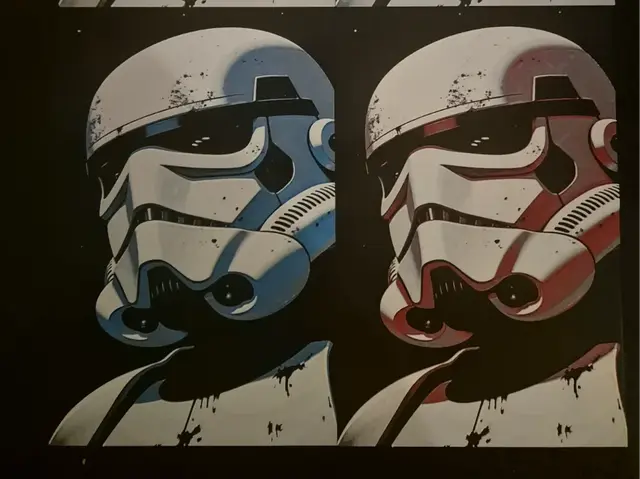
Stormtrooper Wall Art (Interchangeble Colors)
by FiremanprintsIRL (BR3Design)
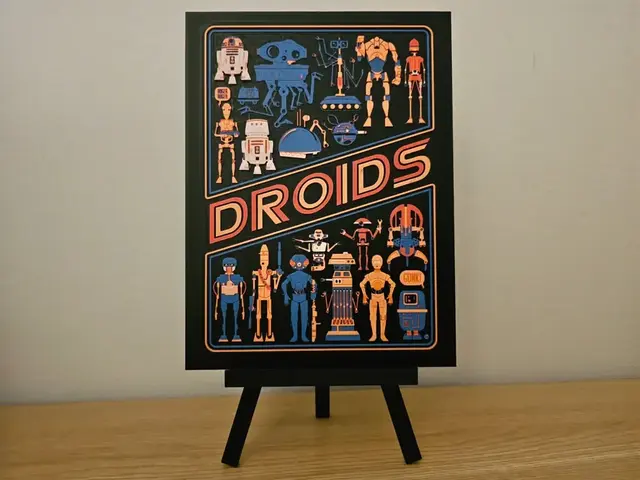
Star Wars Droids Hueforge
by Opao
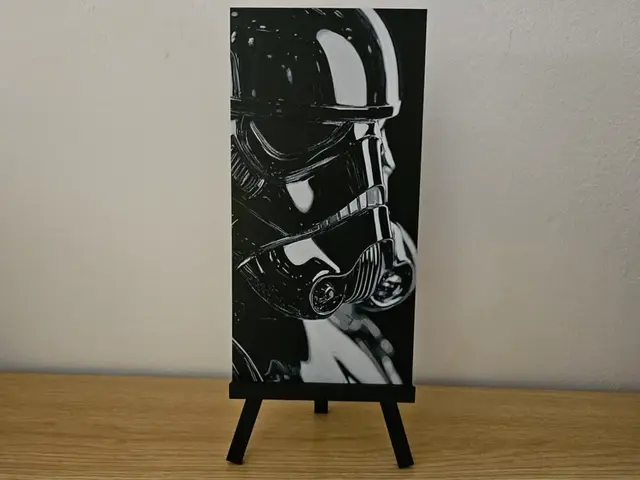
Shadow Stormtrooper Hueforge
by Opao
![Invasion [AT-AT] HueForge](https://dfuaxtlsfzhdzgewrcdu.supabase.co/storage/v1/object/public/model-images/20d44ad8-a90d-4a67-a5c9-c6c30cb53eec_8a99e1ae.thumb.webp "Invasion [AT-AT] HueForge")
Invasion [AT-AT] HueForge
by fD.667
Recent Articles
View all
Best 3D Printed Gifts for Everyone on Your List — Made with HueForge
The best 3D printed gifts for everyone on your list, made with HueForge — custom pet and portrait art, ornaments and gift tags, bookmarks, and fandom prints matched to the recipient, plus how to turn gift requests into income.
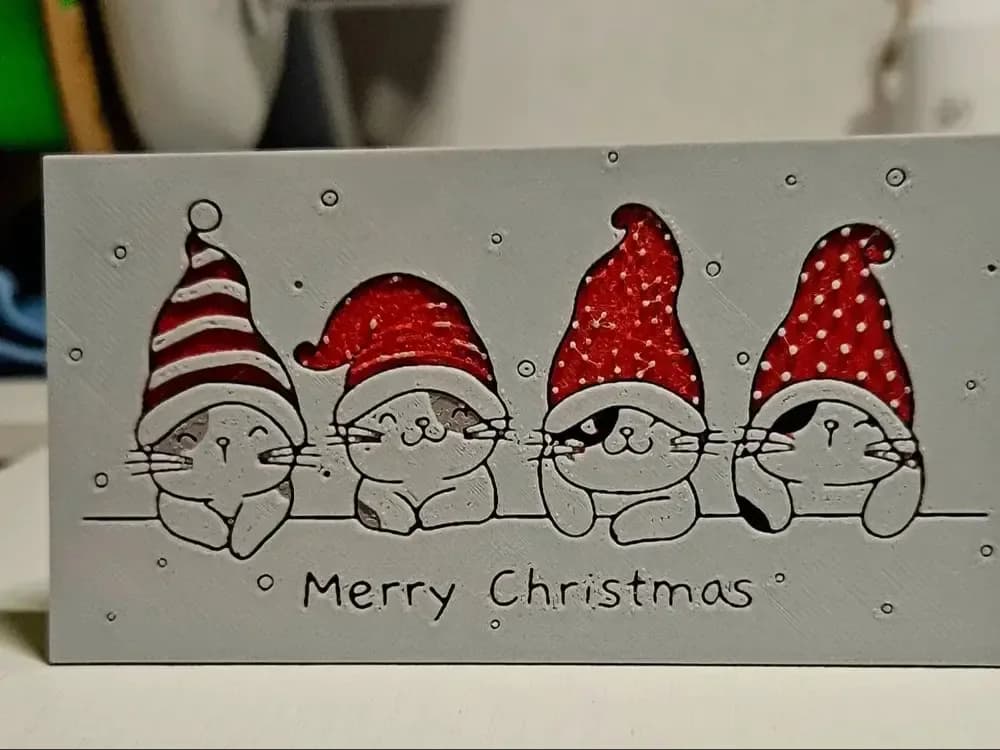
Best Christmas 3D Prints for HueForge: Ornaments, Santa & Holiday Movie Posters
The Christmas 3D prints worth making as HueForge filament paintings — tree ornaments, Santa and snowmen, holiday movie posters, festive fandom crossovers, and gift tags, grouped by theme.
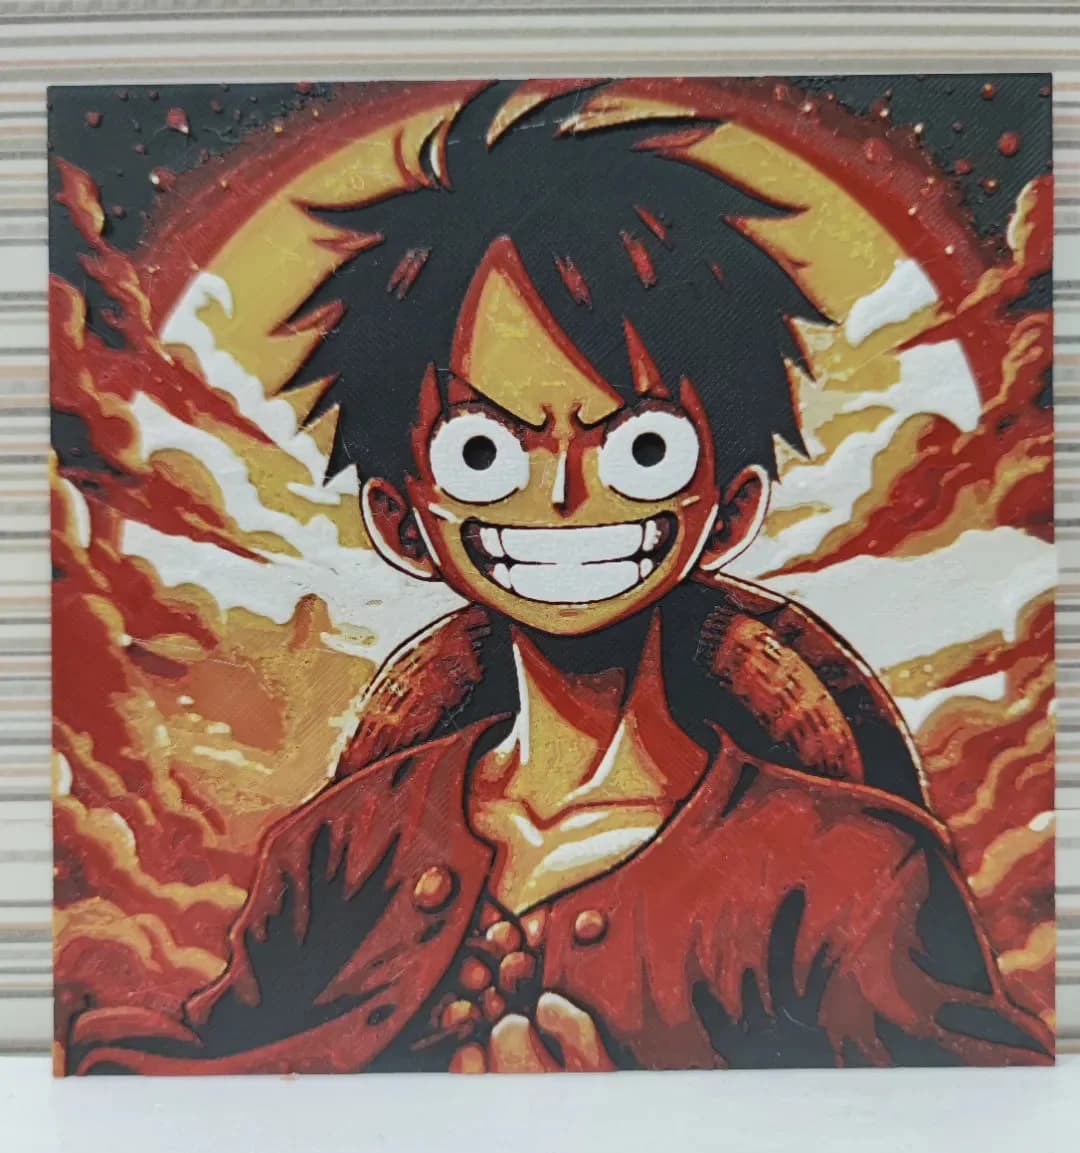
Best Anime 3D Prints for HueForge: From Shōnen Classics to the Modern Wave
The best anime 3D prints to make as HueForge filament paintings — One Piece, Naruto, Dragon Ball, Demon Slayer, Jujutsu Kaisen, Frieren, Gundam, and anime bookmarks, each linked in the HuePick catalog.