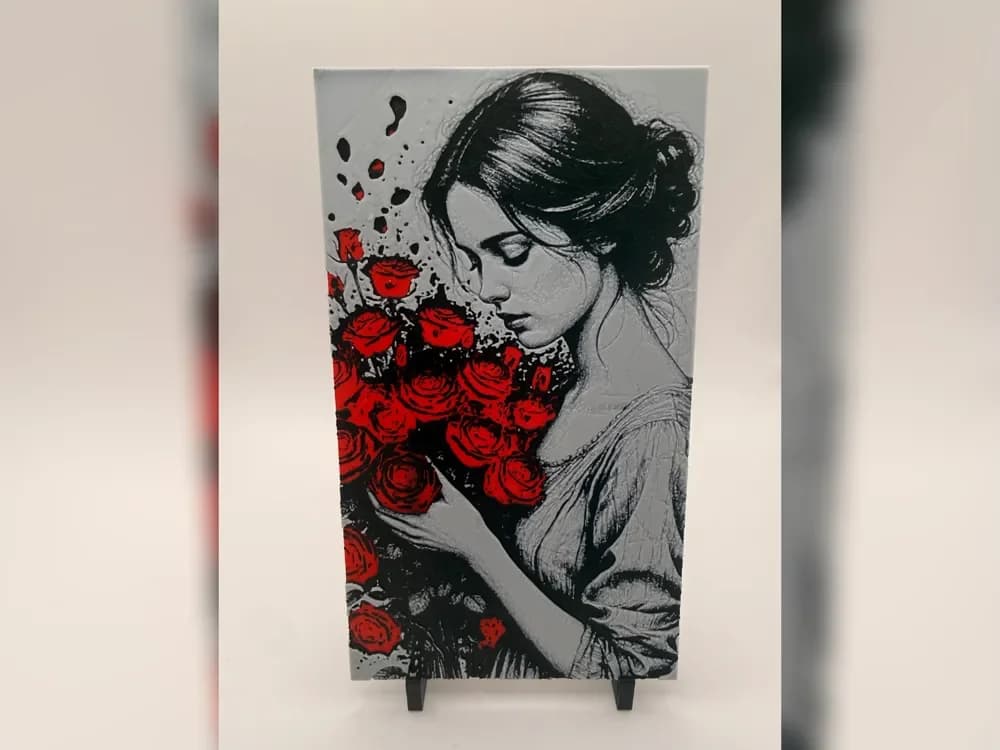
Crimson Rose Reverie Portrait hueforge print
by Thadius
Lost in quiet reverie, a dark-haired woman cradles an explosion of vivid crimson roses against a stark black-and-white world. Thadius's "Crimson Rose Reverie" harnesses HueForge's filament-depth technique brilliantly — the bold red blooms burst dramatically from the monochromatic linework, petals fragmenting upward like scattered ink drops. The contrast between delicate graphite rendering and saturated scarlet creates an arresting, almost dreamlike tension.
View on MakerWorldRequired Filaments3
Bambu Lab Basic Red
Bambu Lab Basic Black
Bambu Lab Basic Jade White
Why filament details may vary
Filament details (brand, color, and TD value) may not exactly match the designer's original specification. In some cases, the designer didn't specify exact filaments and we've matched the closest options we could find. Always check the original listing for full details.
Some filament links are affiliate links — we may earn a small commission at no extra cost to you. Learn more
Sign up to track your filament inventory and check your matches.
Create accountYou Might Also Like
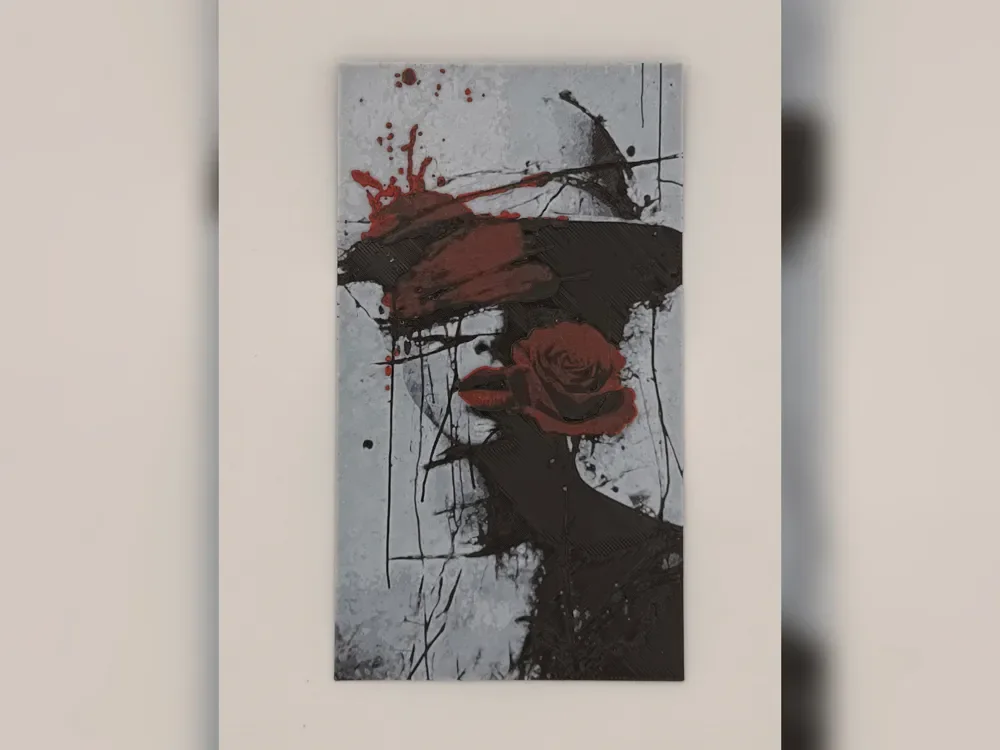
Blood Rose Noir b/w hueforge Portrait
by Thadius
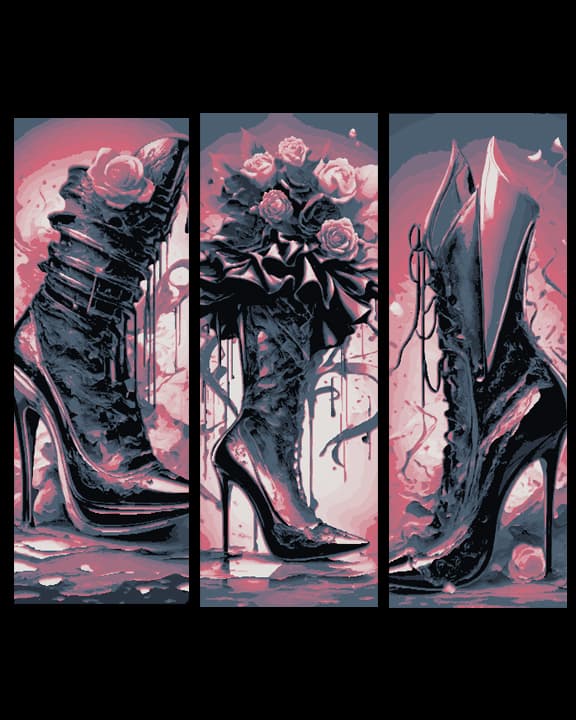
High Heel Shoes as a fashion and flowery Statement - Set of 3 Bookmarks
by BooneCo3d

Art Piece - The Painted Rose
by BooneCo3d

Pop art style bookmarks of Roses
by BooneCo3d

Snow White lost among the flowers of the forest - Fanart set of bookmarks
by BooneCo3d
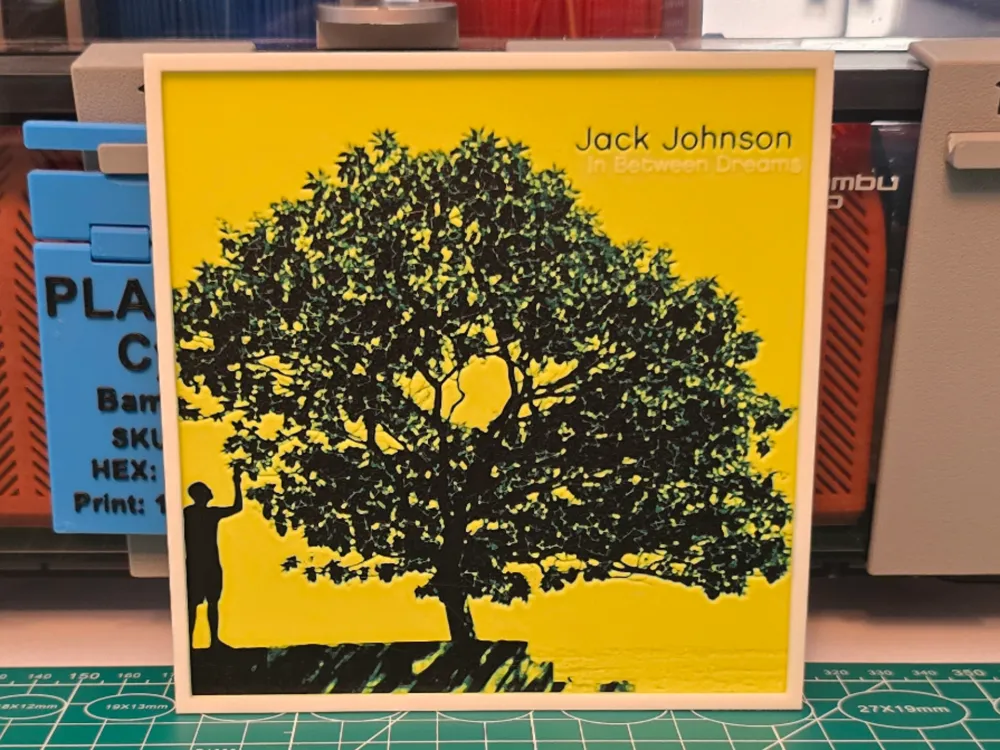
Jack Johnson "In Between Dreams" Album - Hueforge
by Lumpy3D
Recent Articles
View all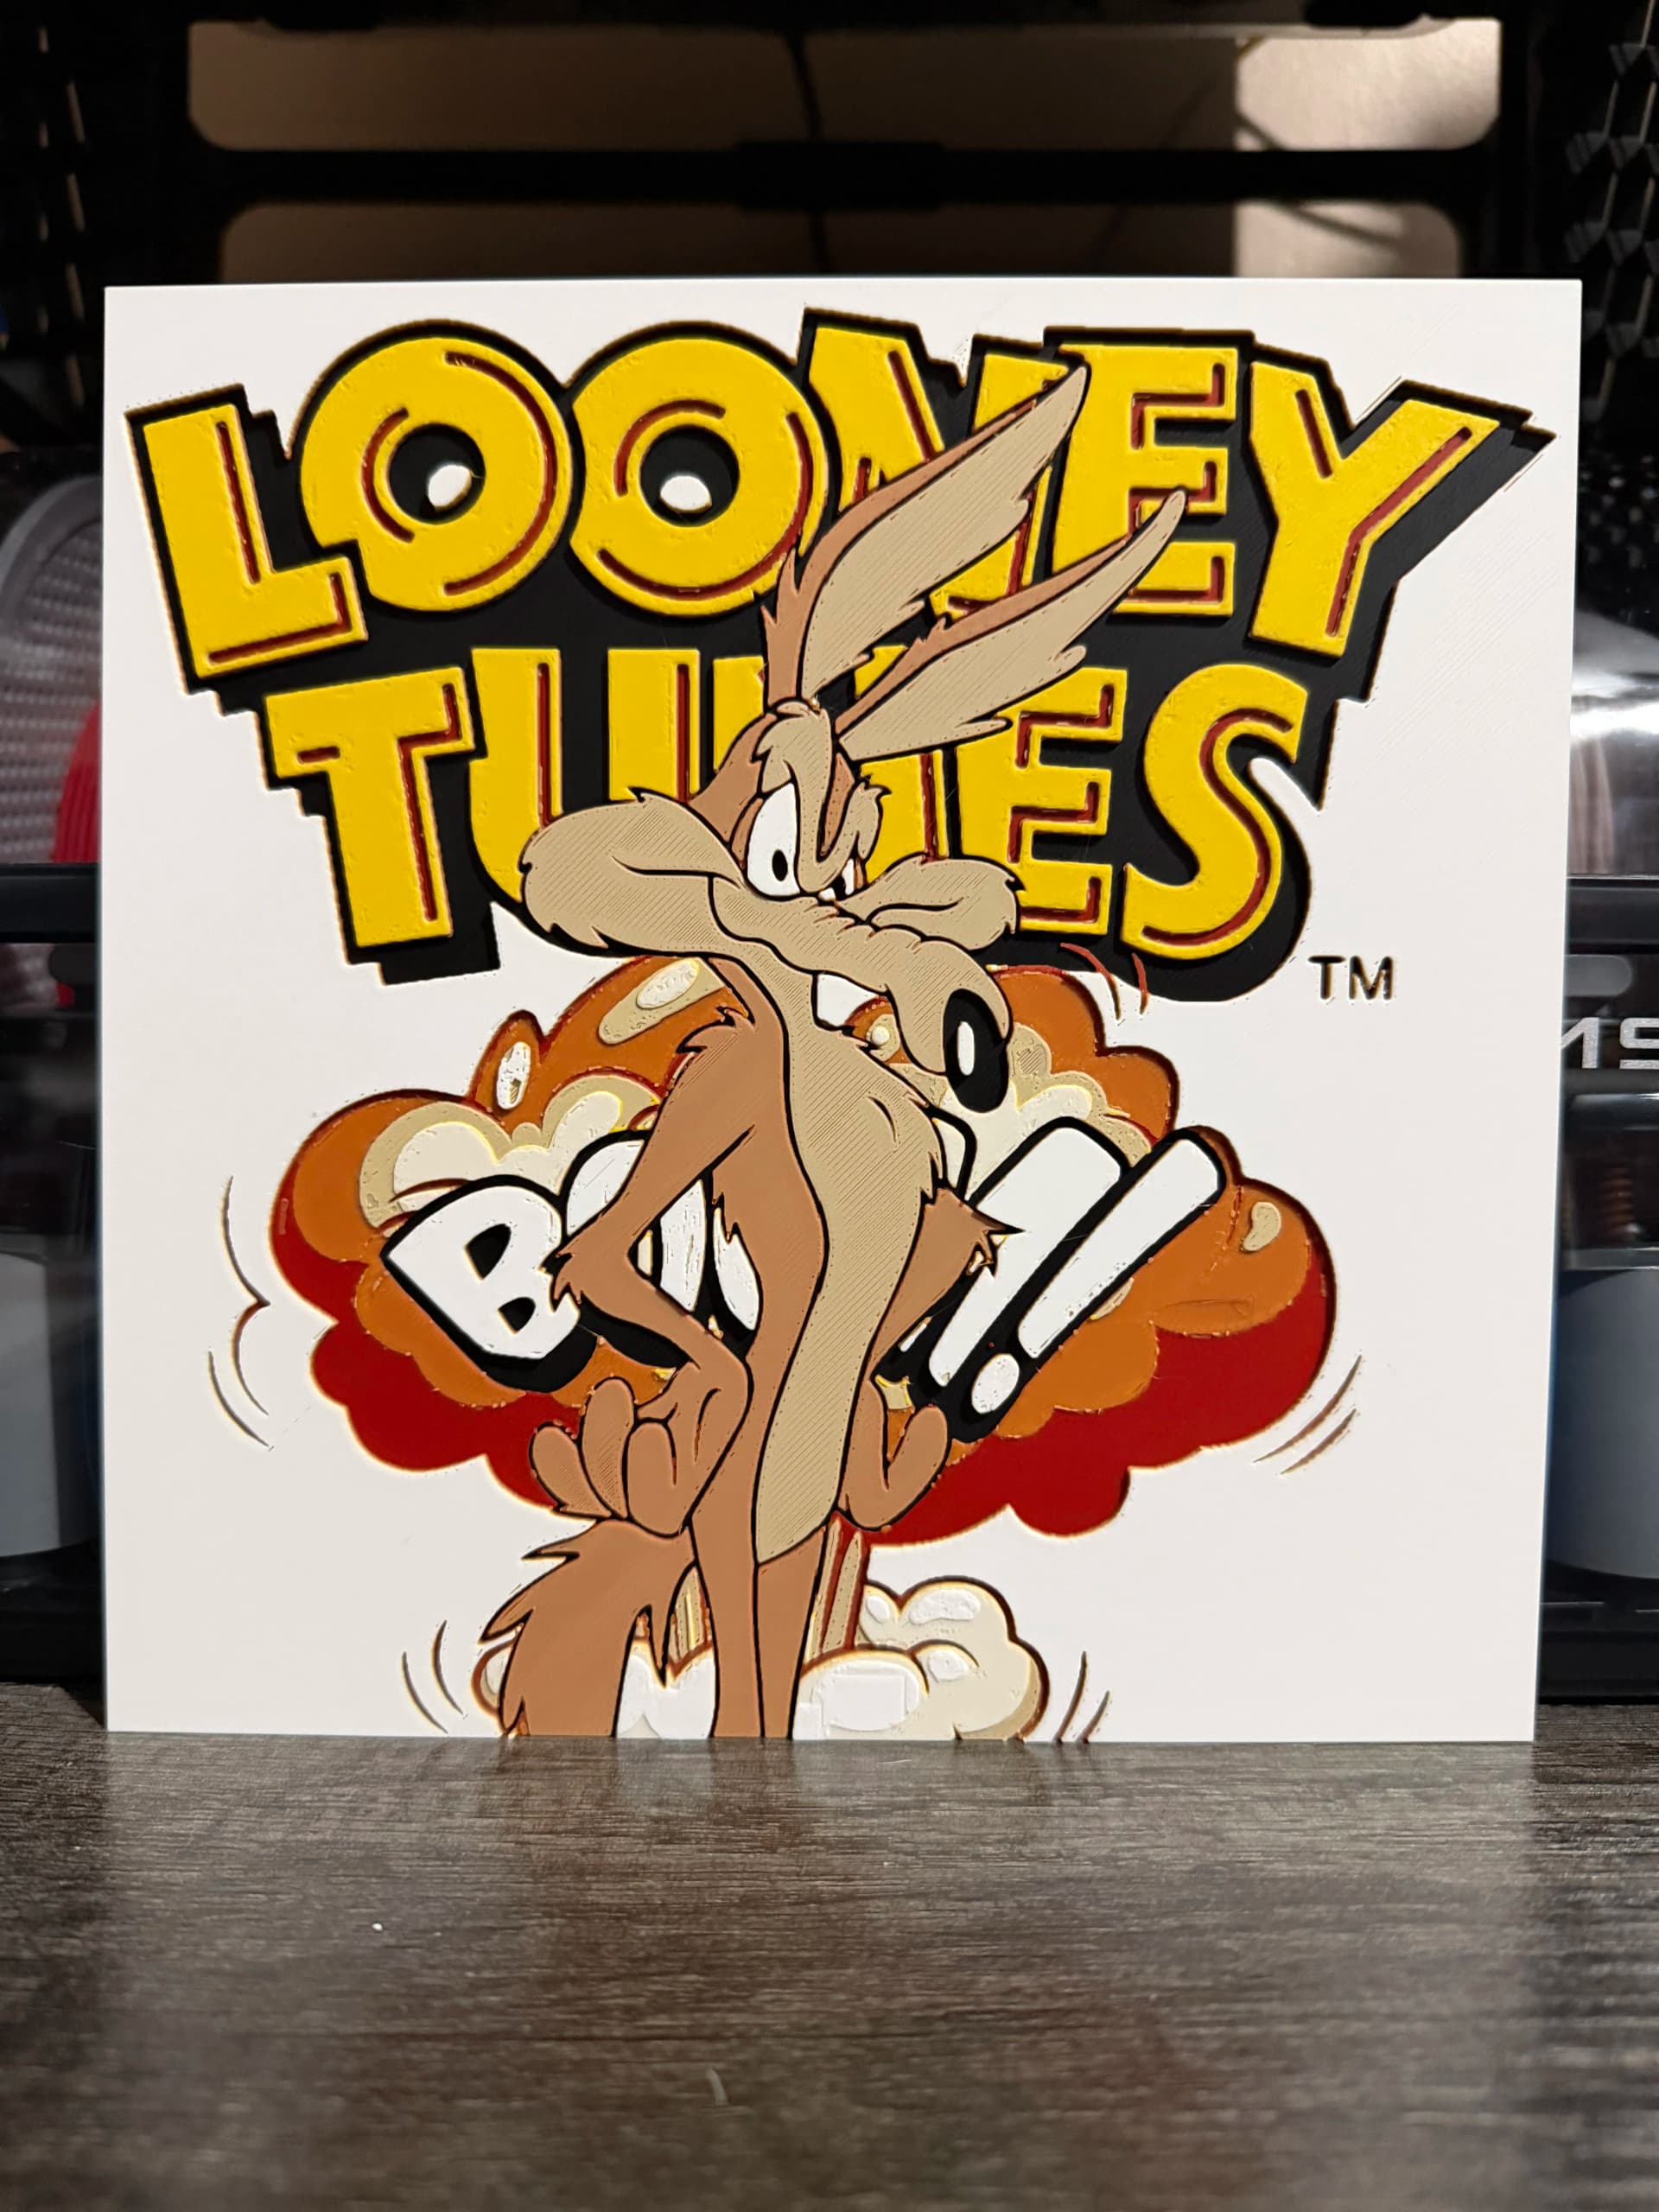
Best Classic Saturday Morning Cartoon STL Files for HueForge
The best classic Saturday morning cartoon STL files for HueForge — Scooby-Doo, Looney Tunes, Transformers, He-Man, TMNT and more, as bold filament wall art.
3D Printing Business Name Ideas (and How to Pick One That Lasts)
3D printing business name ideas grouped by style — descriptive, filament-themed, clever, and premium — plus naming principles and how to check a name is free to use.
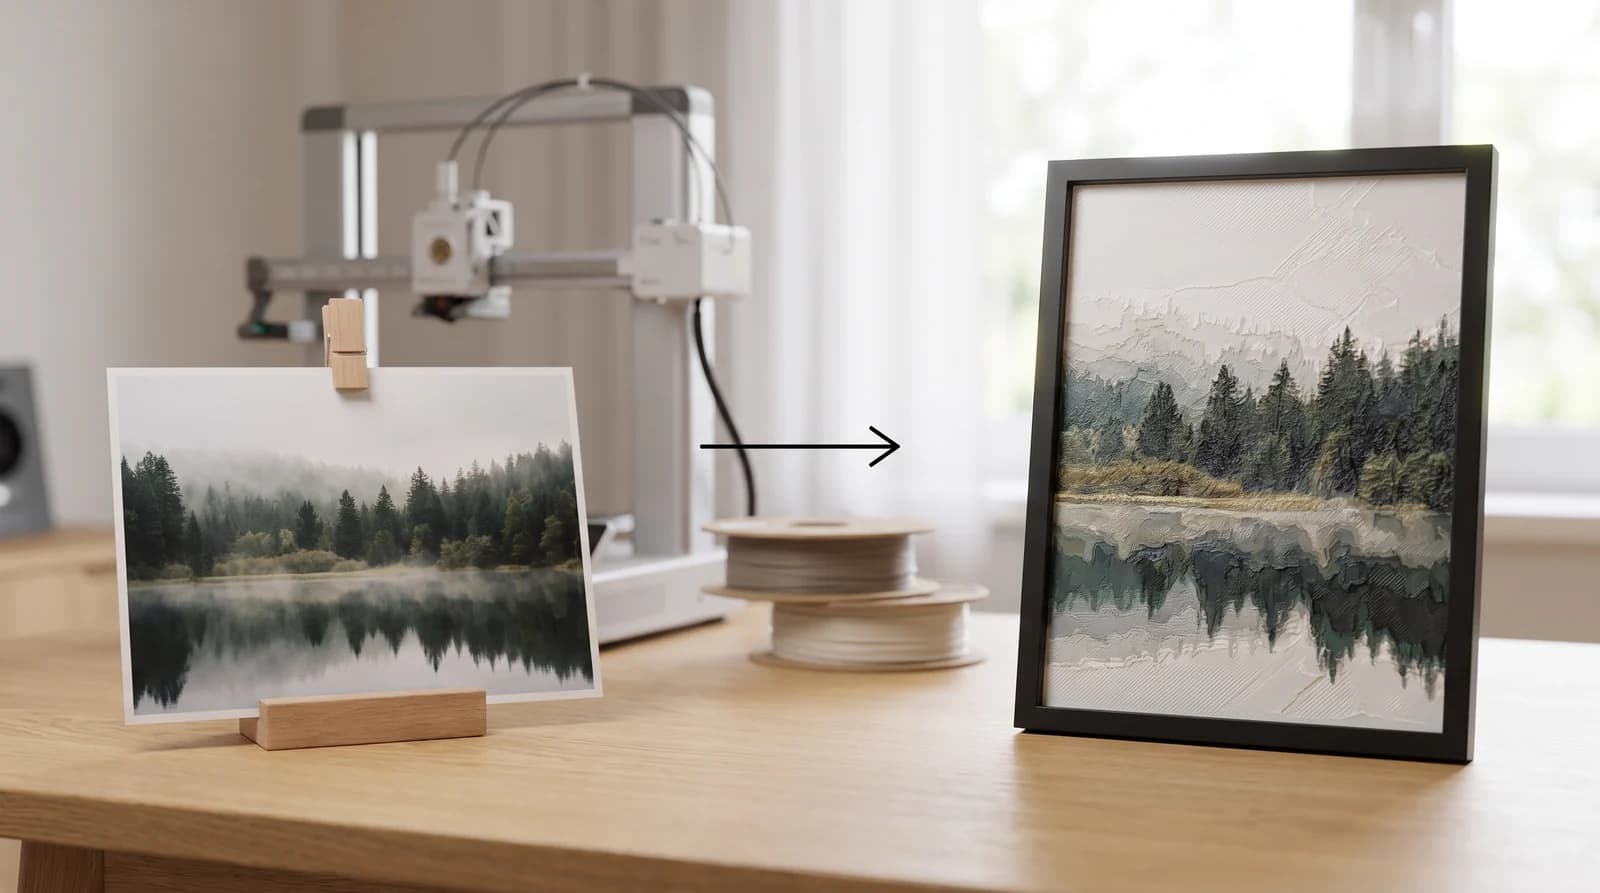
How to Use HueForge: A Software Walkthrough
How to use HueForge step by step — importing an image, setting your filament stack and TD values, tuning layers, reading the preview, and exporting a print file.