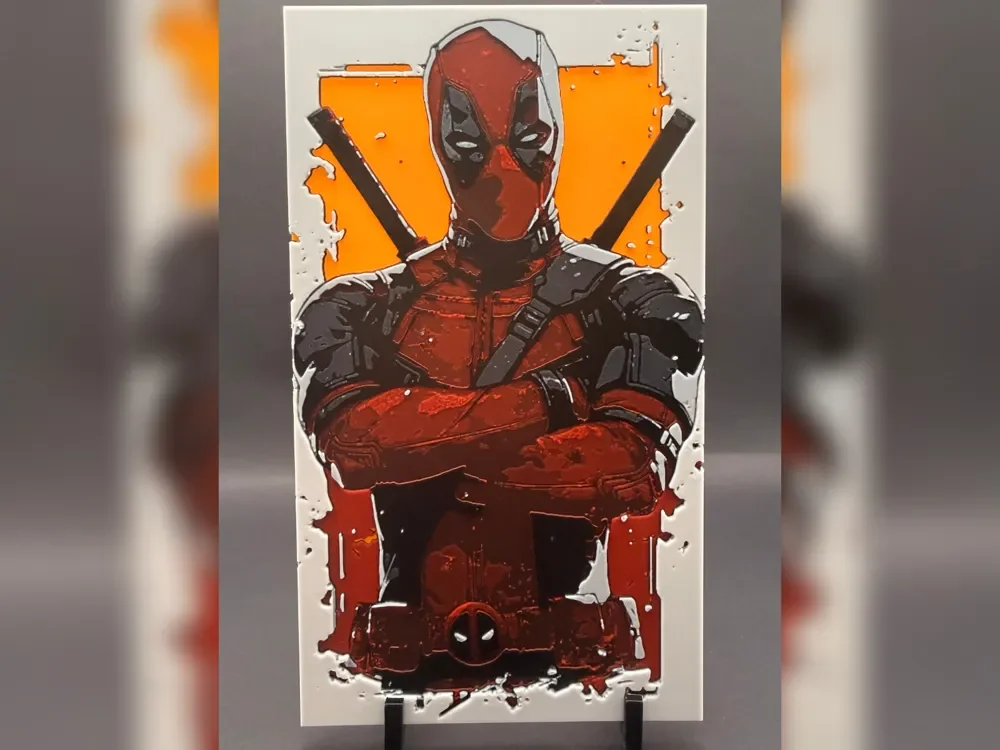
Deadpool: Armed and Unimpressed HueForge Print
by Thadius
Wade Wilson stands arms crossed and thoroughly unimpressed, rendered in Thadius's striking HueForge interpretation. Bold crimson and deep charcoal dominate the palette, with twin katana hilts framing the Merc with a Mouth's iconic masked silhouette against a vivid orange splash background. Red ink-splatter effects bleed into the white border below, where Deadpool's belt buckle logo punctuates the composition with cheeky attitude.
View on MakerWorldRequired Filaments5
Bambu Lab Basic Pumpkin Orange
Bambu Lab Basic Black
Bambu Lab Basic Red
Bambu Lab Basic Blue Gray
Bambu Lab Basic Jade White
Why filament details may vary
Filament details (brand, color, and TD value) may not exactly match the designer's original specification. In some cases, the designer didn't specify exact filaments and we've matched the closest options we could find. Always check the original listing for full details.
Some filament links are affiliate links — we may earn a small commission at no extra cost to you. Learn more
Sign up to track your filament inventory and check your matches.
Create accountYou Might Also Like

Tobey Spiderman Hueforge
by FantasyZ
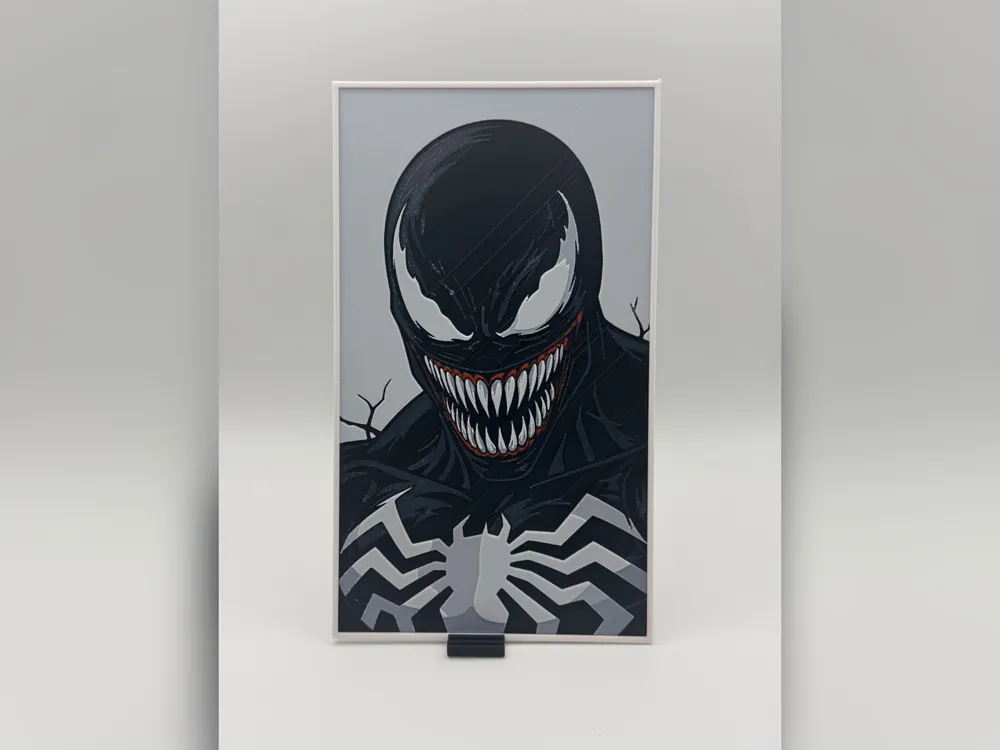
Venom Portrait HueForge Print
by iPrintStuffau
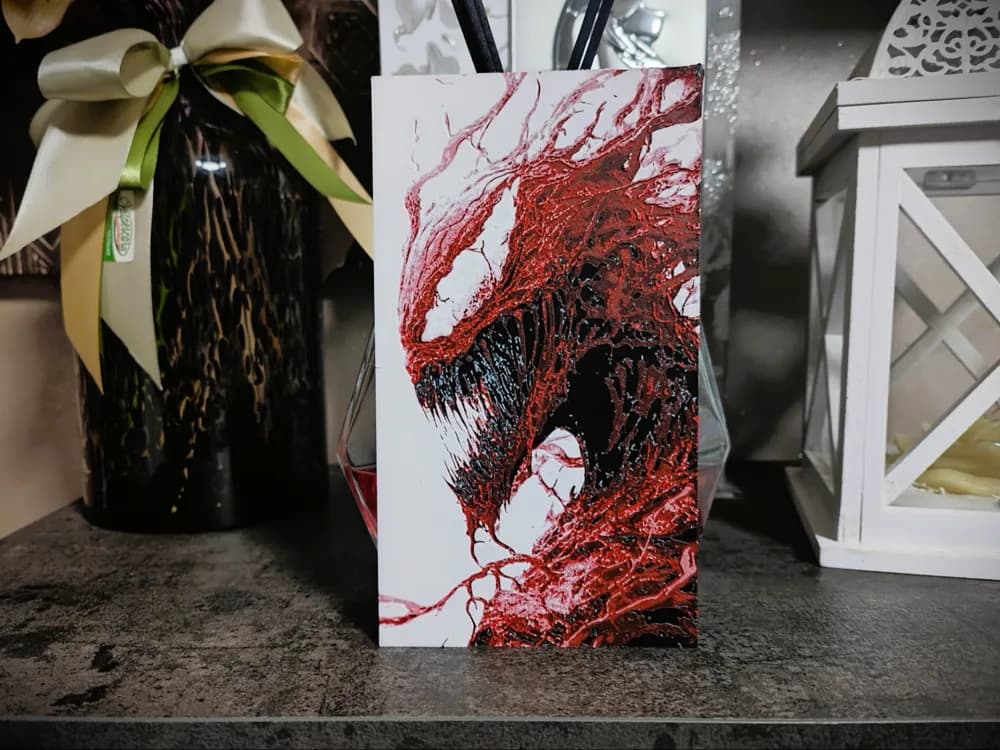
Carnage Marvel Hueforge
by S1M0N389
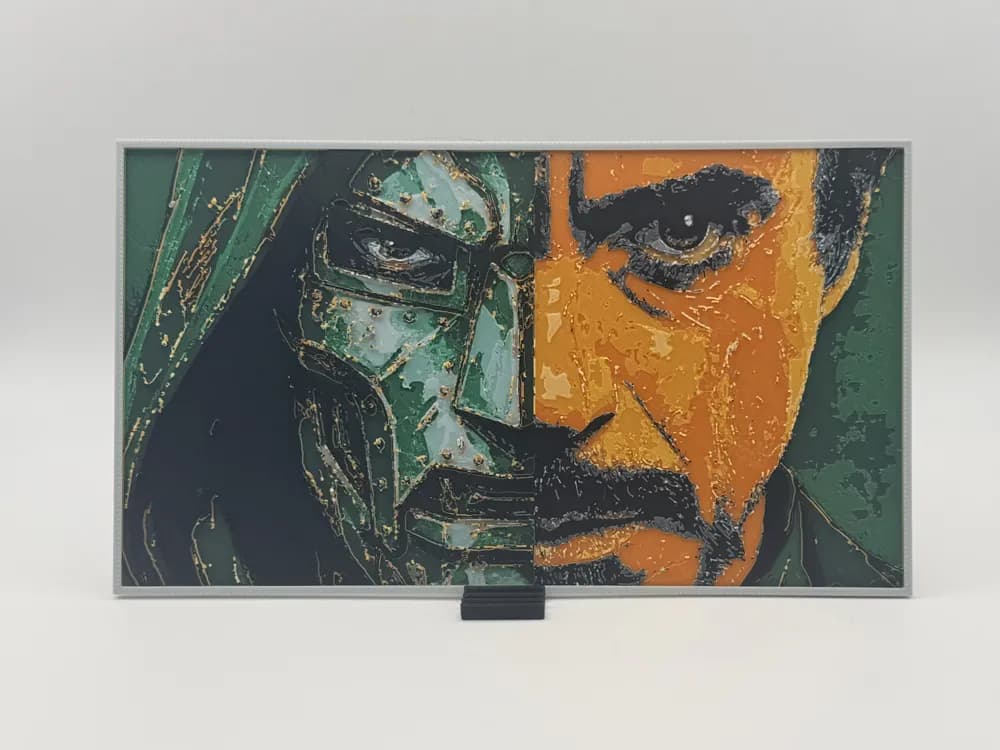
Doctor Doom Tony Stark Split Portrait
by iPrintStuffau
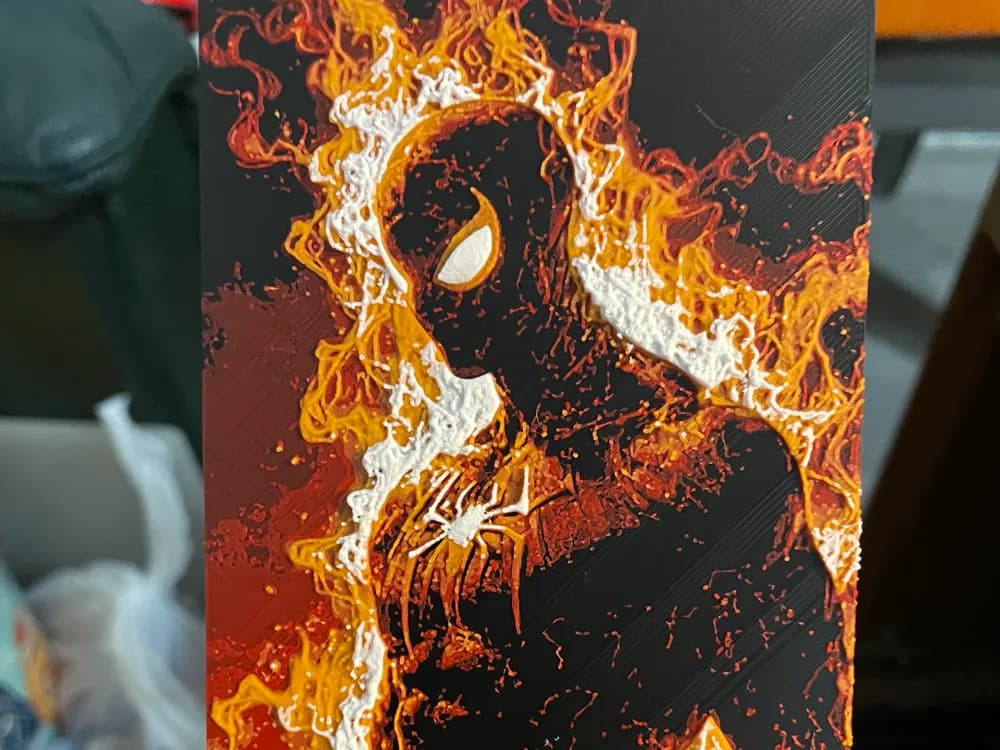
Spiderman on Fire V2 Hueforge
by Advancedtechworldwide

Deadpool has a way of getting around - Fan Art Set of Bookmarks of the Marvel Character
by BooneCo3d
Recent Articles
View all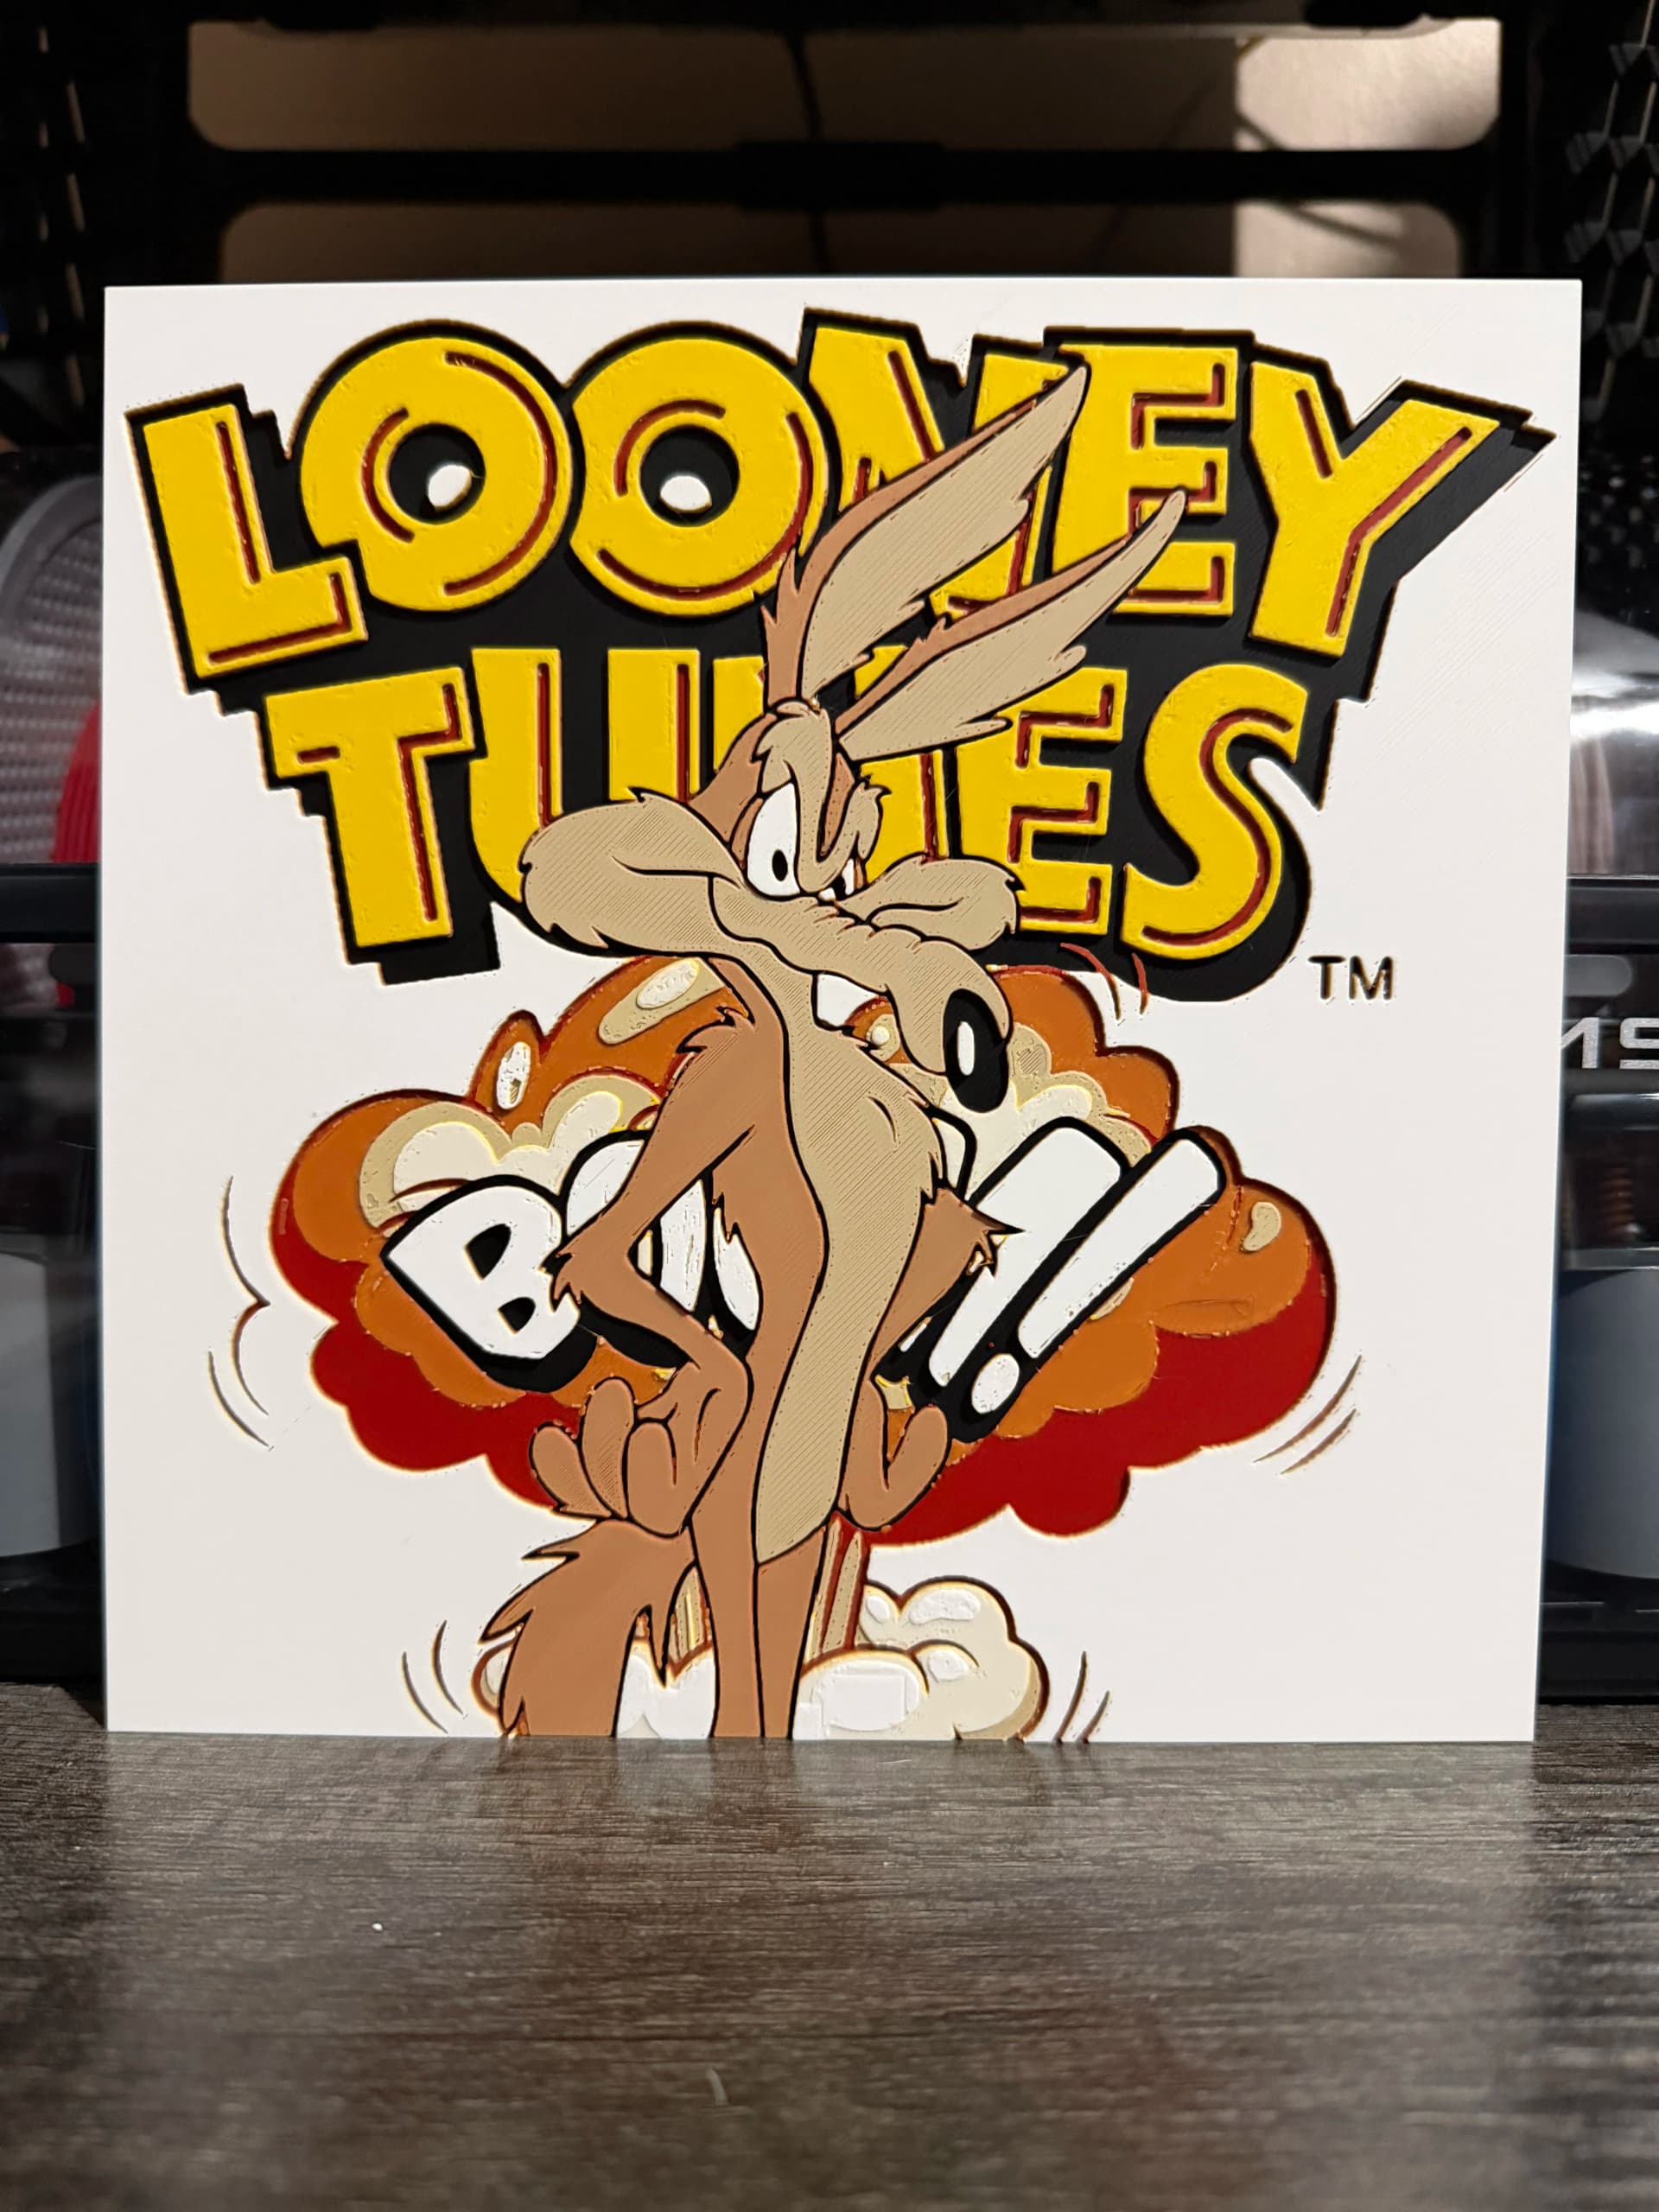
Best Classic Saturday Morning Cartoon STL Files for HueForge
The best classic Saturday morning cartoon STL files for HueForge — Scooby-Doo, Looney Tunes, Transformers, He-Man, TMNT and more, as bold filament wall art.
3D Printing Business Name Ideas (and How to Pick One That Lasts)
3D printing business name ideas grouped by style — descriptive, filament-themed, clever, and premium — plus naming principles and how to check a name is free to use.
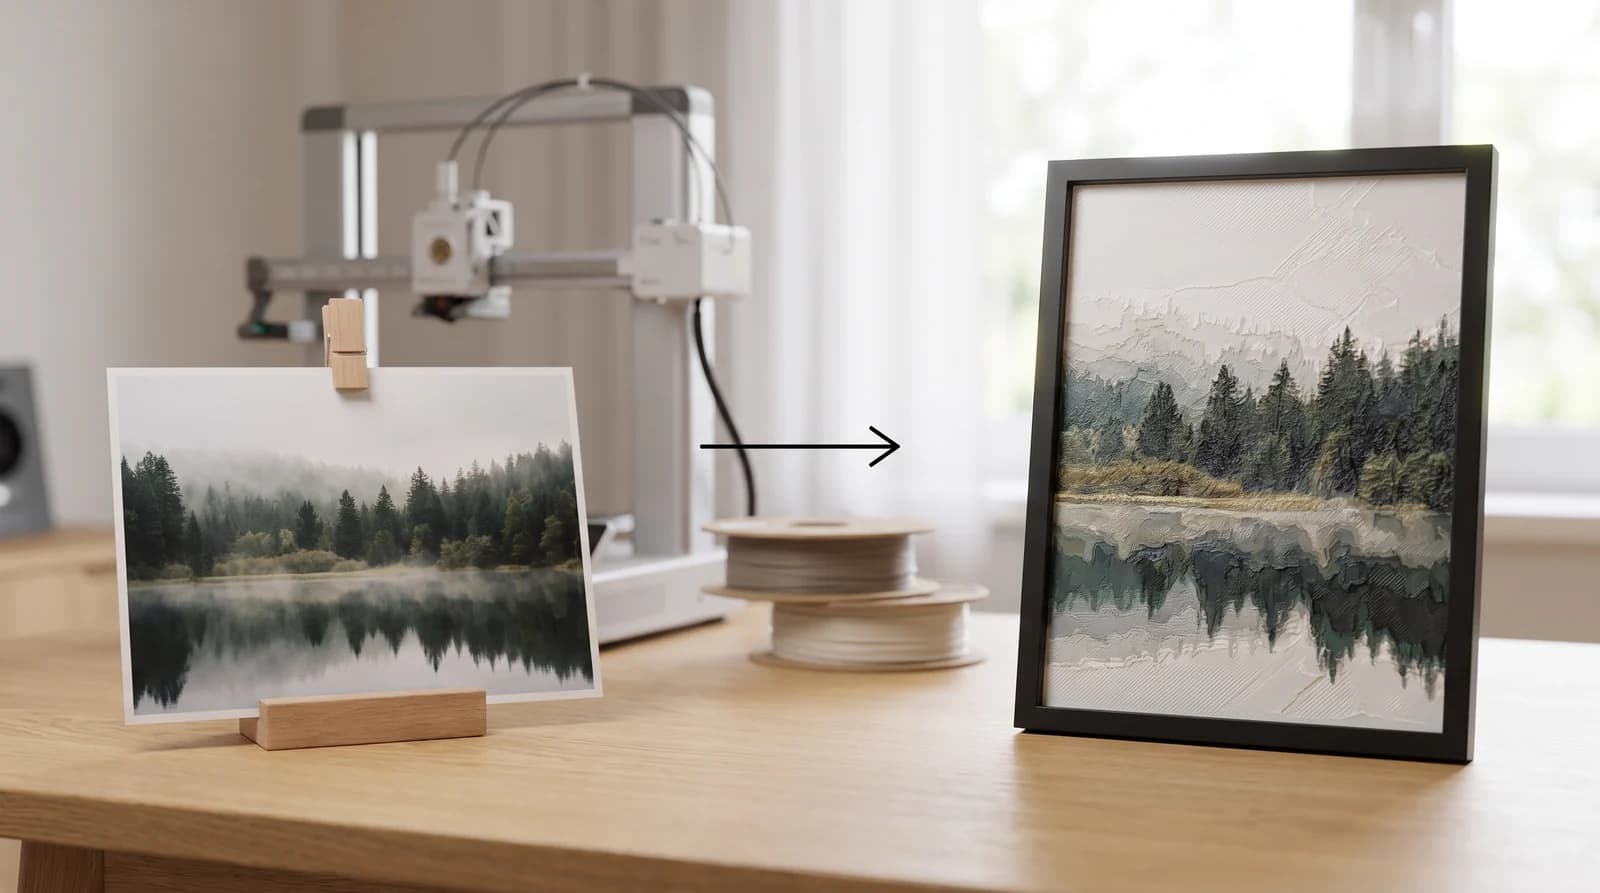
How to Use HueForge: A Software Walkthrough
How to use HueForge step by step — importing an image, setting your filament stack and TD values, tuning layers, reading the preview, and exporting a print file.