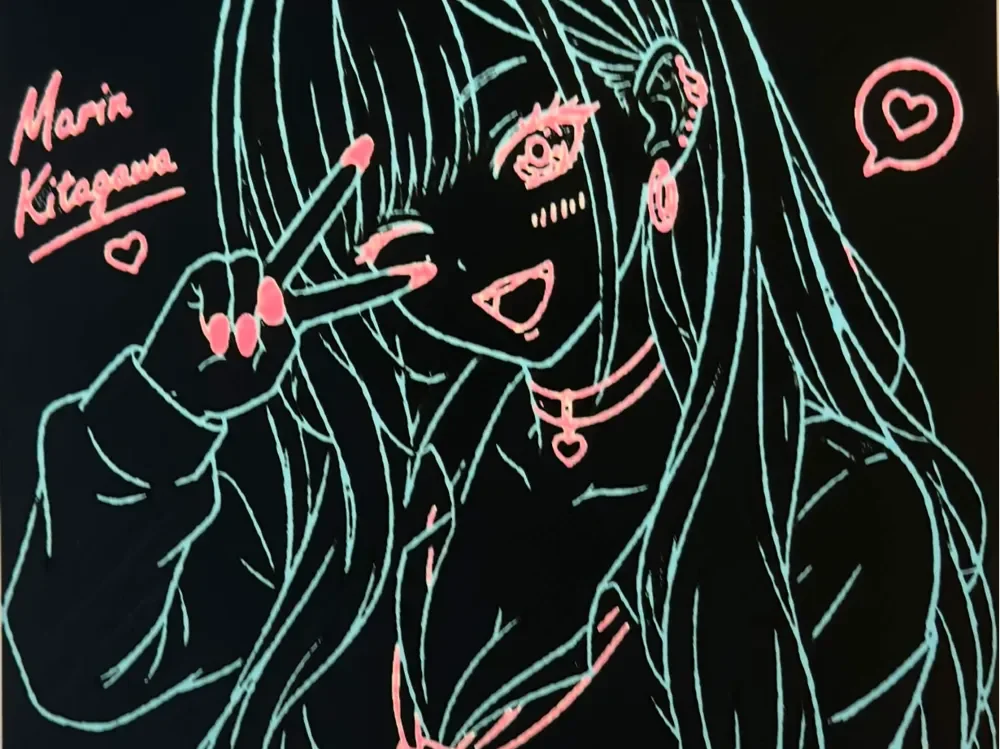
Dress Up Darling - Marin Kitagawa Backlit Lineart
Marin Kitagawa's infectious energy leaps off a jet-black canvas in this stunning backlit lineart tribute to *My Dress-Up Darling*. Teal outlines trace her flowing hair and signature smile while pink accents pop on her nails, choker, and playful peace sign pose. A glowing heart speech bubble and her handwritten name complete this neon-noir portrait that perfectly captures her bold, irresistible personality.
View on MakerWorldRequired Filaments4
Bambu Lab Basic Jade White
Bambu Lab Basic Black
Why filament details may vary
Filament details (brand, color, and TD value) may not exactly match the designer's original specification. In some cases, the designer didn't specify exact filaments and we've matched the closest options we could find. Always check the original listing for full details.
Some filament links are affiliate links — we may earn a small commission at no extra cost to you. Learn more
Sign up to track your filament inventory and check your matches.
Create accountYou Might Also Like

Fan Art of My Hero Academia hero Izuku Midoriya - Deku - Set of 3 bookmarks
by BooneCo3d

Anime Girls hard at work - Fighting for equal screen time and use in books - Set of Bookmarks
by BooneCo3d
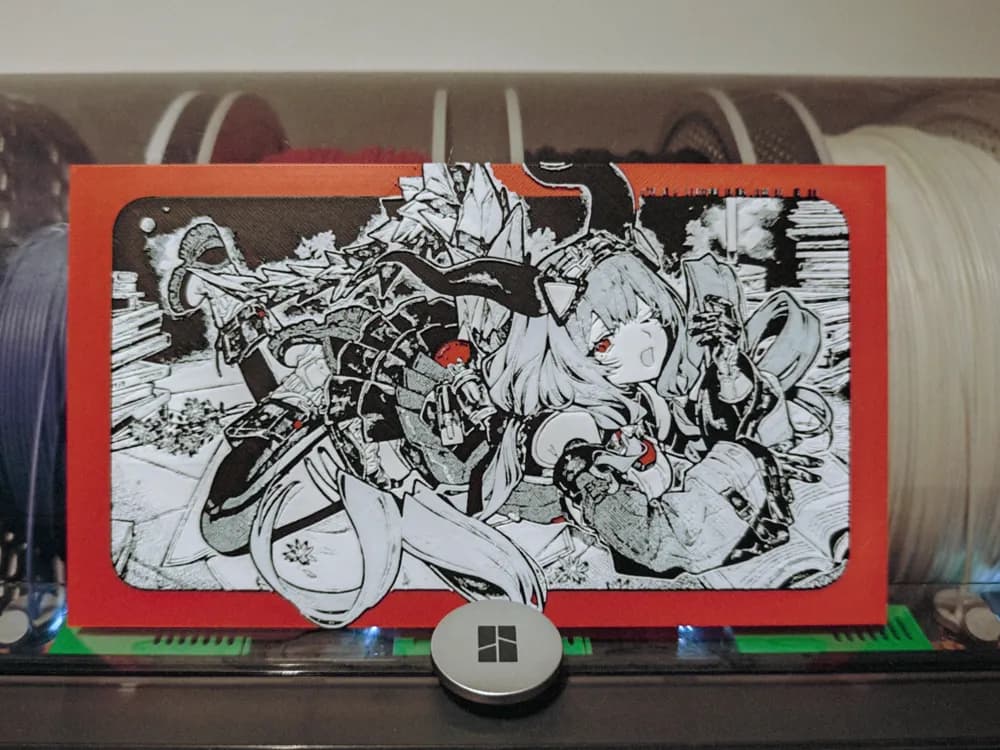
Typhoeus Typhoeus Hueforge - Arknights Endfield
by Razel
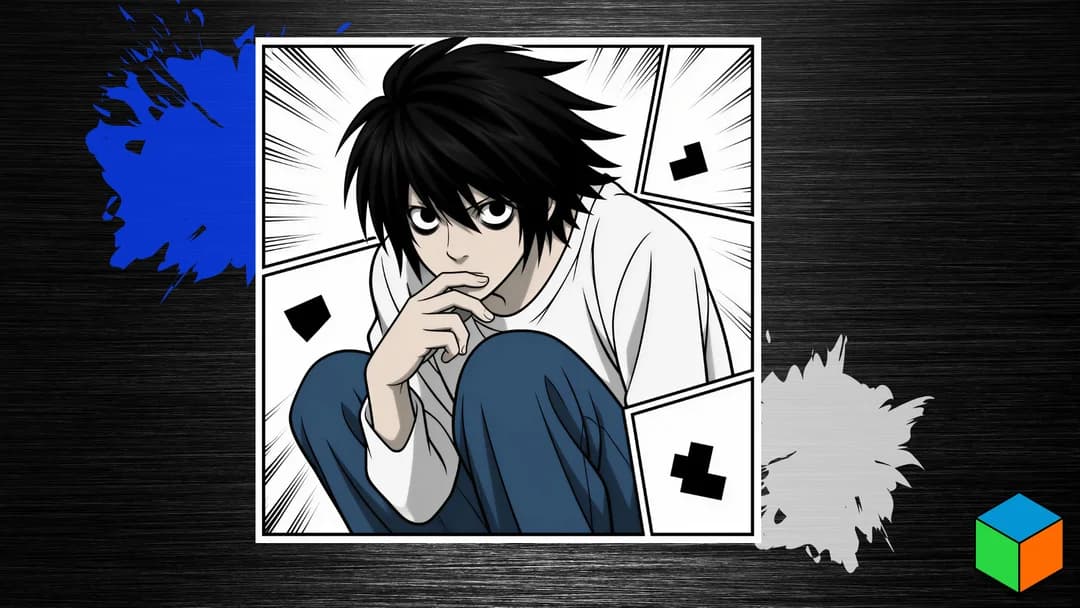
L Is on the Case — September's First Poster
by 3D Prints By Vic
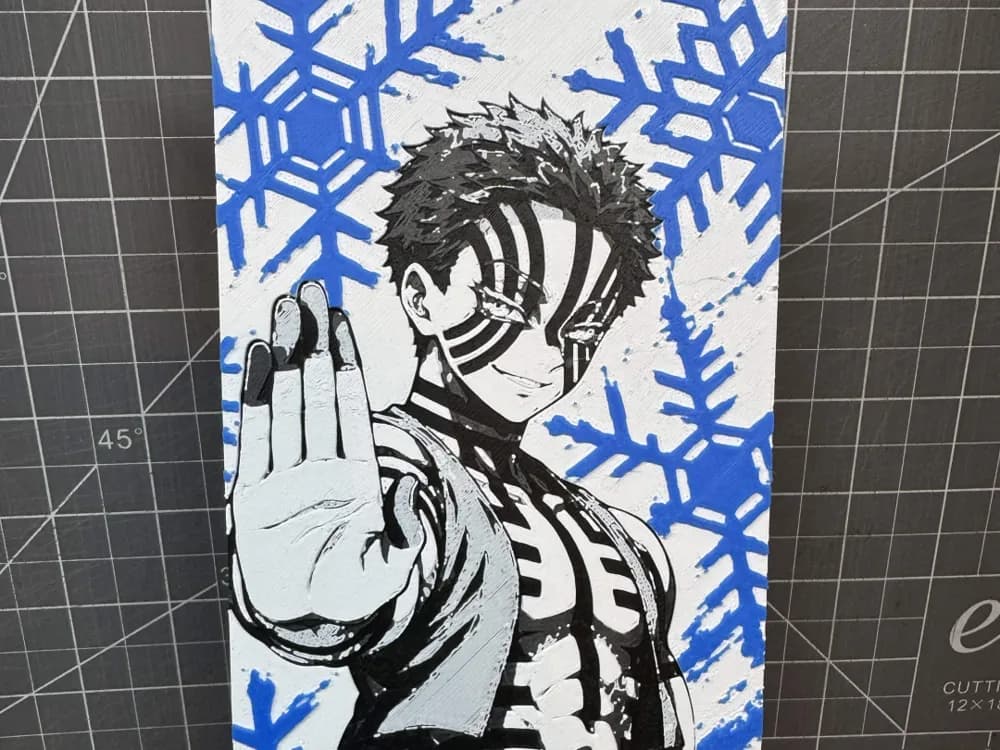
Hueforge of Akaza Upper Moon 3 from Demon Slayer
by SBC Creations
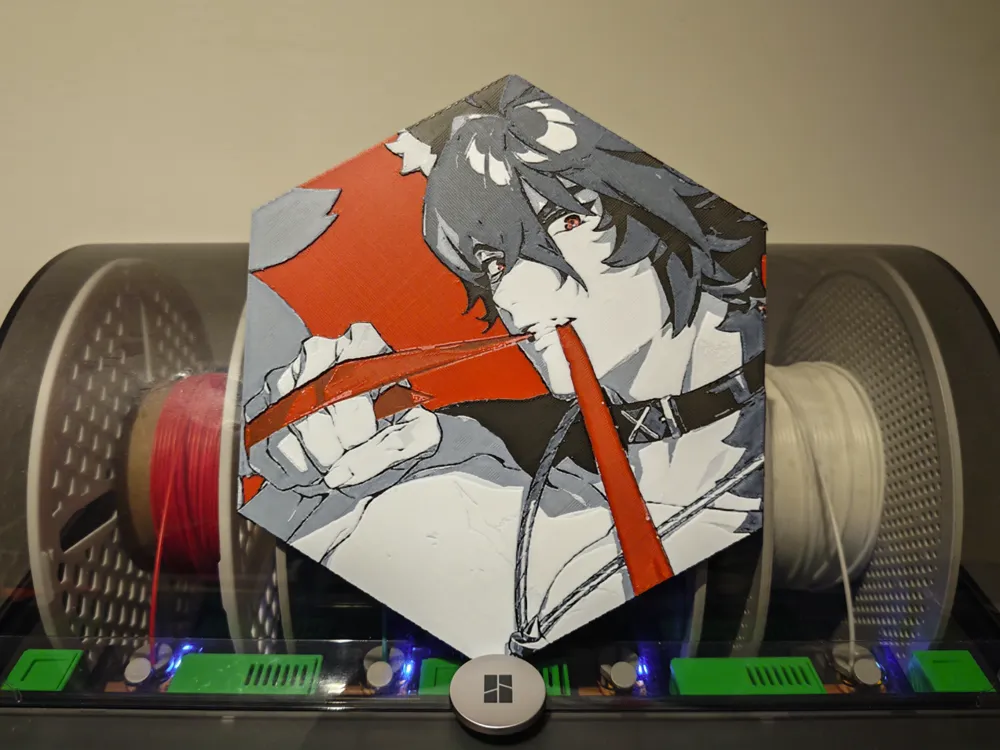
Manato Koma no Masato - Zenless Zone Zero ZZZ
by Razel
Recent Articles
View all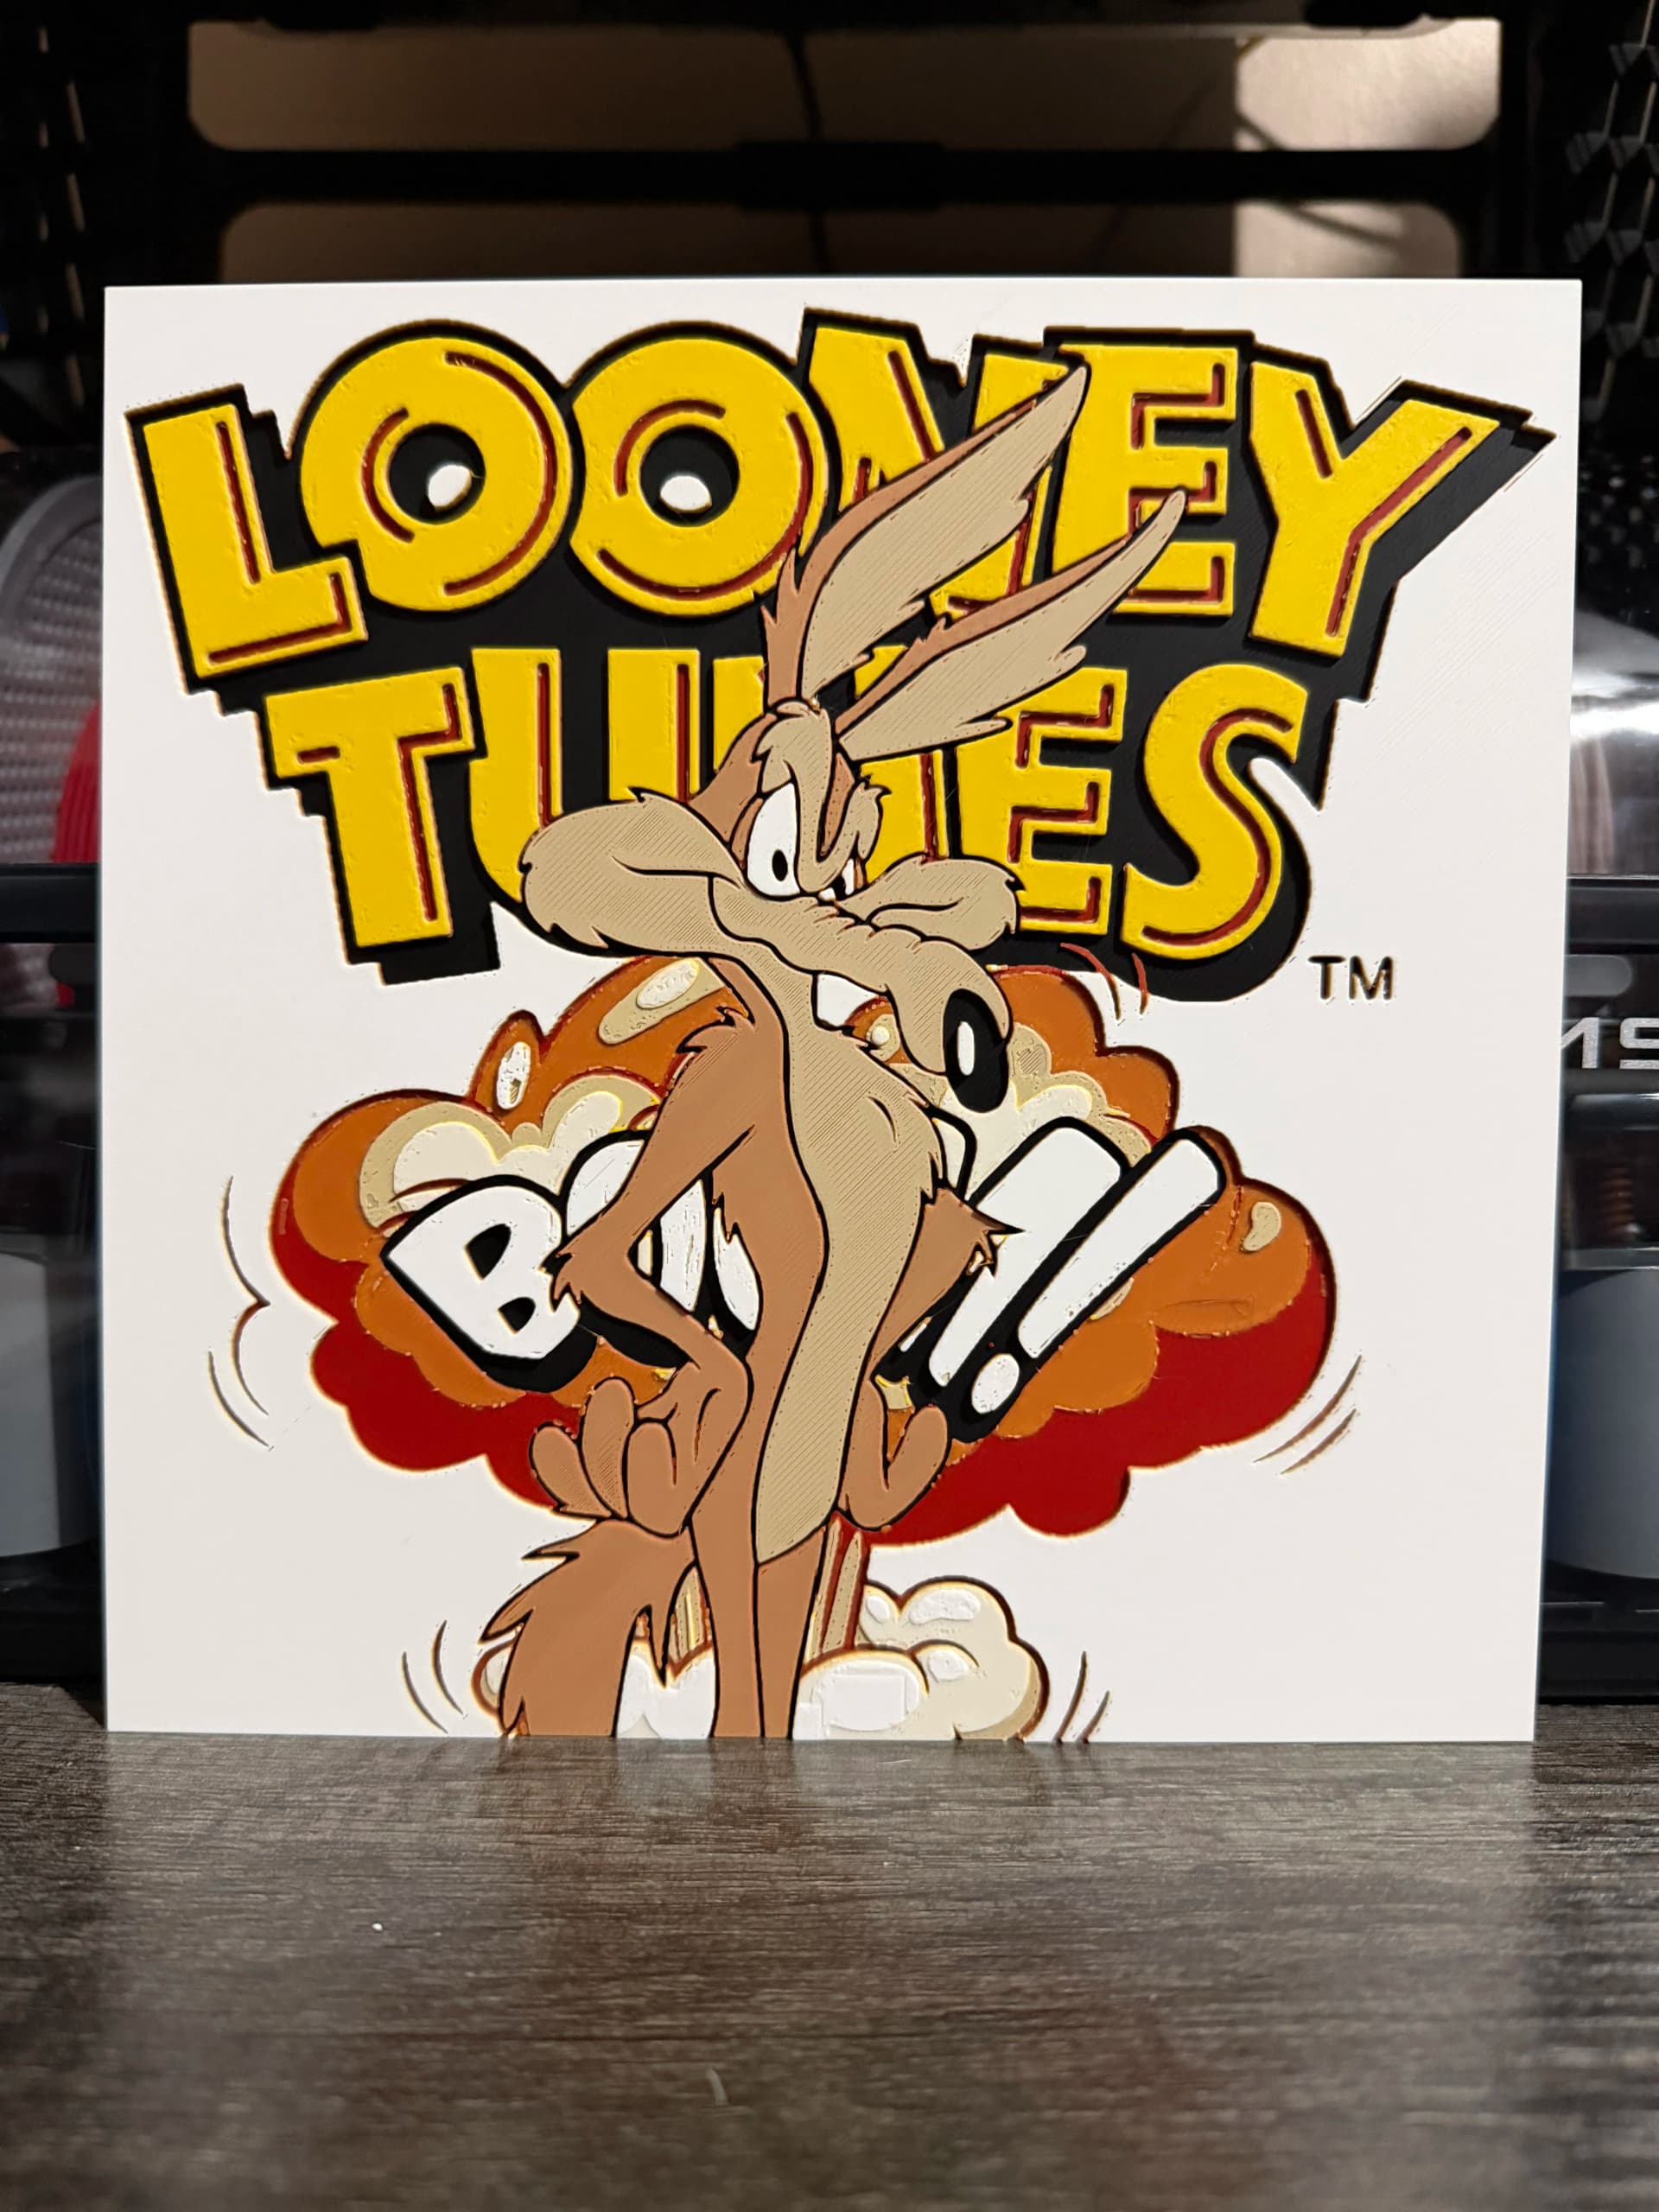
Best Classic Saturday Morning Cartoon STL Files for HueForge
The best classic Saturday morning cartoon STL files for HueForge — Scooby-Doo, Looney Tunes, Transformers, He-Man, TMNT and more, as bold filament wall art.
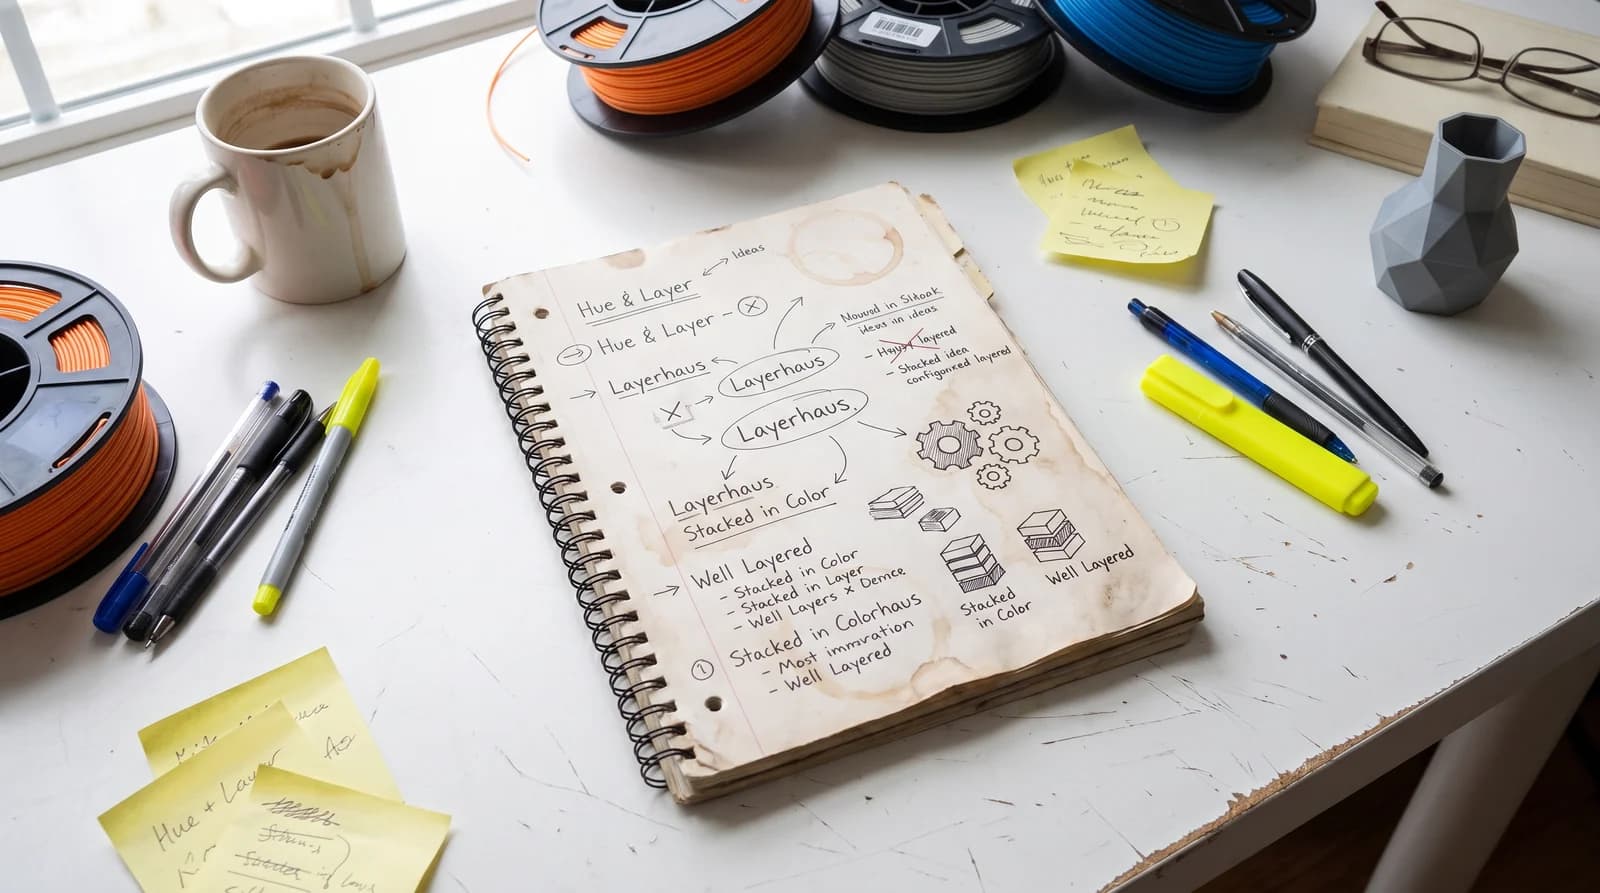
3D Printing Business Name Ideas (and How to Pick One That Lasts)
3D printing business name ideas grouped by style — descriptive, filament-themed, clever, and premium — plus naming principles and how to check a name is free to use.
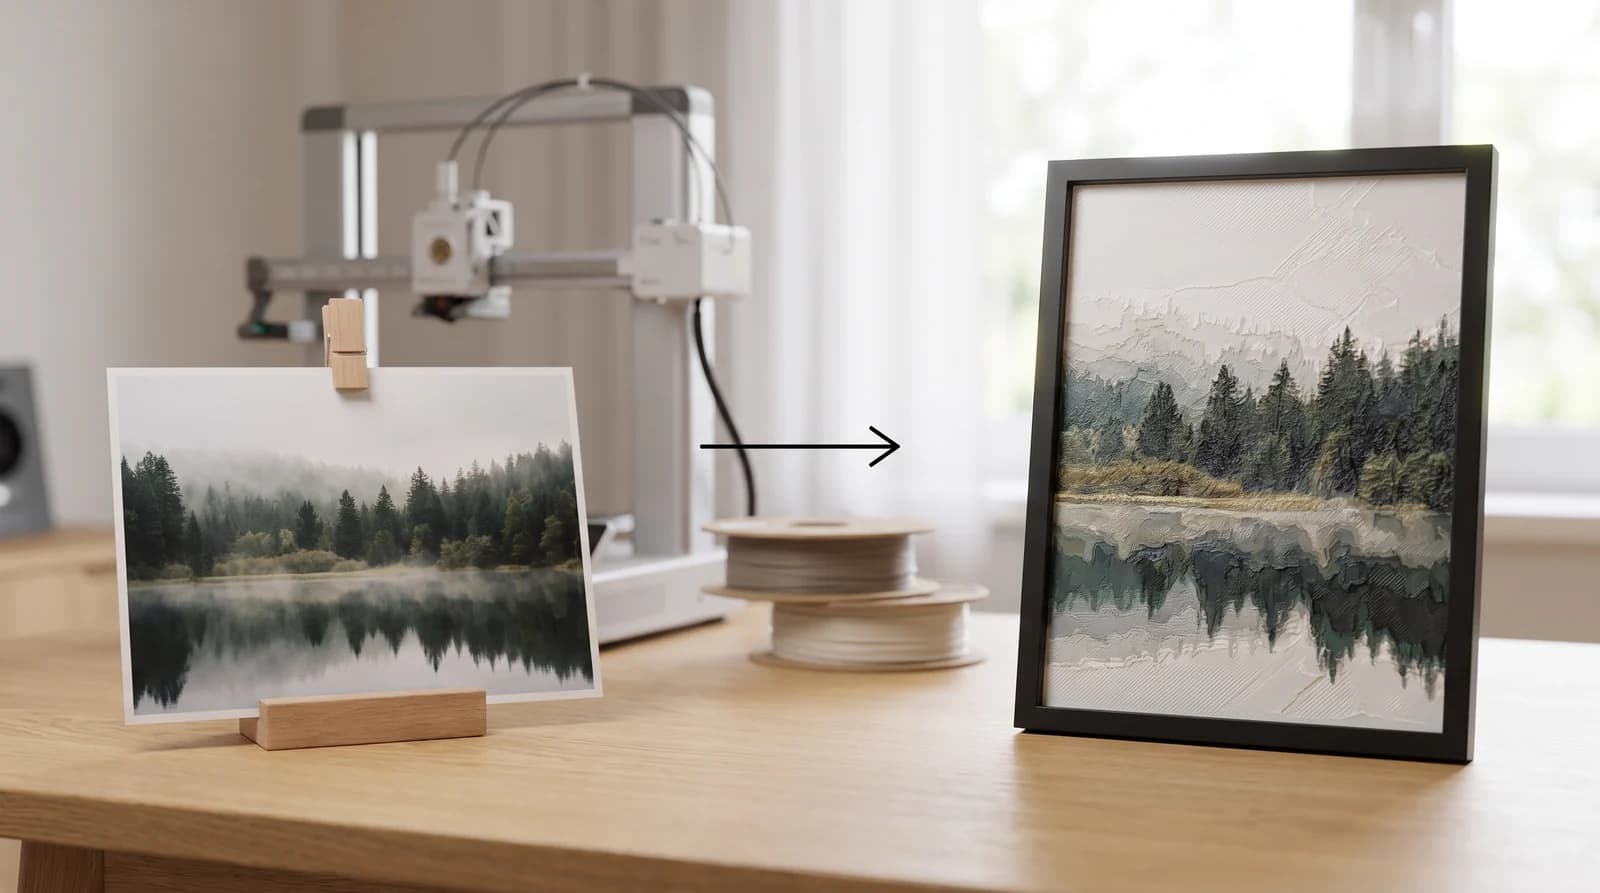
How to Use HueForge: A Software Walkthrough
How to use HueForge step by step — importing an image, setting your filament stack and TD values, tuning layers, reading the preview, and exporting a print file.