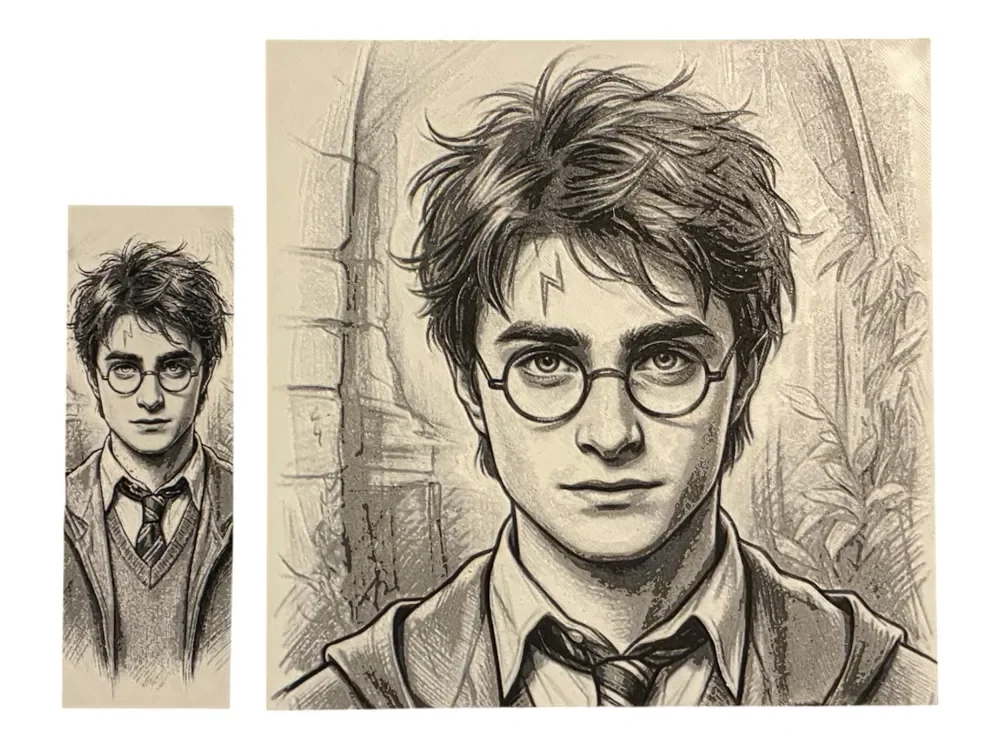
Harry Potter Bookmark – The Boy Who Lived
Rendered in soft graphite tones, The Boy Who Lived gazes steadily from this beautifully composed bookmark — lightning bolt scar visible beneath tousled hair, round glasses framing his determined expression. The SkyLab 3D's pencil-sketch aesthetic captures Harry Potter's iconic look with remarkable depth, while a shadowy Hogwarts backdrop and trailing foliage frame the portrait in moody, atmospheric detail.
View on MakerWorldRequired Filaments5
Bambu Lab Matte Ivory White
Bambu Lab Basic Black
Bambu Lab Basic Dark Gray
Bambu Lab Basic Blue Gray
Bambu Lab Matte Ash Gray
Why filament details may vary
Filament details (brand, color, and TD value) may not exactly match the designer's original specification. In some cases, the designer didn't specify exact filaments and we've matched the closest options we could find. Always check the original listing for full details.
Some filament links are affiliate links — we may earn a small commission at no extra cost to you. Learn more
Sign up to track your filament inventory and check your matches.
Create accountYou Might Also Like
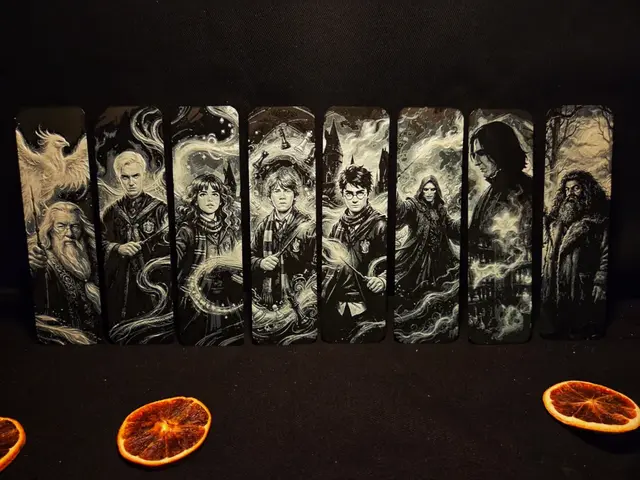
Harry Potter inspired bookmark set
by EternalDesigns3D
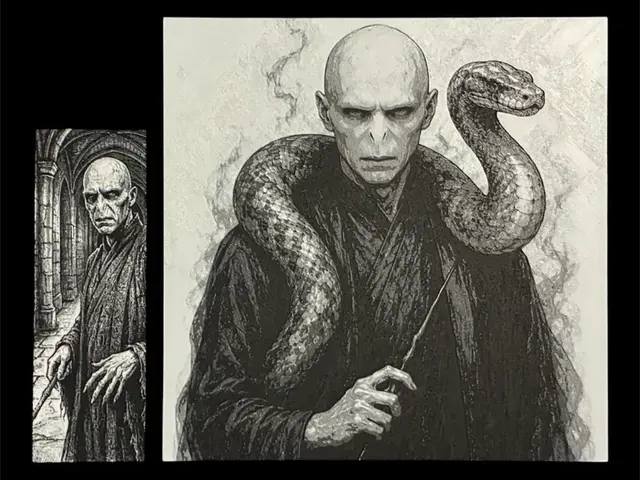
Voldemort Bookmark – The Dark Lord
by The SkyLab 3D
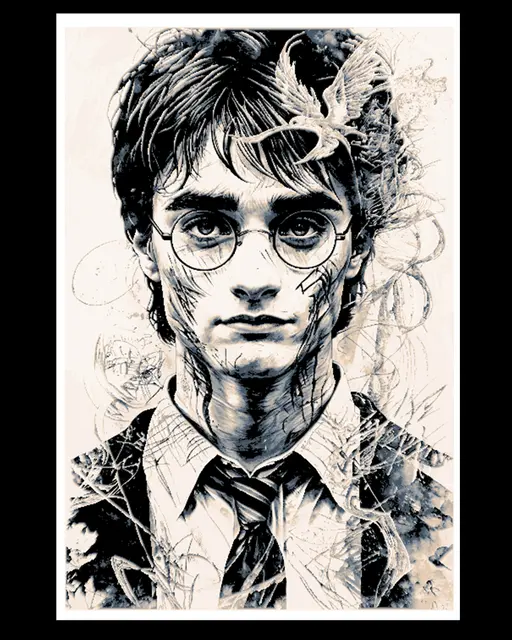
Fan art drawing/sketch the Boy Wizard - Harry - Wall art hueforge
by BooneCo3d
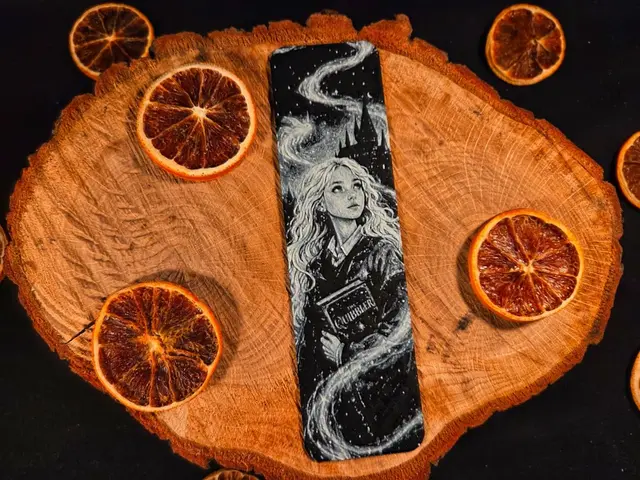
Luna Lovegood, Harry Potter inspired bookmark
by EternalDesigns3D
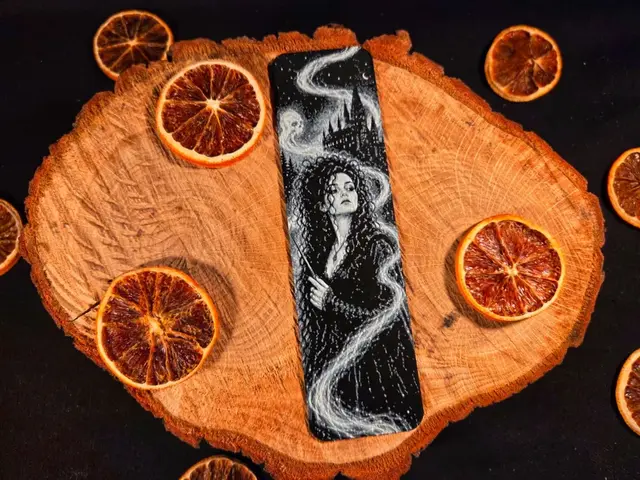
Bellatrix Lestrange Harry Potter inspired bookmark
by EternalDesigns3D
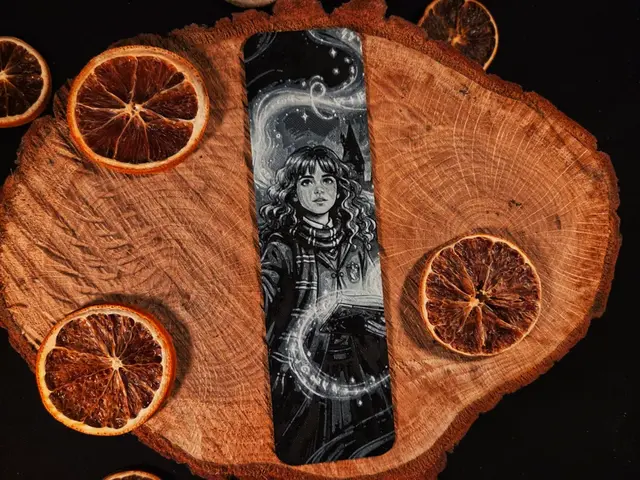
Hermione Granger, Harry Potter inspired bookmark
by EternalDesigns3D
Recent Articles
View all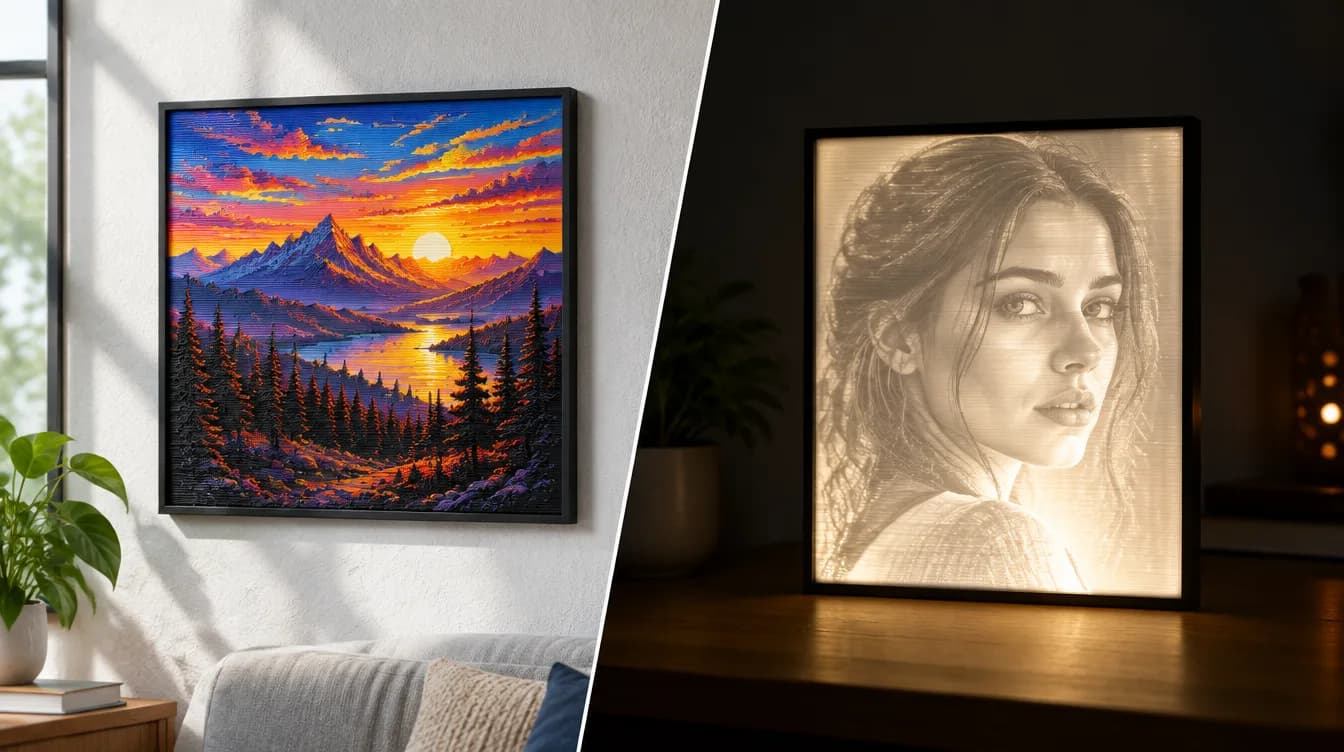
HueForge vs Lithophane: What's the Difference (and Which Should You Print)?
HueForge vs lithophane, explained: how each turns a photo into a print, the real differences in color, lighting, difficulty and cost, and when to choose one over the other.
Best 3D Printed Gifts for Everyone on Your List — Made with HueForge
The best 3D printed gifts for everyone on your list, made with HueForge — custom pet and portrait art, ornaments and gift tags, bookmarks, and fandom prints matched to the recipient, plus how to turn gift requests into income.
Best Christmas 3D Prints for HueForge: Ornaments, Santa & Holiday Movie Posters
The Christmas 3D prints worth making as HueForge filament paintings — tree ornaments, Santa and snowmen, holiday movie posters, festive fandom crossovers, and gift tags, grouped by theme.