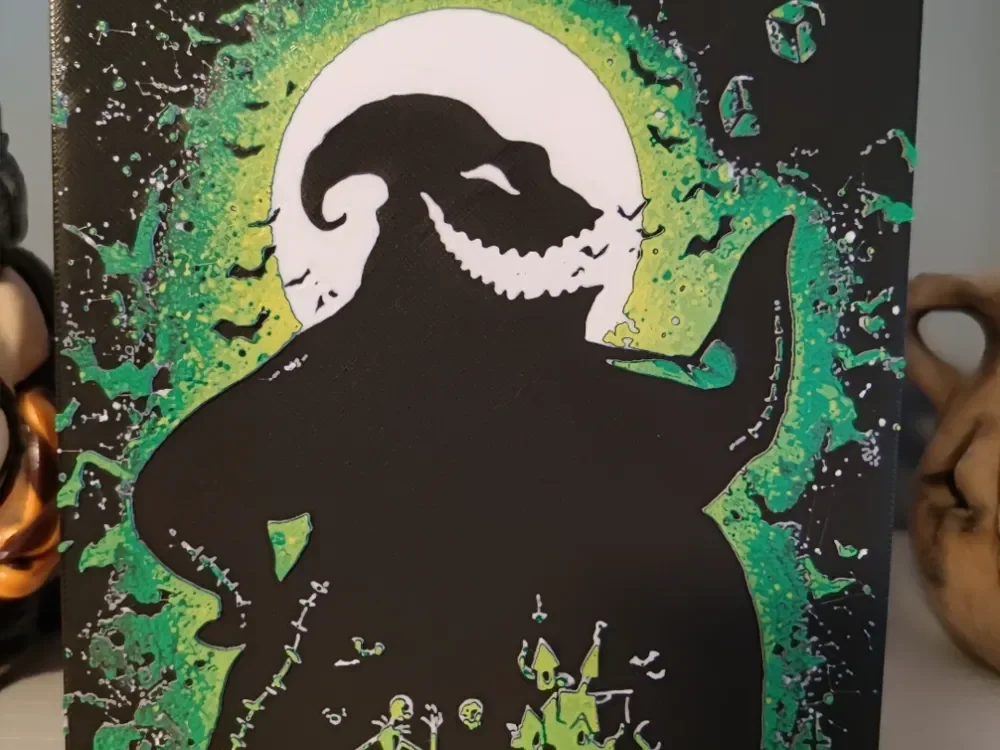
Hueforge Boogeyman nightmare before Christmas
by Litolunar
No description provided by the designer.
View on MakerWorldRequired Filaments4
Bambu Lab Basic Black
Bambu Lab Basic Jade White
Bambu Lab Basic Yellow
Bambu Lab BambuLab Green
Why filament details may vary
Filament details (brand, color, and TD value) may not exactly match the designer's original specification. In some cases, the designer didn't specify exact filaments and we've matched the closest options we could find. Always check the original listing for full details.
Some filament links are affiliate links — we may earn a small commission at no extra cost to you. Learn more
Sign up to track your filament inventory and check your matches.
Create accountYou Might Also Like

Christmas Special - Nightmare Before Christmas Jack and Sally Christmas Clockface - Great Gift Idea
by BooneCo3d
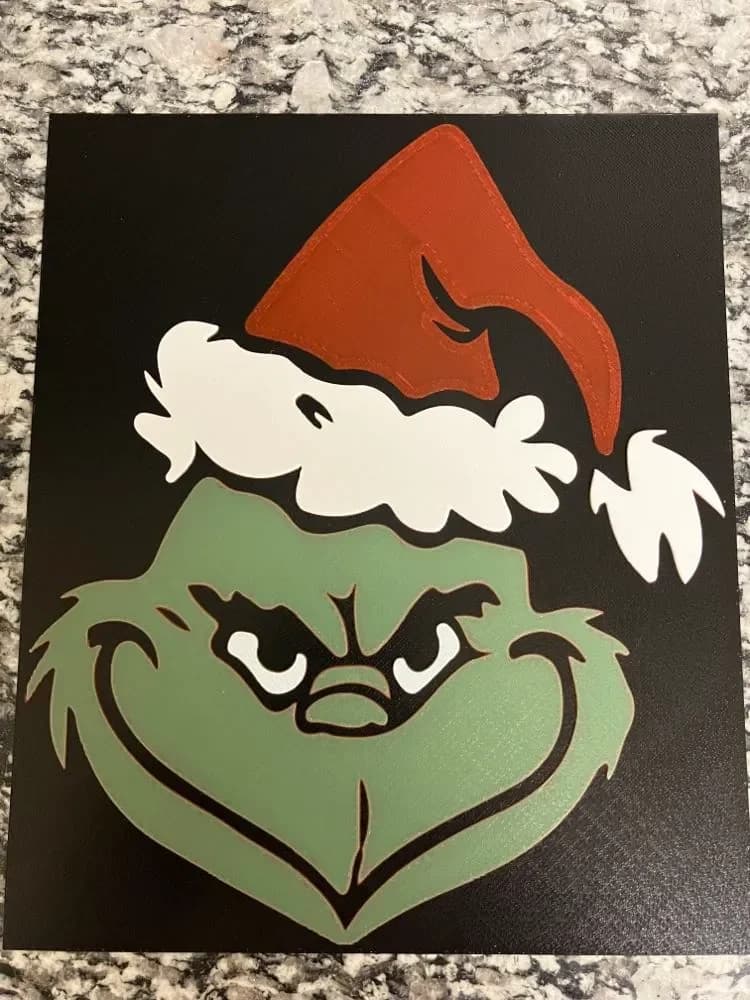
The Grinch (hueForge Print)
by Houston713Texan
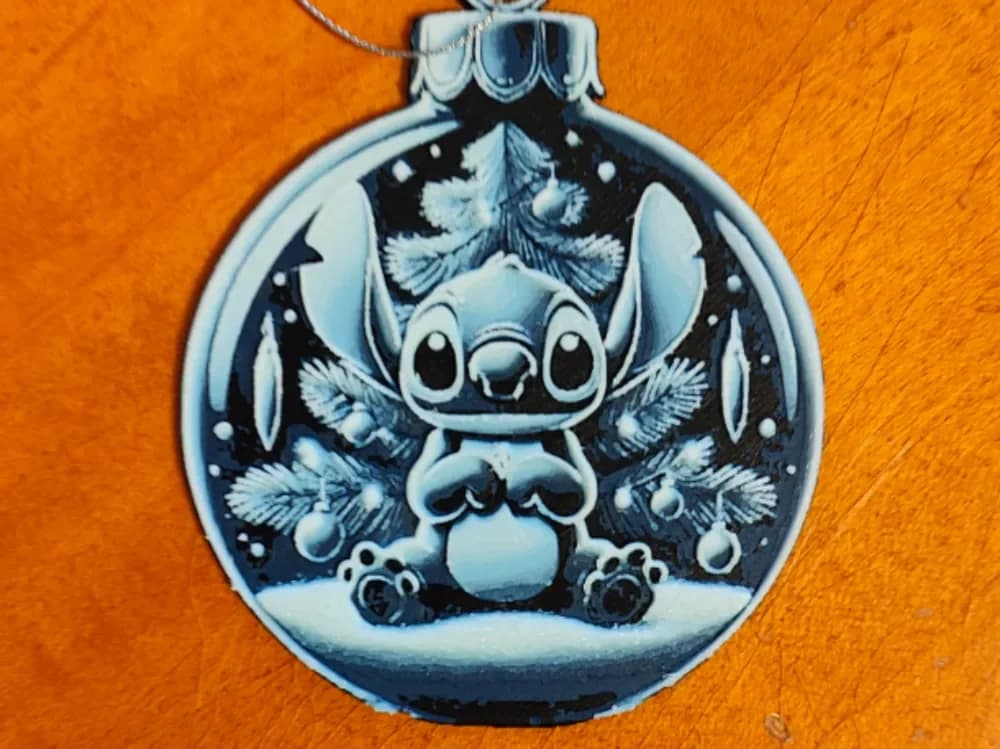
Stitch Christmas Ornament Bauble - 4 Colours
by Sarge
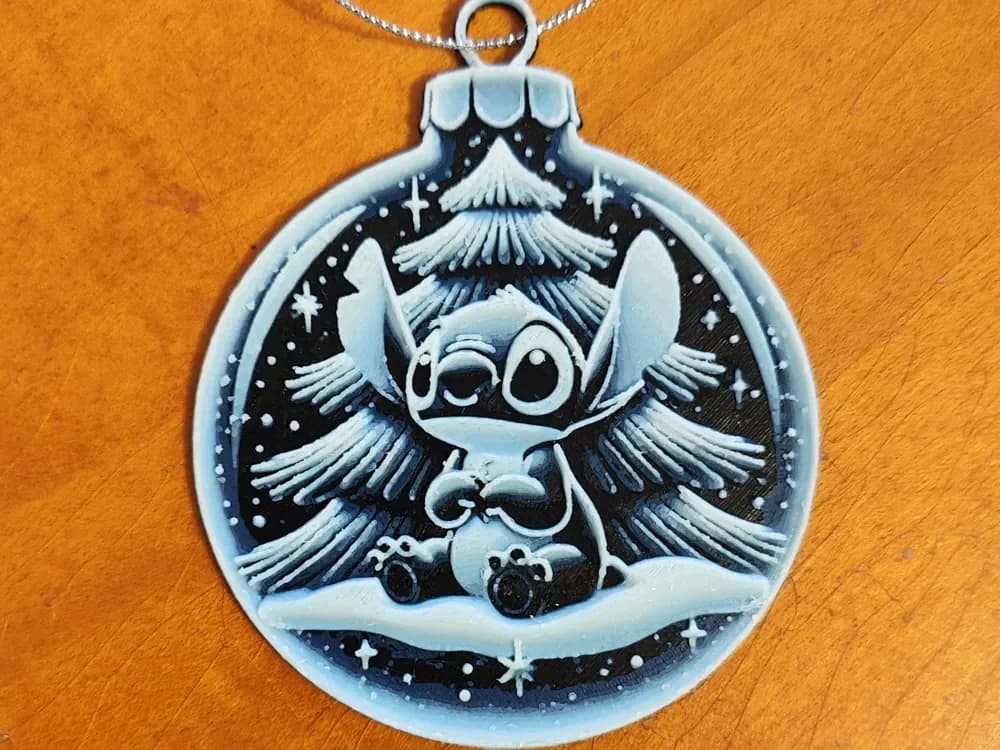
Stitch Christmas Tree Ornament Decoration Bauble
by Sarge

Jack Skellington Christmas Ornament - Yin and Yang
by Sarge
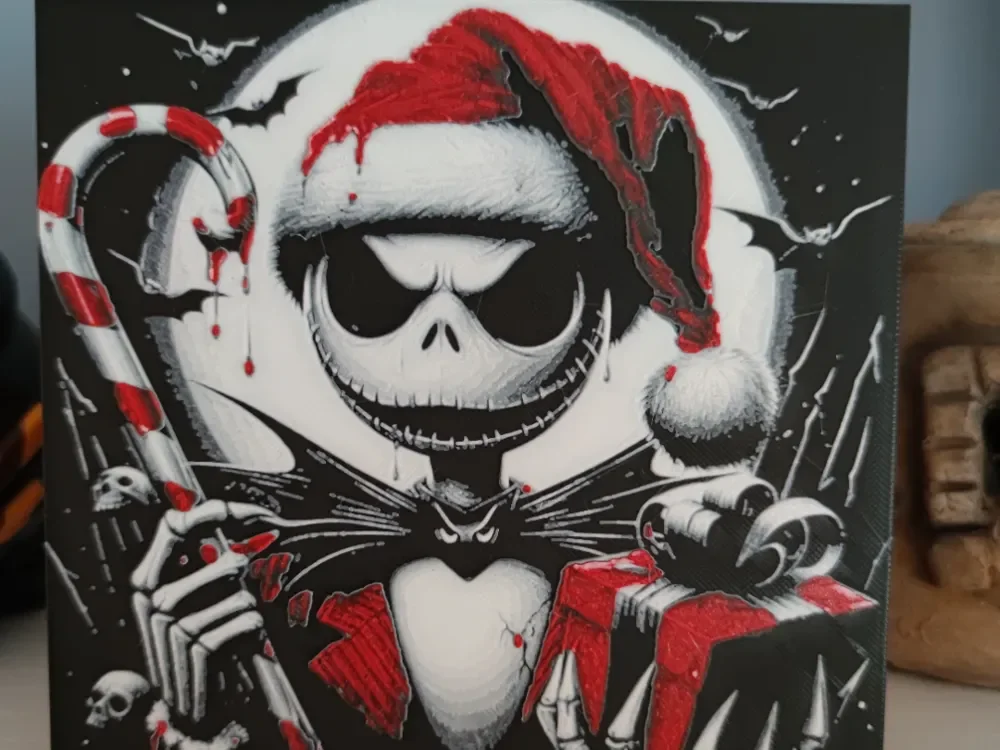
Hueforge Jack Skellington
by Litolunar
Recent Articles
View all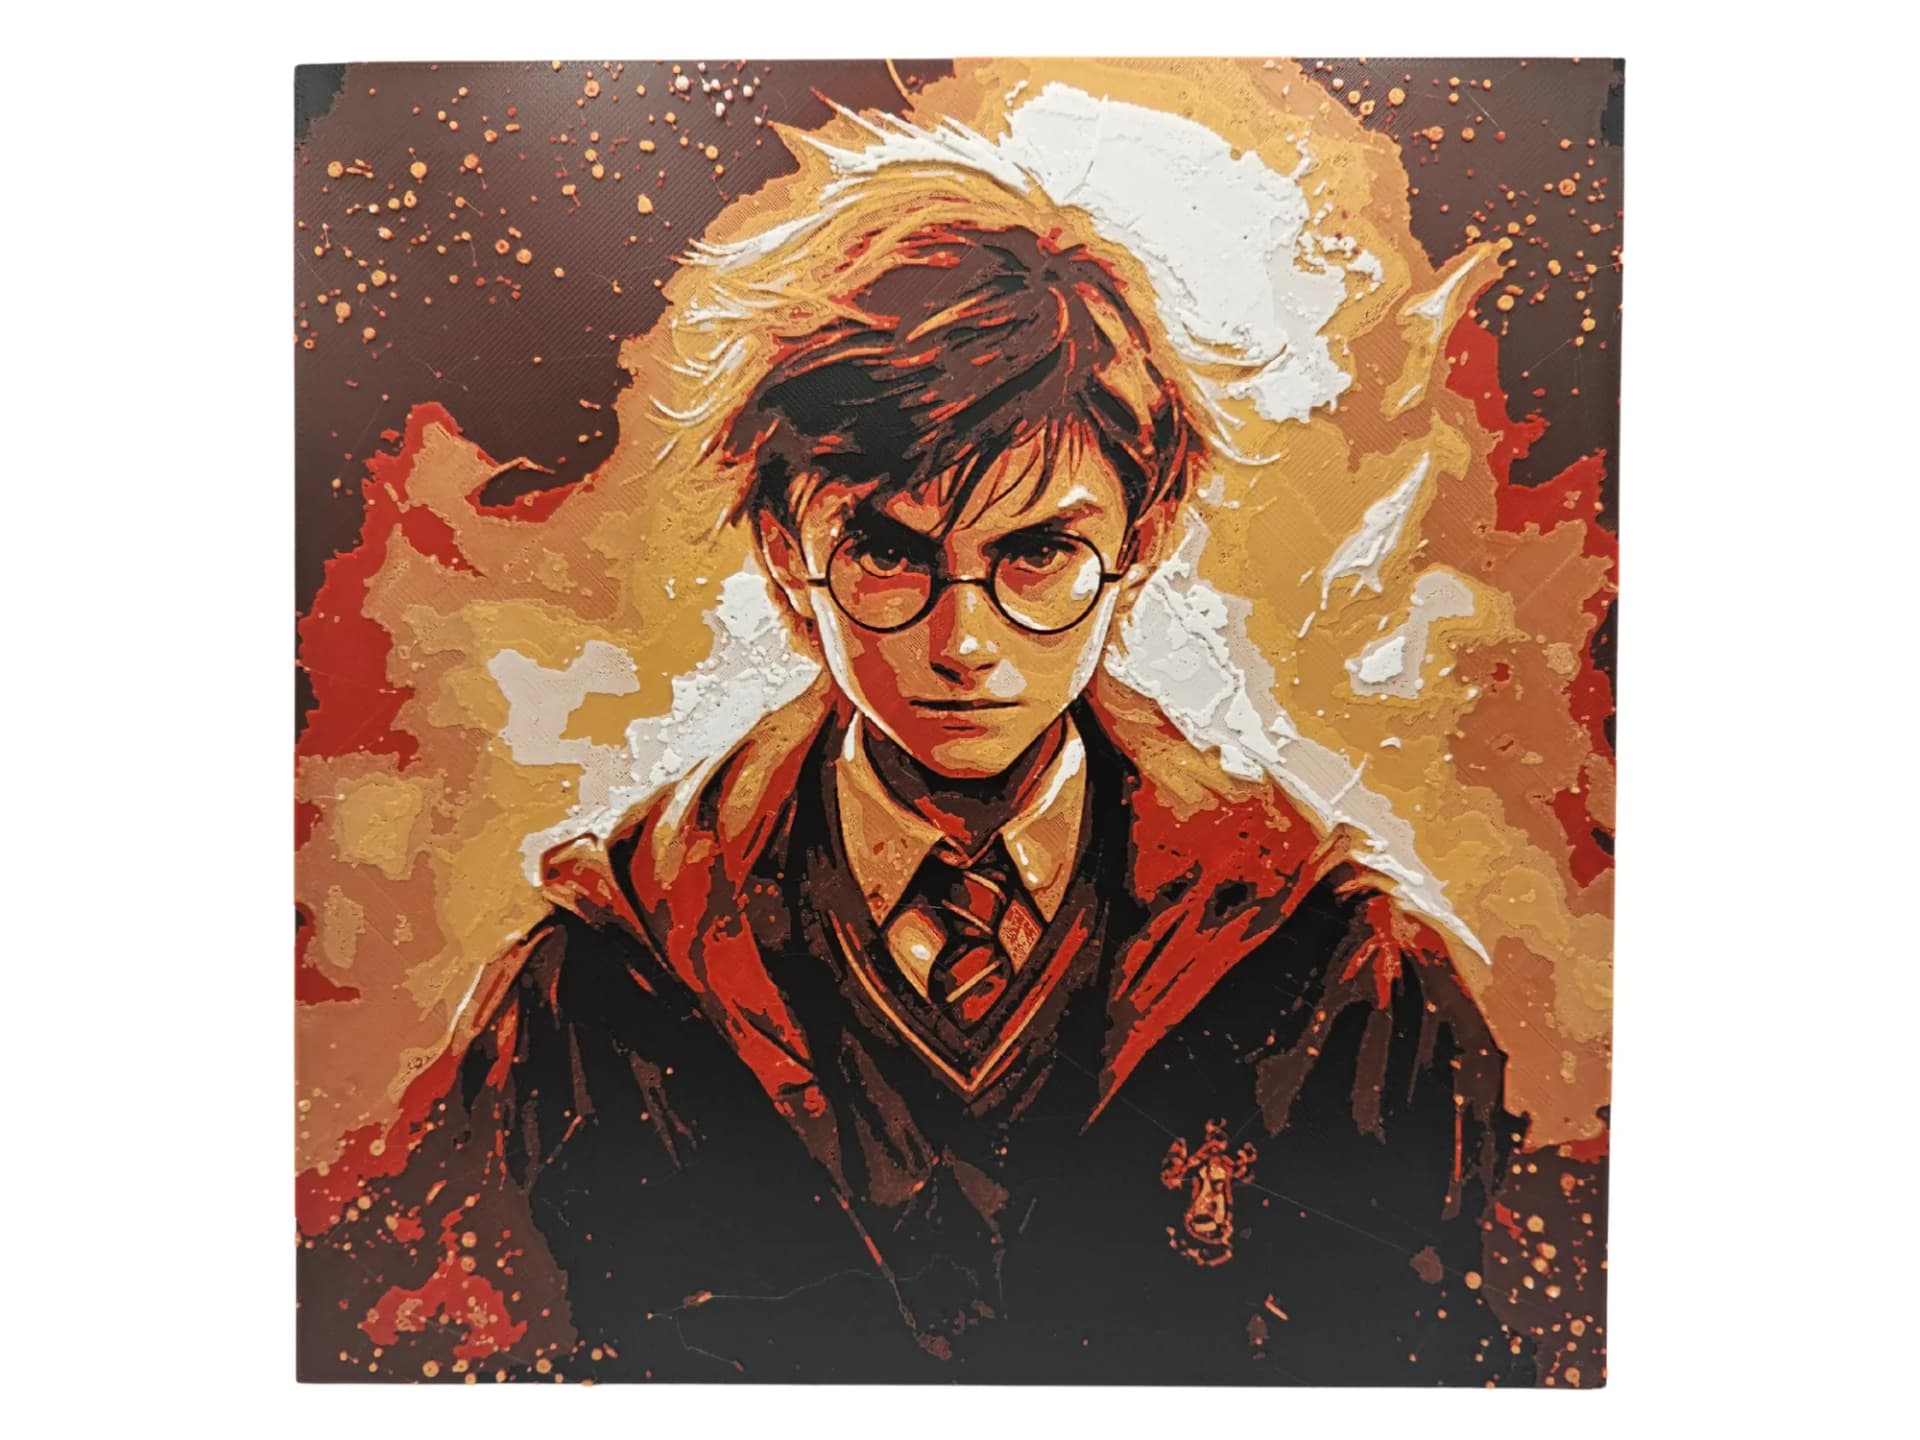
Best Harry Potter 3D Prints for HueForge: Hogwarts, Patronuses & the Deathly Hallows
The Harry Potter 3D prints worth making as HueForge filament paintings — Hogwarts and house crests, the Deathly Hallows, patronuses, and bookmarks, with the catalog's take on each.
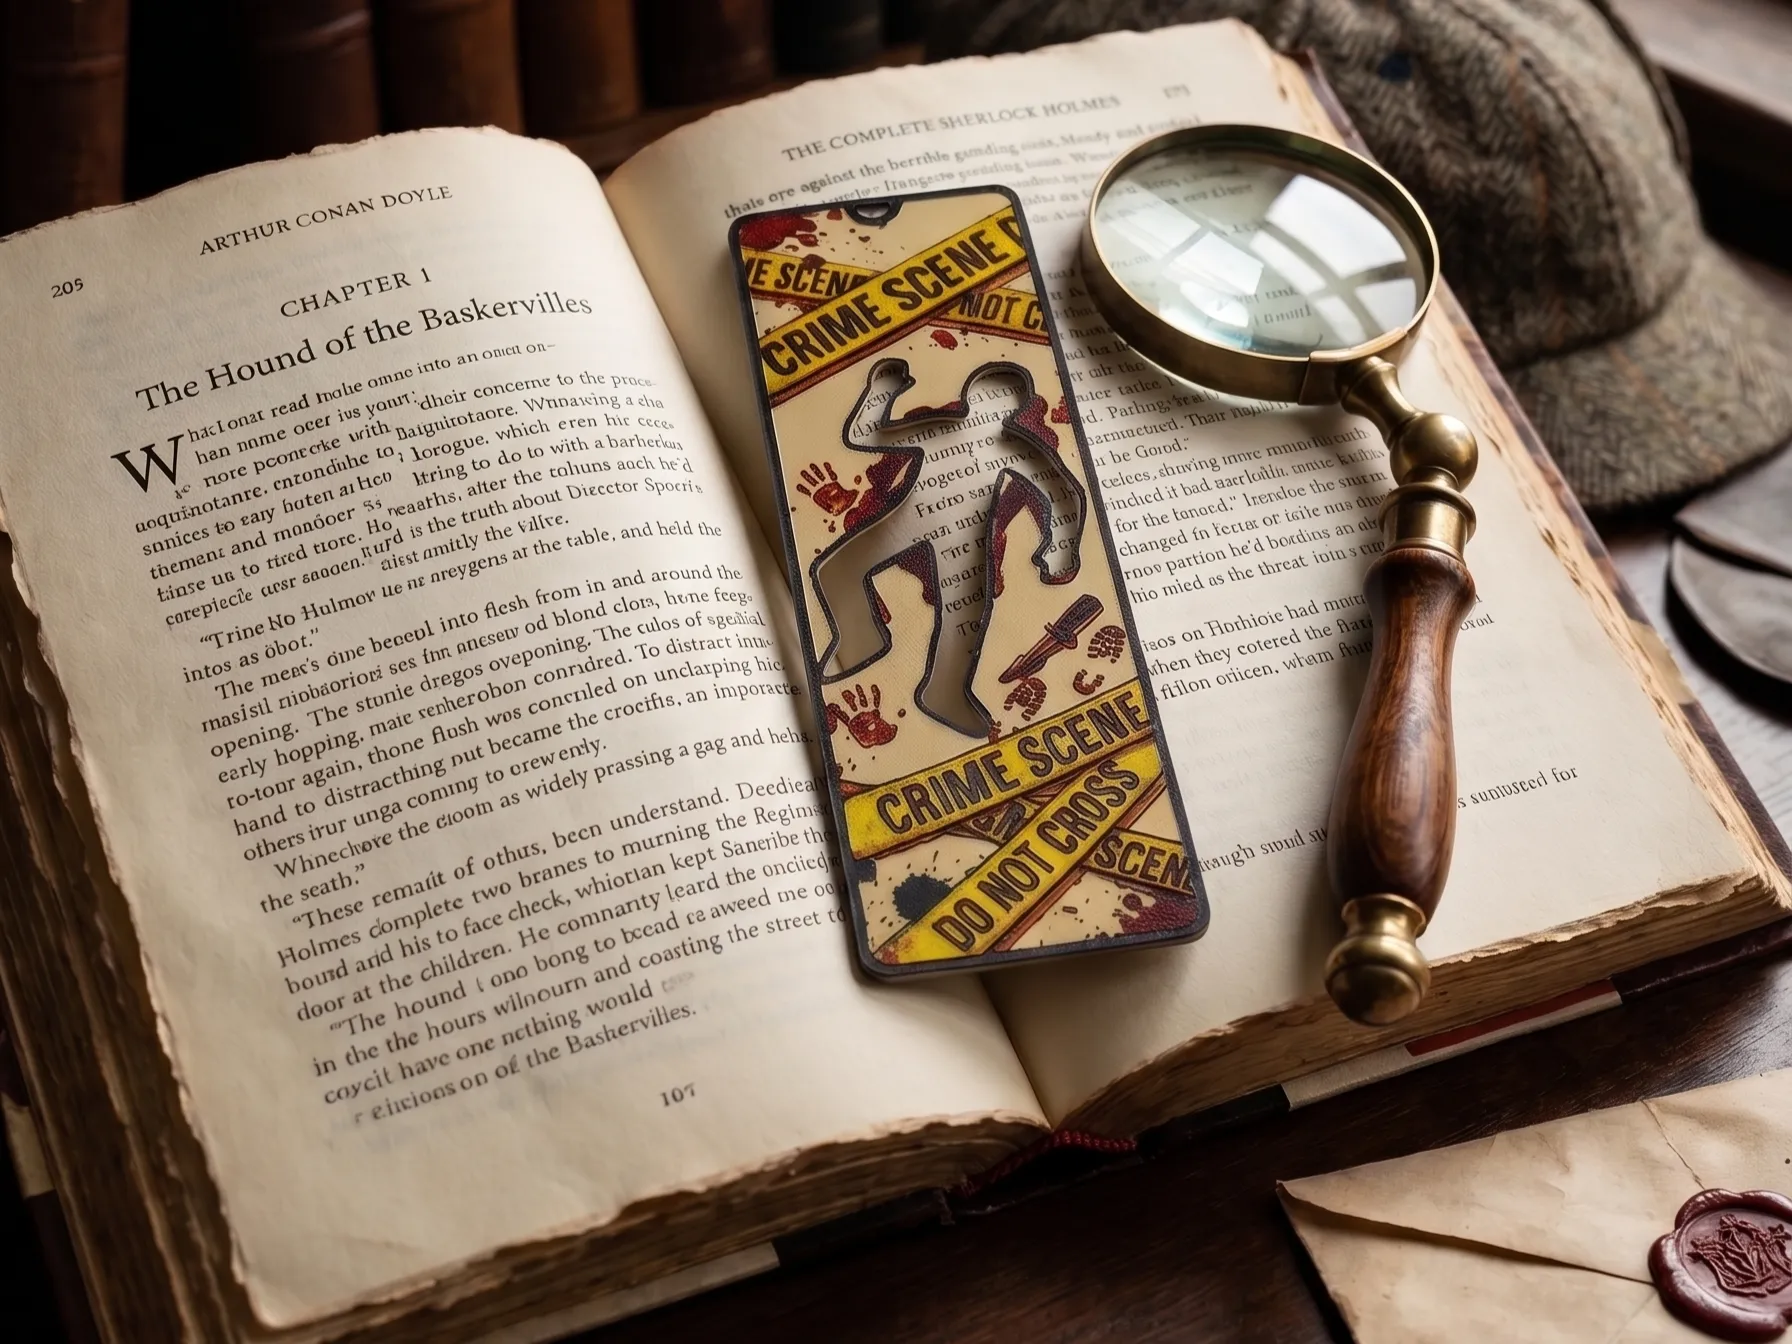
Best 3D Printed Bookmarks for HueForge: Fandom, Dragons, Animals & More
The 3D printed bookmarks worth printing as HueForge filament paintings — fandom, dragon, animal, floral, and gothic designs, and why they make the ideal first print.
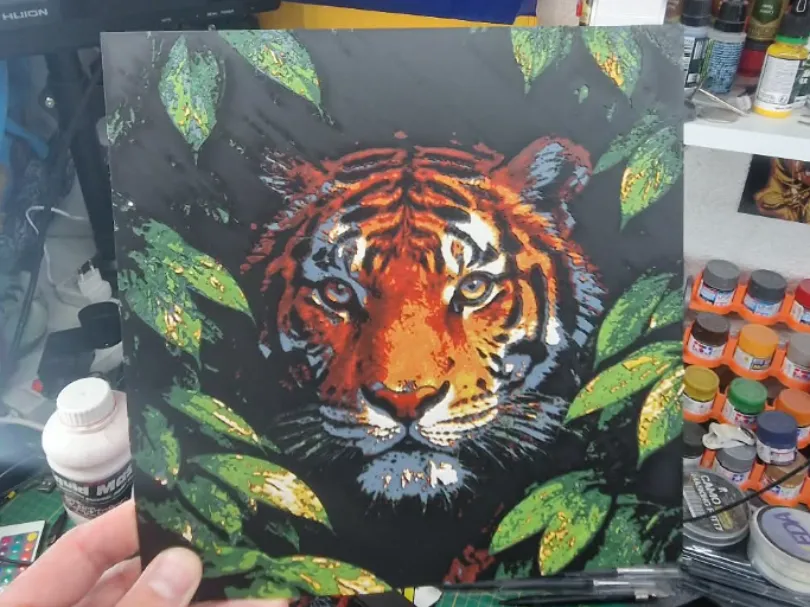
Best 3D Printed Animals for HueForge: Cats, Dogs, Birds & Wildlife
The 3D printed animals worth printing as HueForge filament paintings — cats, dogs, birds, wildlife, and ocean life, with the position the catalog takes on each.