
Liberty Bell Eagle Coin hueforge print
by Thadius
Soaring wings and cracked Liberty Bell converge in Thadius's striking patriotic medallion, commemorating America's 250th anniversary spanning 1776 to 2026. Deep black backgrounds make the rich gold eagle and laurel wreaths pop dramatically, while a pop of red and blue energizes the shield at center. The motto "E Pluribus Unum" arcs below in classic engraved style, evoking the weight of ceremonial coinage.
View on MakerWorldRequired Filaments4
Bambu Lab Basic Black
Bambu Lab Basic Gold
Bambu Lab Basic Jade White
Bambu Lab Basic Maroon Red
Why filament details may vary
Filament details (brand, color, and TD value) may not exactly match the designer's original specification. In some cases, the designer didn't specify exact filaments and we've matched the closest options we could find. Always check the original listing for full details.
Some filament links are affiliate links — we may earn a small commission at no extra cost to you. Learn more
Sign up to track your filament inventory and check your matches.
Create accountYou Might Also Like
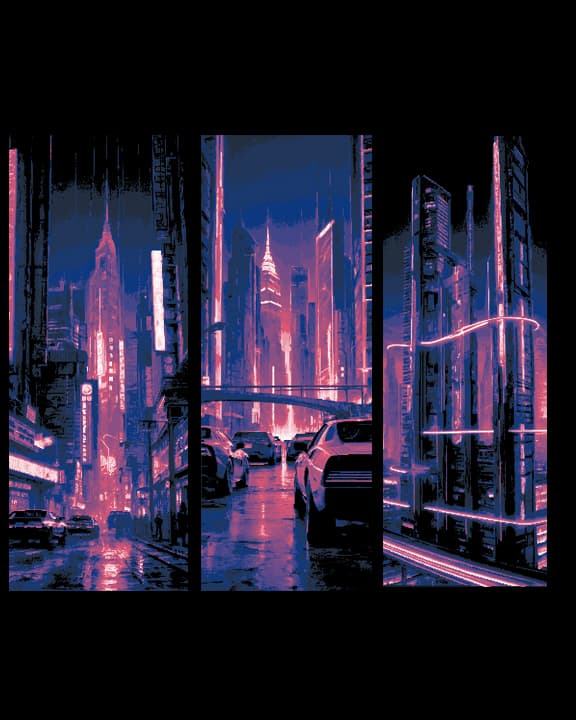
The Bright Lights of Neon City - Set of 3 Bookmarks
by BooneCo3d

The great room of potions and remedies - Bookmark set
by BooneCo3d

Lighthouse in a bulb - twist on reality - Set of bookmarks
by BooneCo3d
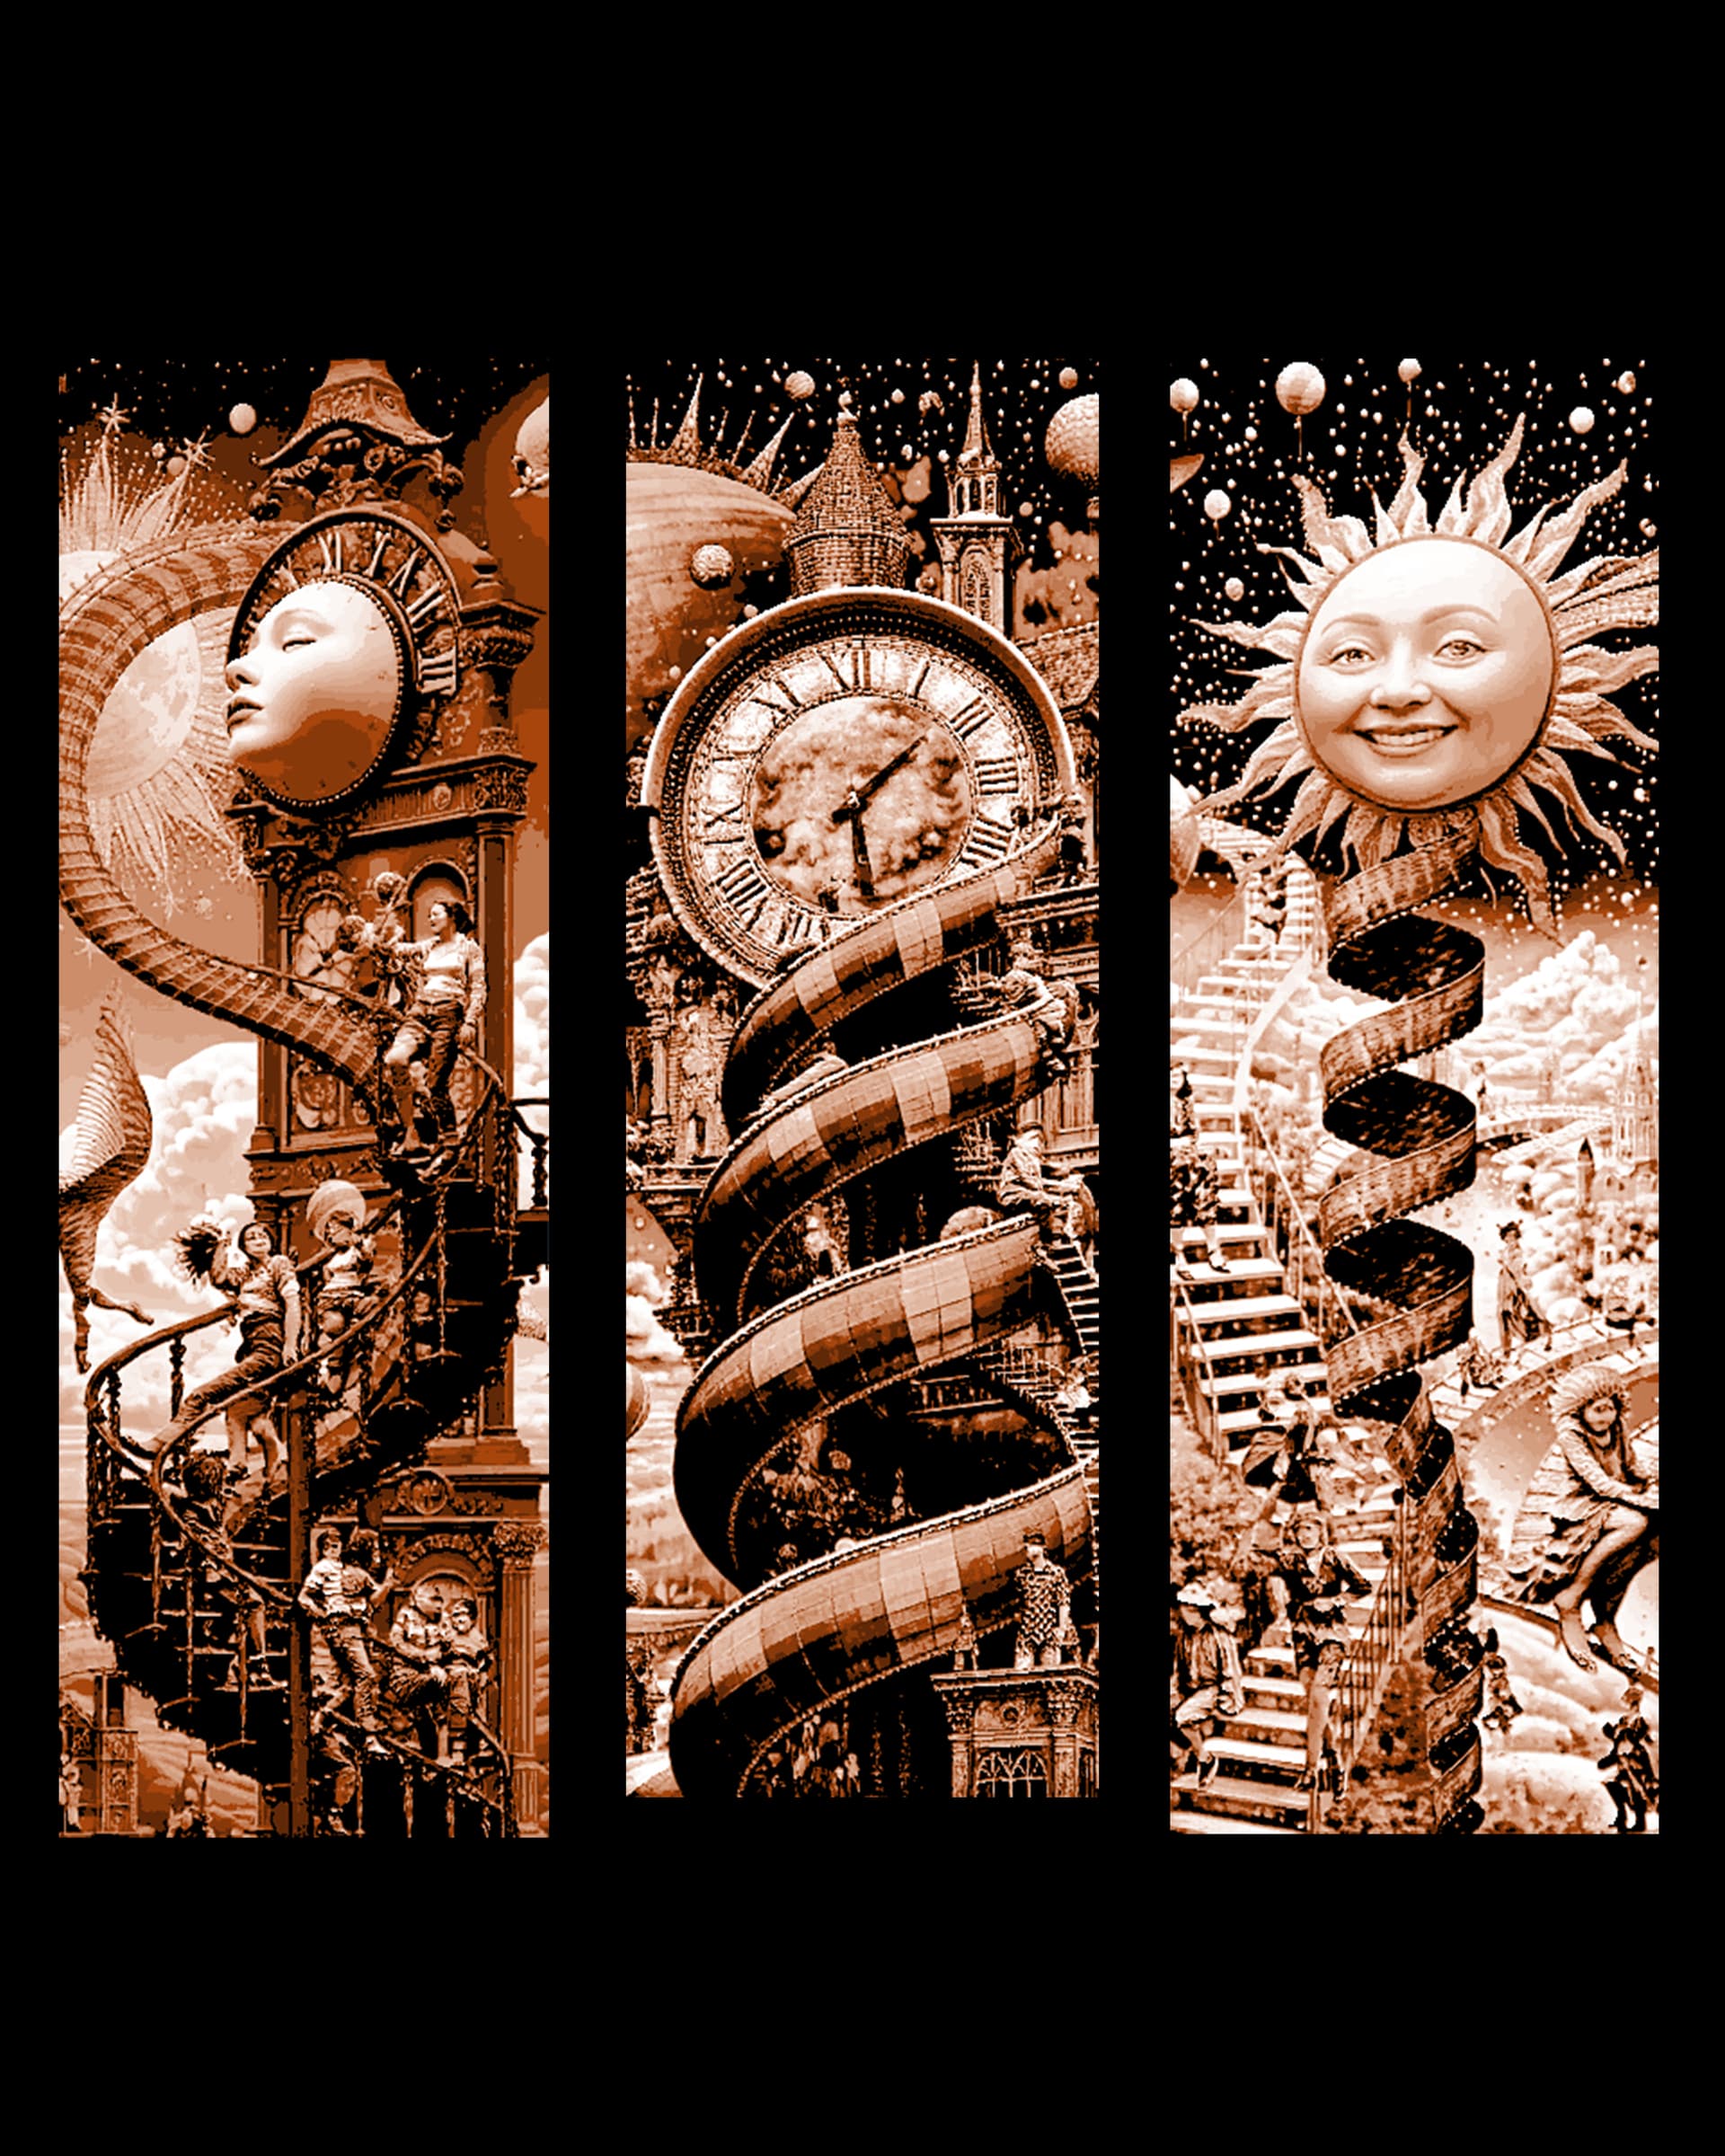
The crazy world of the overloaded mind - clocktowers in the middle world set of bookmark
by BooneCo3d

Grateful Dead "Shakedown Street" Album - Hueforge
by Lumpy3D
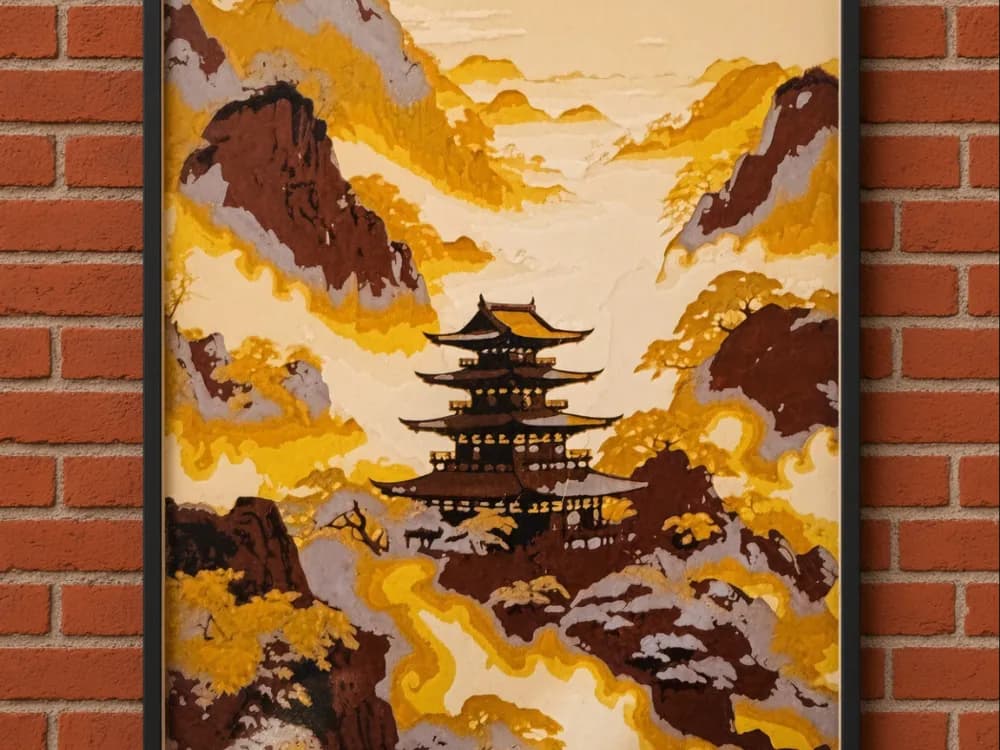
Country Japanes
by World of Glt 3d
Recent Articles
View all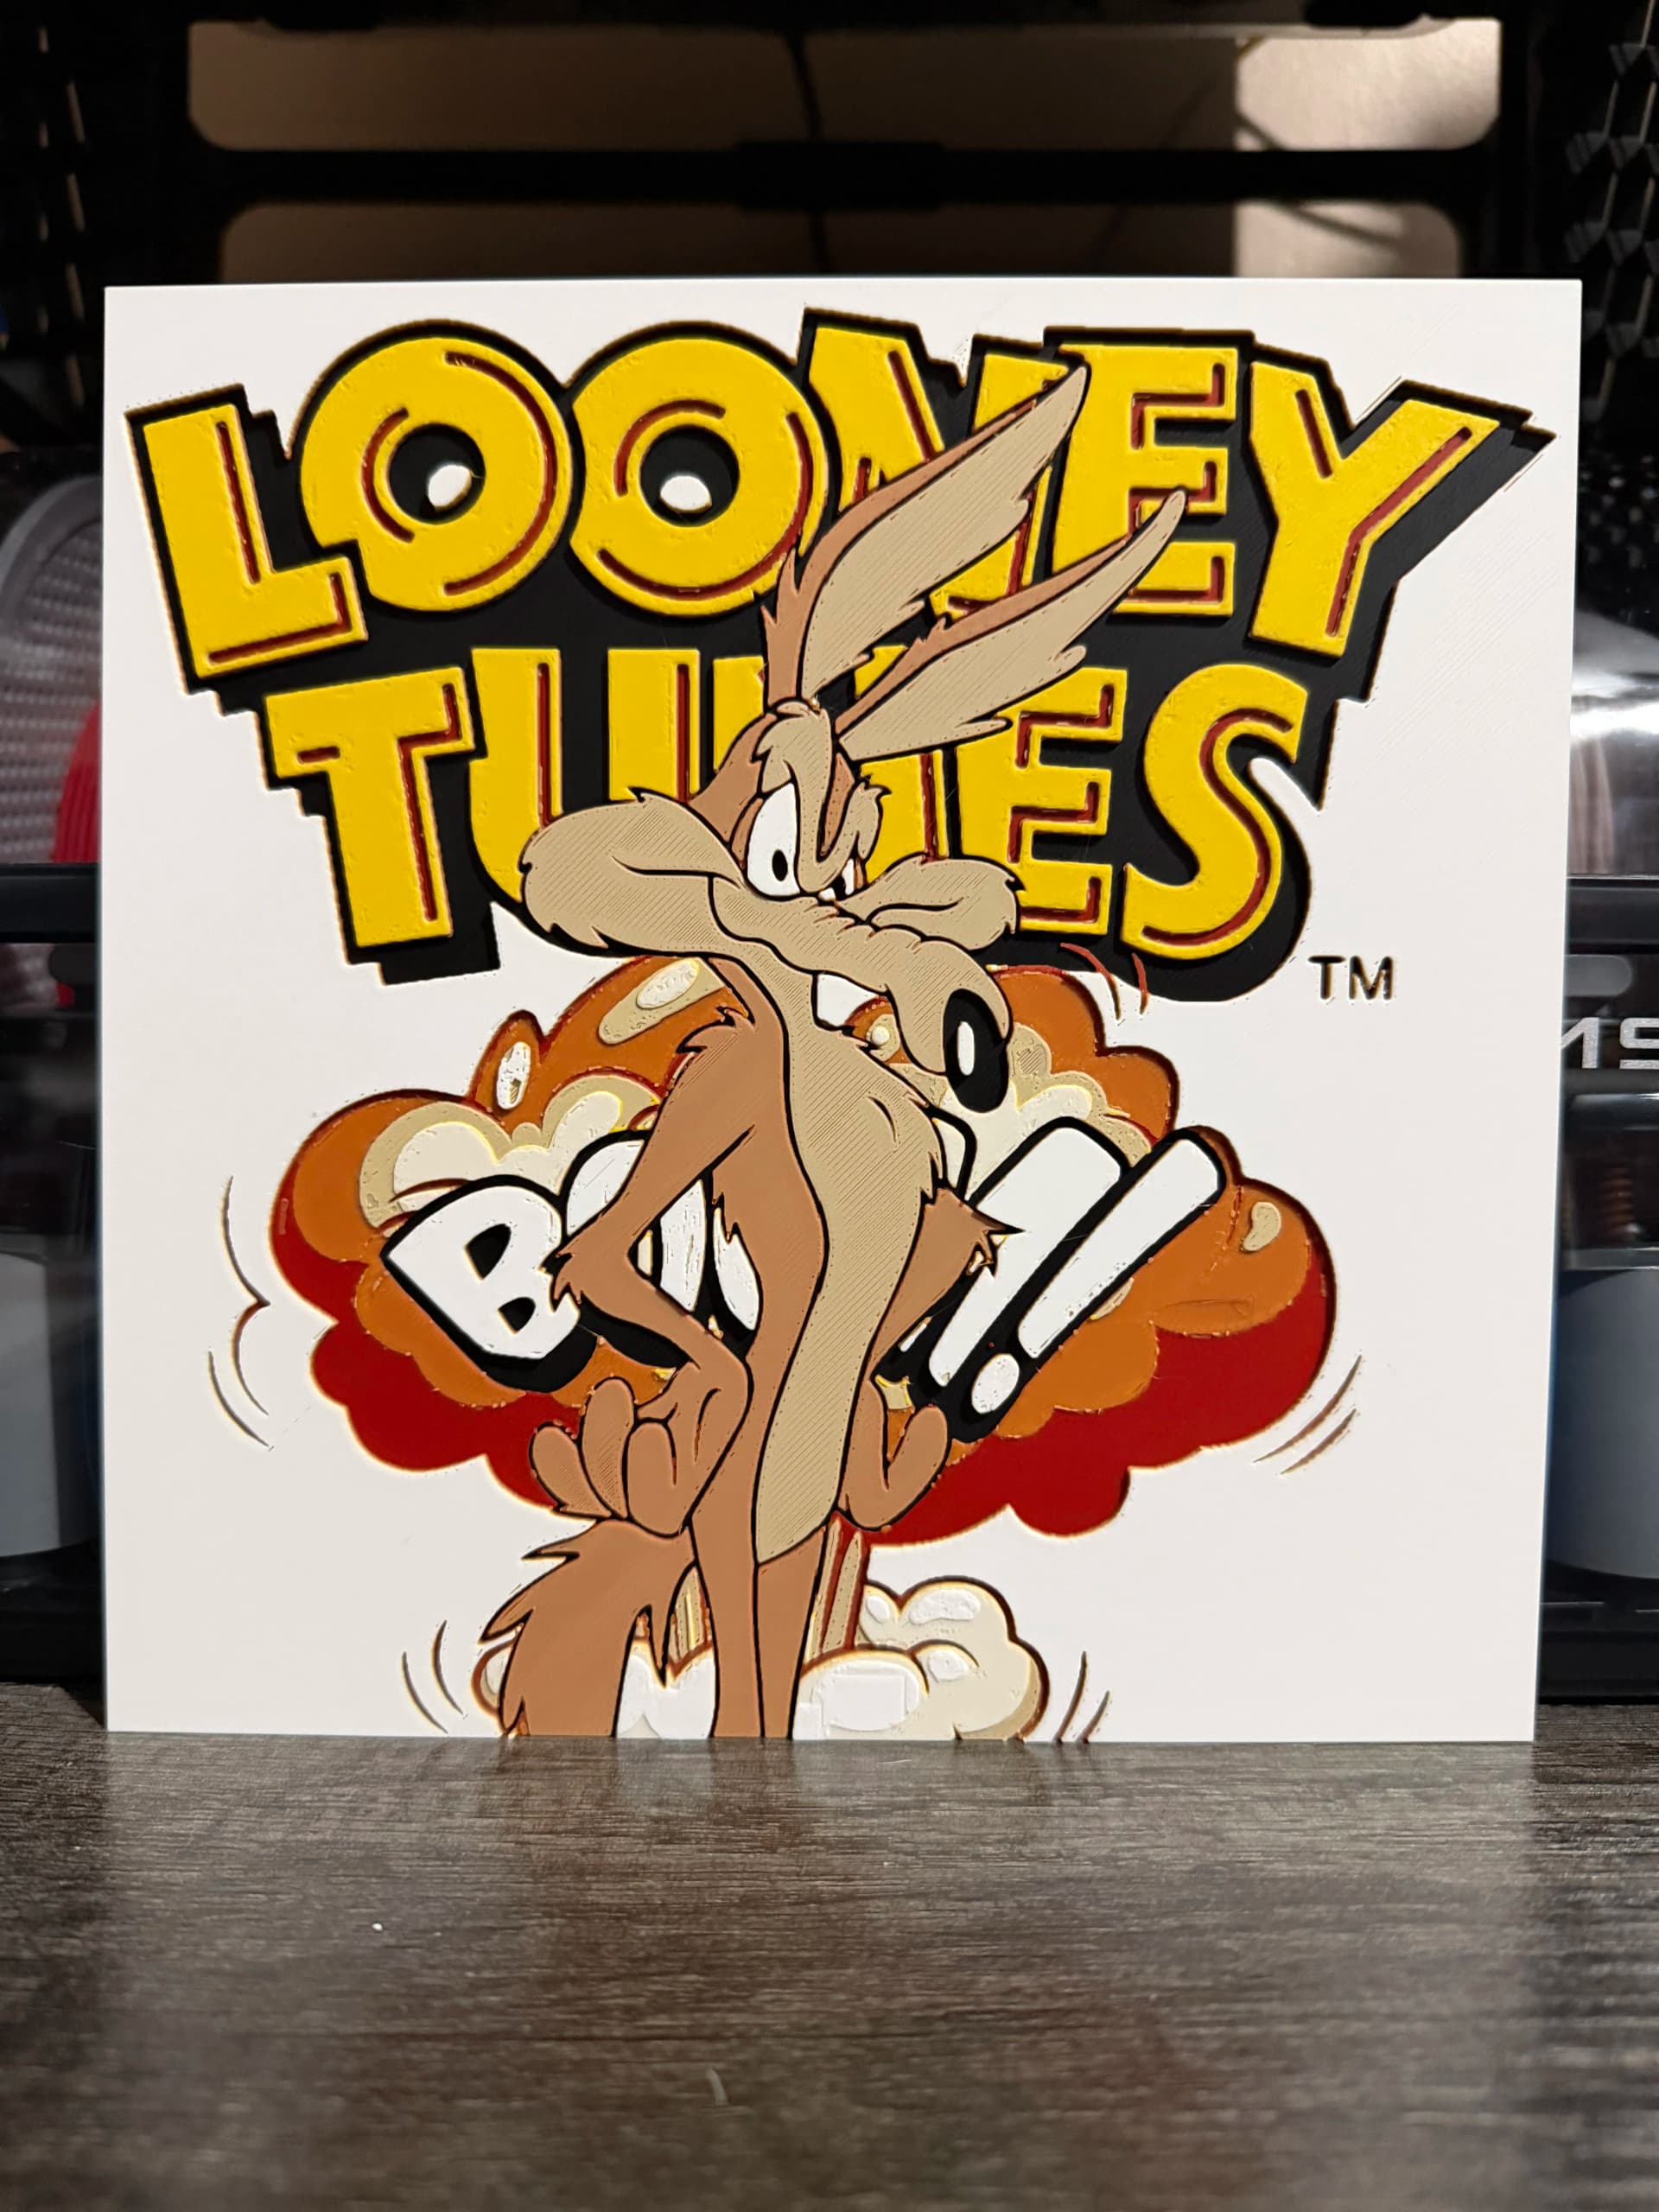
Best Classic Saturday Morning Cartoon STL Files for HueForge
The best classic Saturday morning cartoon STL files for HueForge — Scooby-Doo, Looney Tunes, Transformers, He-Man, TMNT and more, as bold filament wall art.
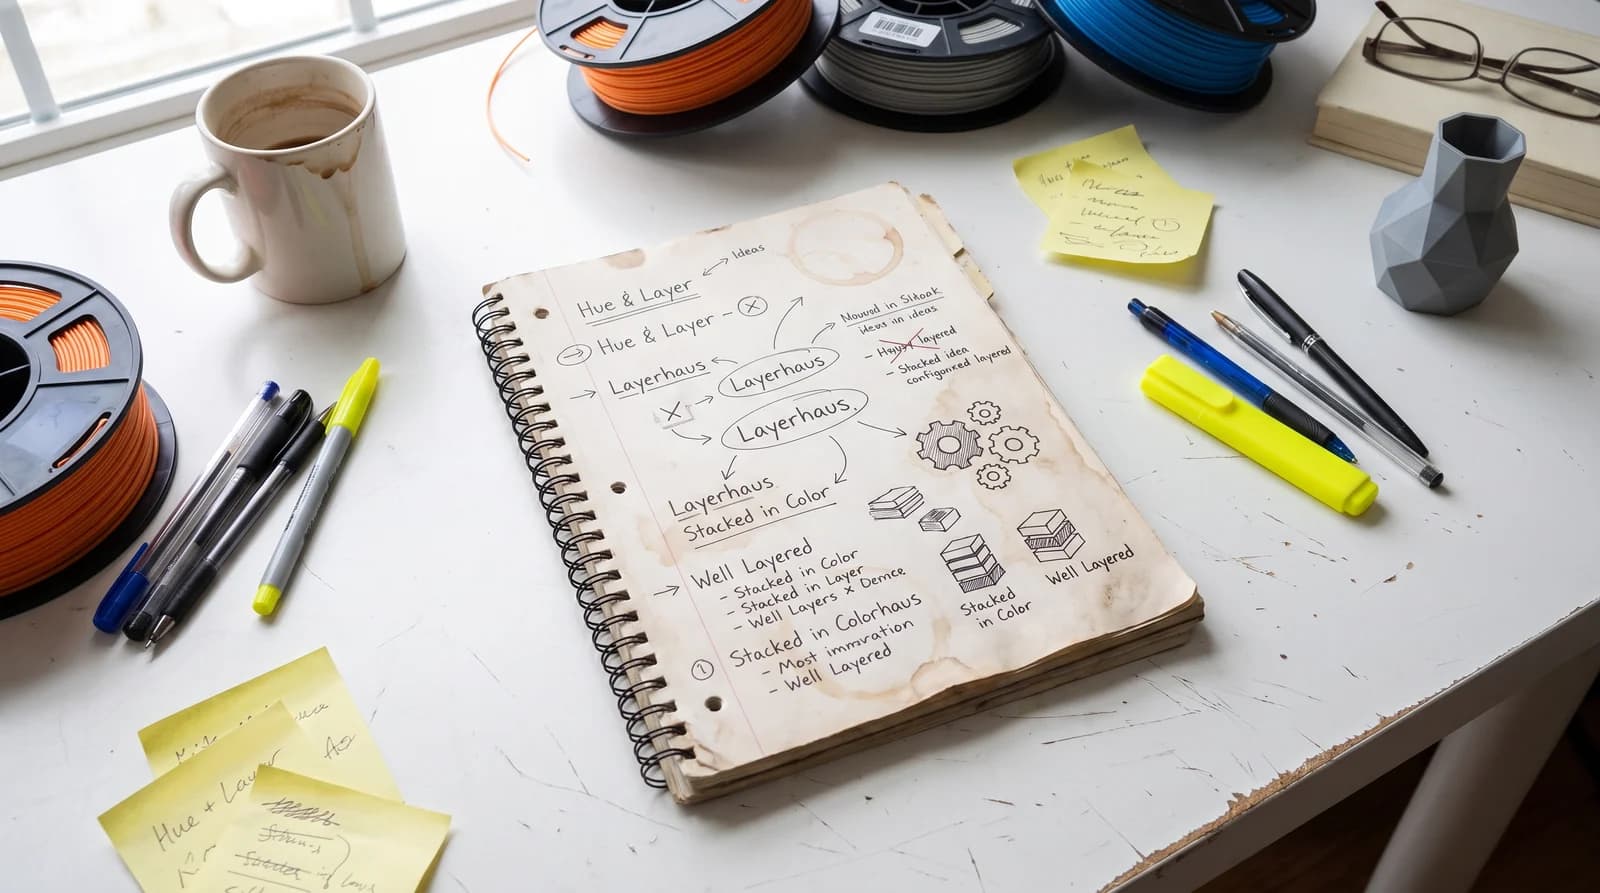
3D Printing Business Name Ideas (and How to Pick One That Lasts)
3D printing business name ideas grouped by style — descriptive, filament-themed, clever, and premium — plus naming principles and how to check a name is free to use.
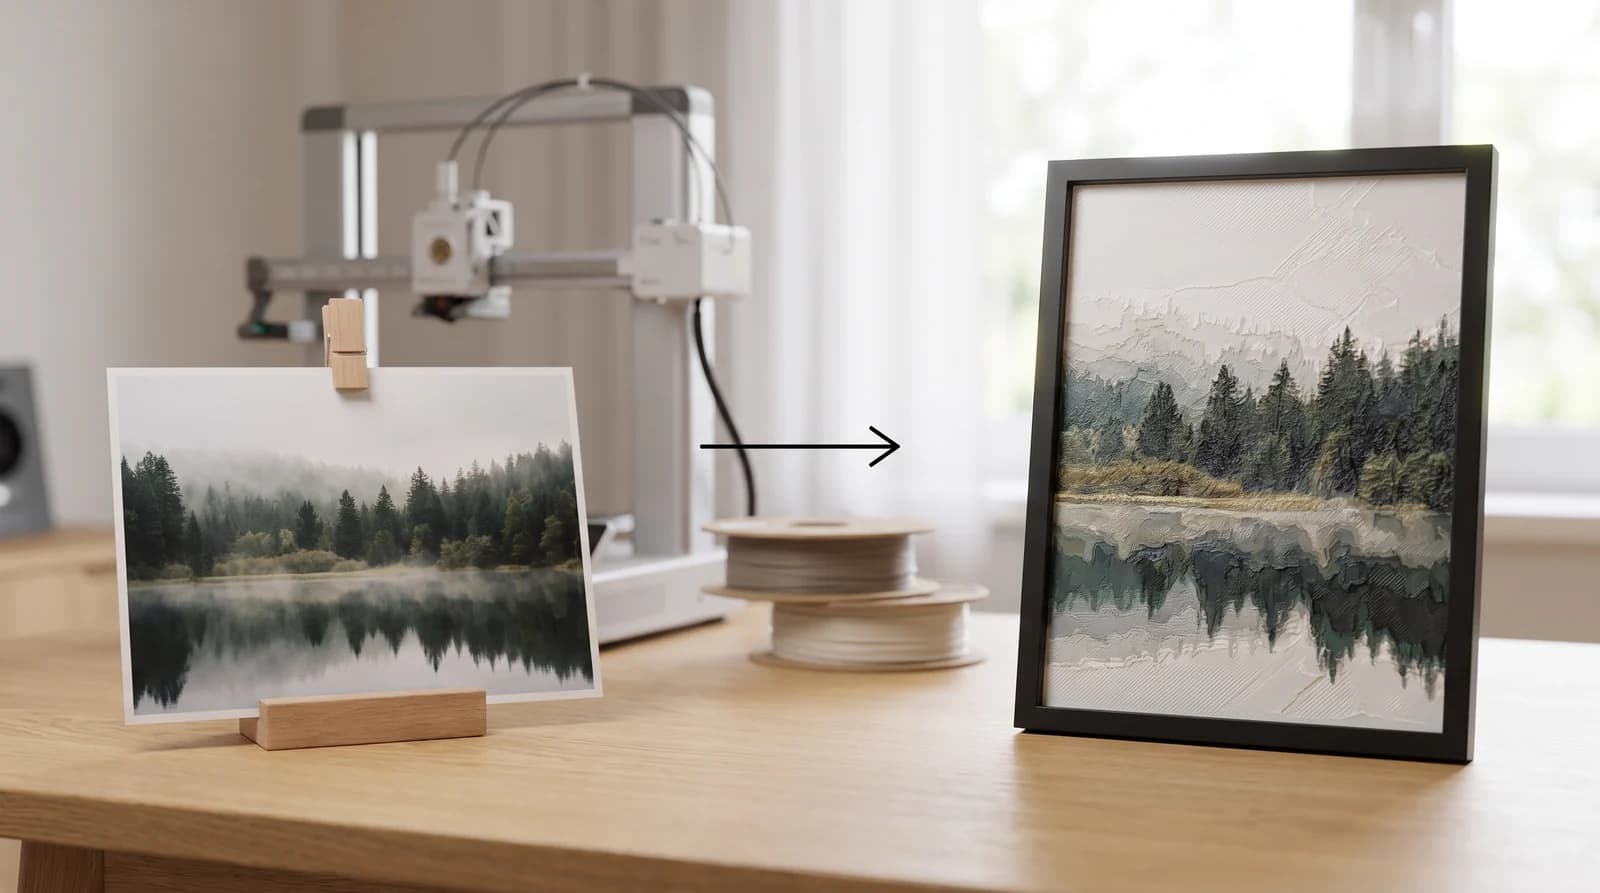
How to Use HueForge: A Software Walkthrough
How to use HueForge step by step — importing an image, setting your filament stack and TD values, tuning layers, reading the preview, and exporting a print file.