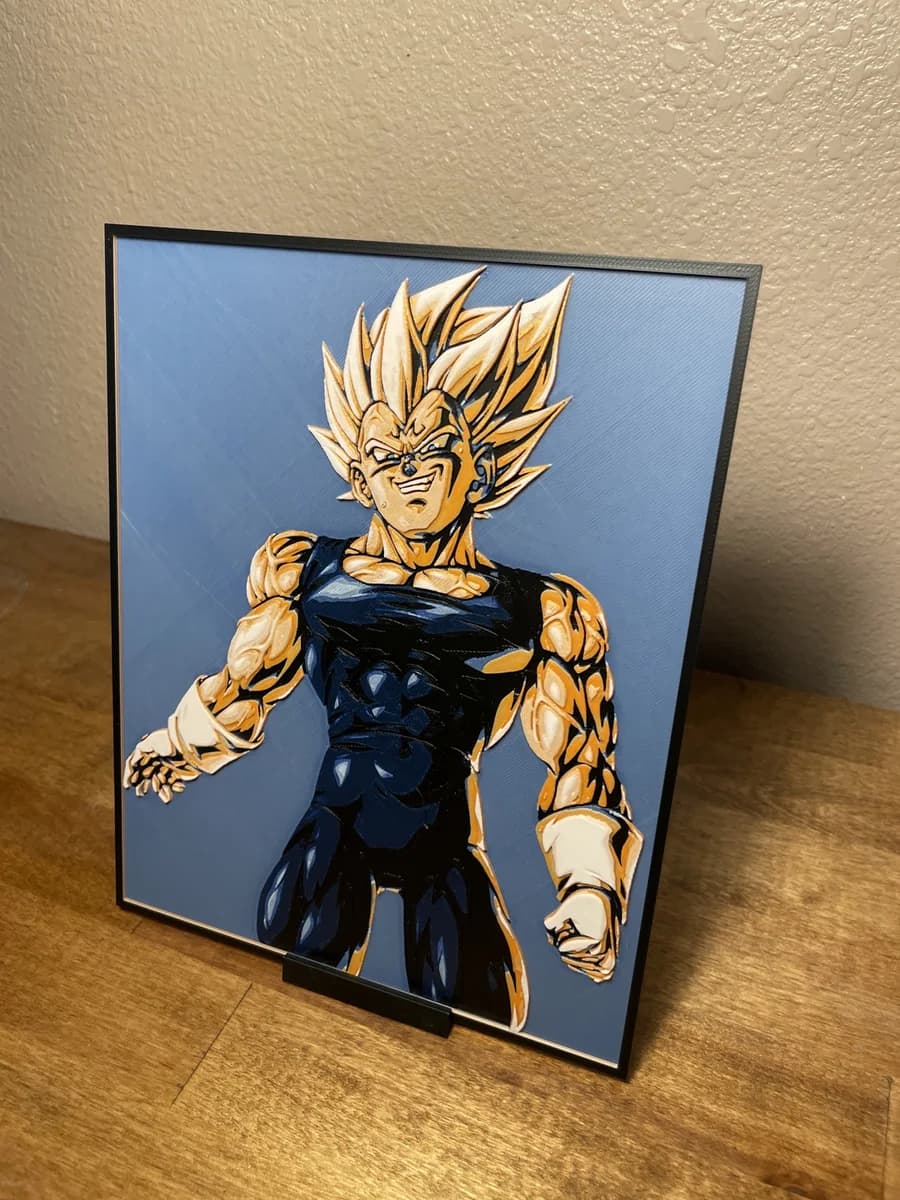
Majin Form Vegeta
Saiyan pride radiates from this commanding portrait of Vegeta in his corrupted Majin form, spiky golden hair catching light against a serene blue backdrop. The prince's muscular frame dominates the composition, rendered in deep navy armor that contrasts beautifully with his sun-kissed skin tones. Cloudy Nostalgia captures the character's fierce determination through bold linework and a striking color palette that balances the darkness of his temporary allegiance with the blazing power within.
View on PatreonRequired Filaments6
Bambu Lab Basic Black
Bambu Lab Basic Blue
Bambu Lab Basic Blue Gray
Bambu Lab Basic Jade White
Bambu Lab Basic Orange
Bambu Lab Basic Gold
Why filament details may vary
Filament details (brand, color, and TD value) may not exactly match the designer's original specification. In some cases, the designer didn't specify exact filaments and we've matched the closest options we could find. Always check the original listing for full details.
Some filament links are affiliate links — we may earn a small commission at no extra cost to you. Learn more
Sign up to track your filament inventory and check your matches.
Create accountYou Might Also Like
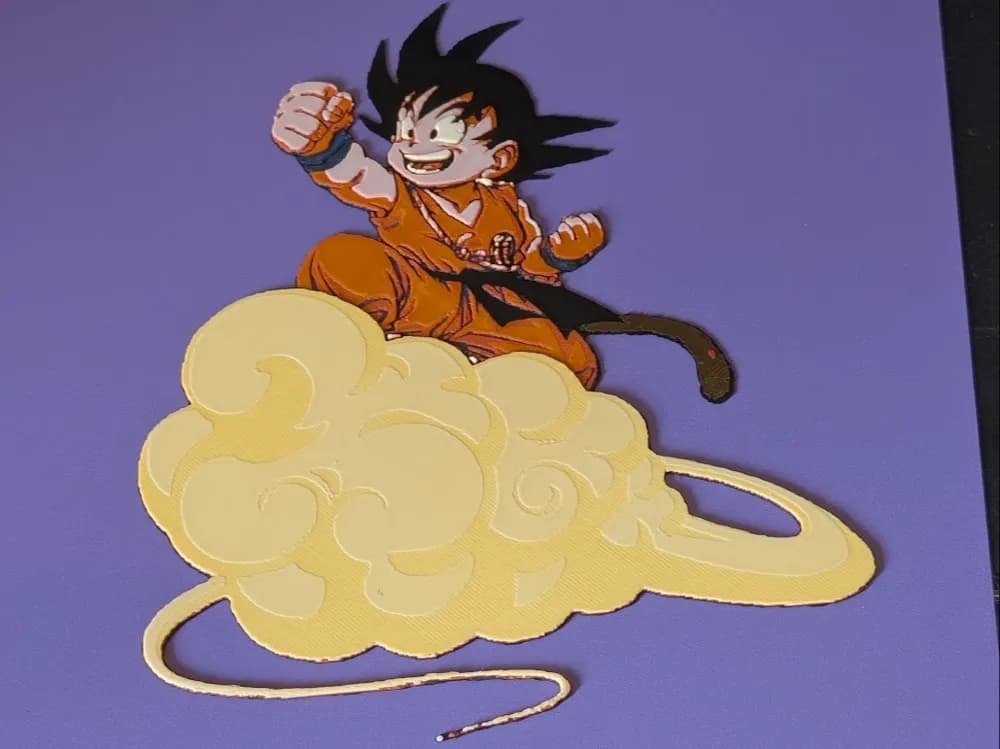
Kid Goku Flying on Nimbus
by S0und_Lab
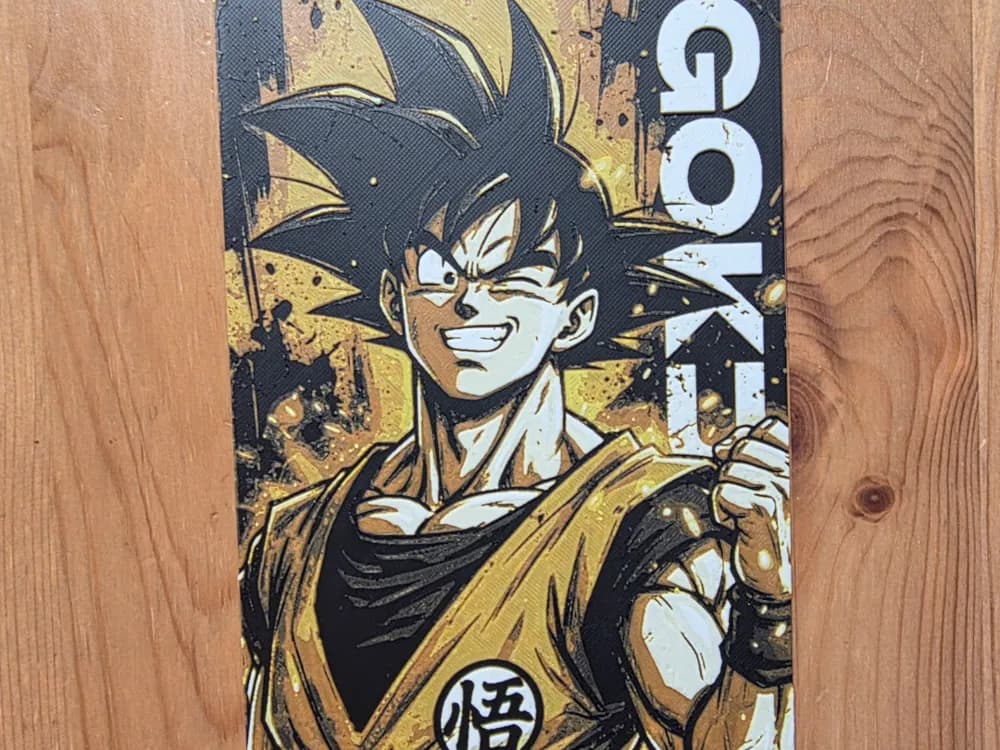
Goku Hueforge
by Morganja
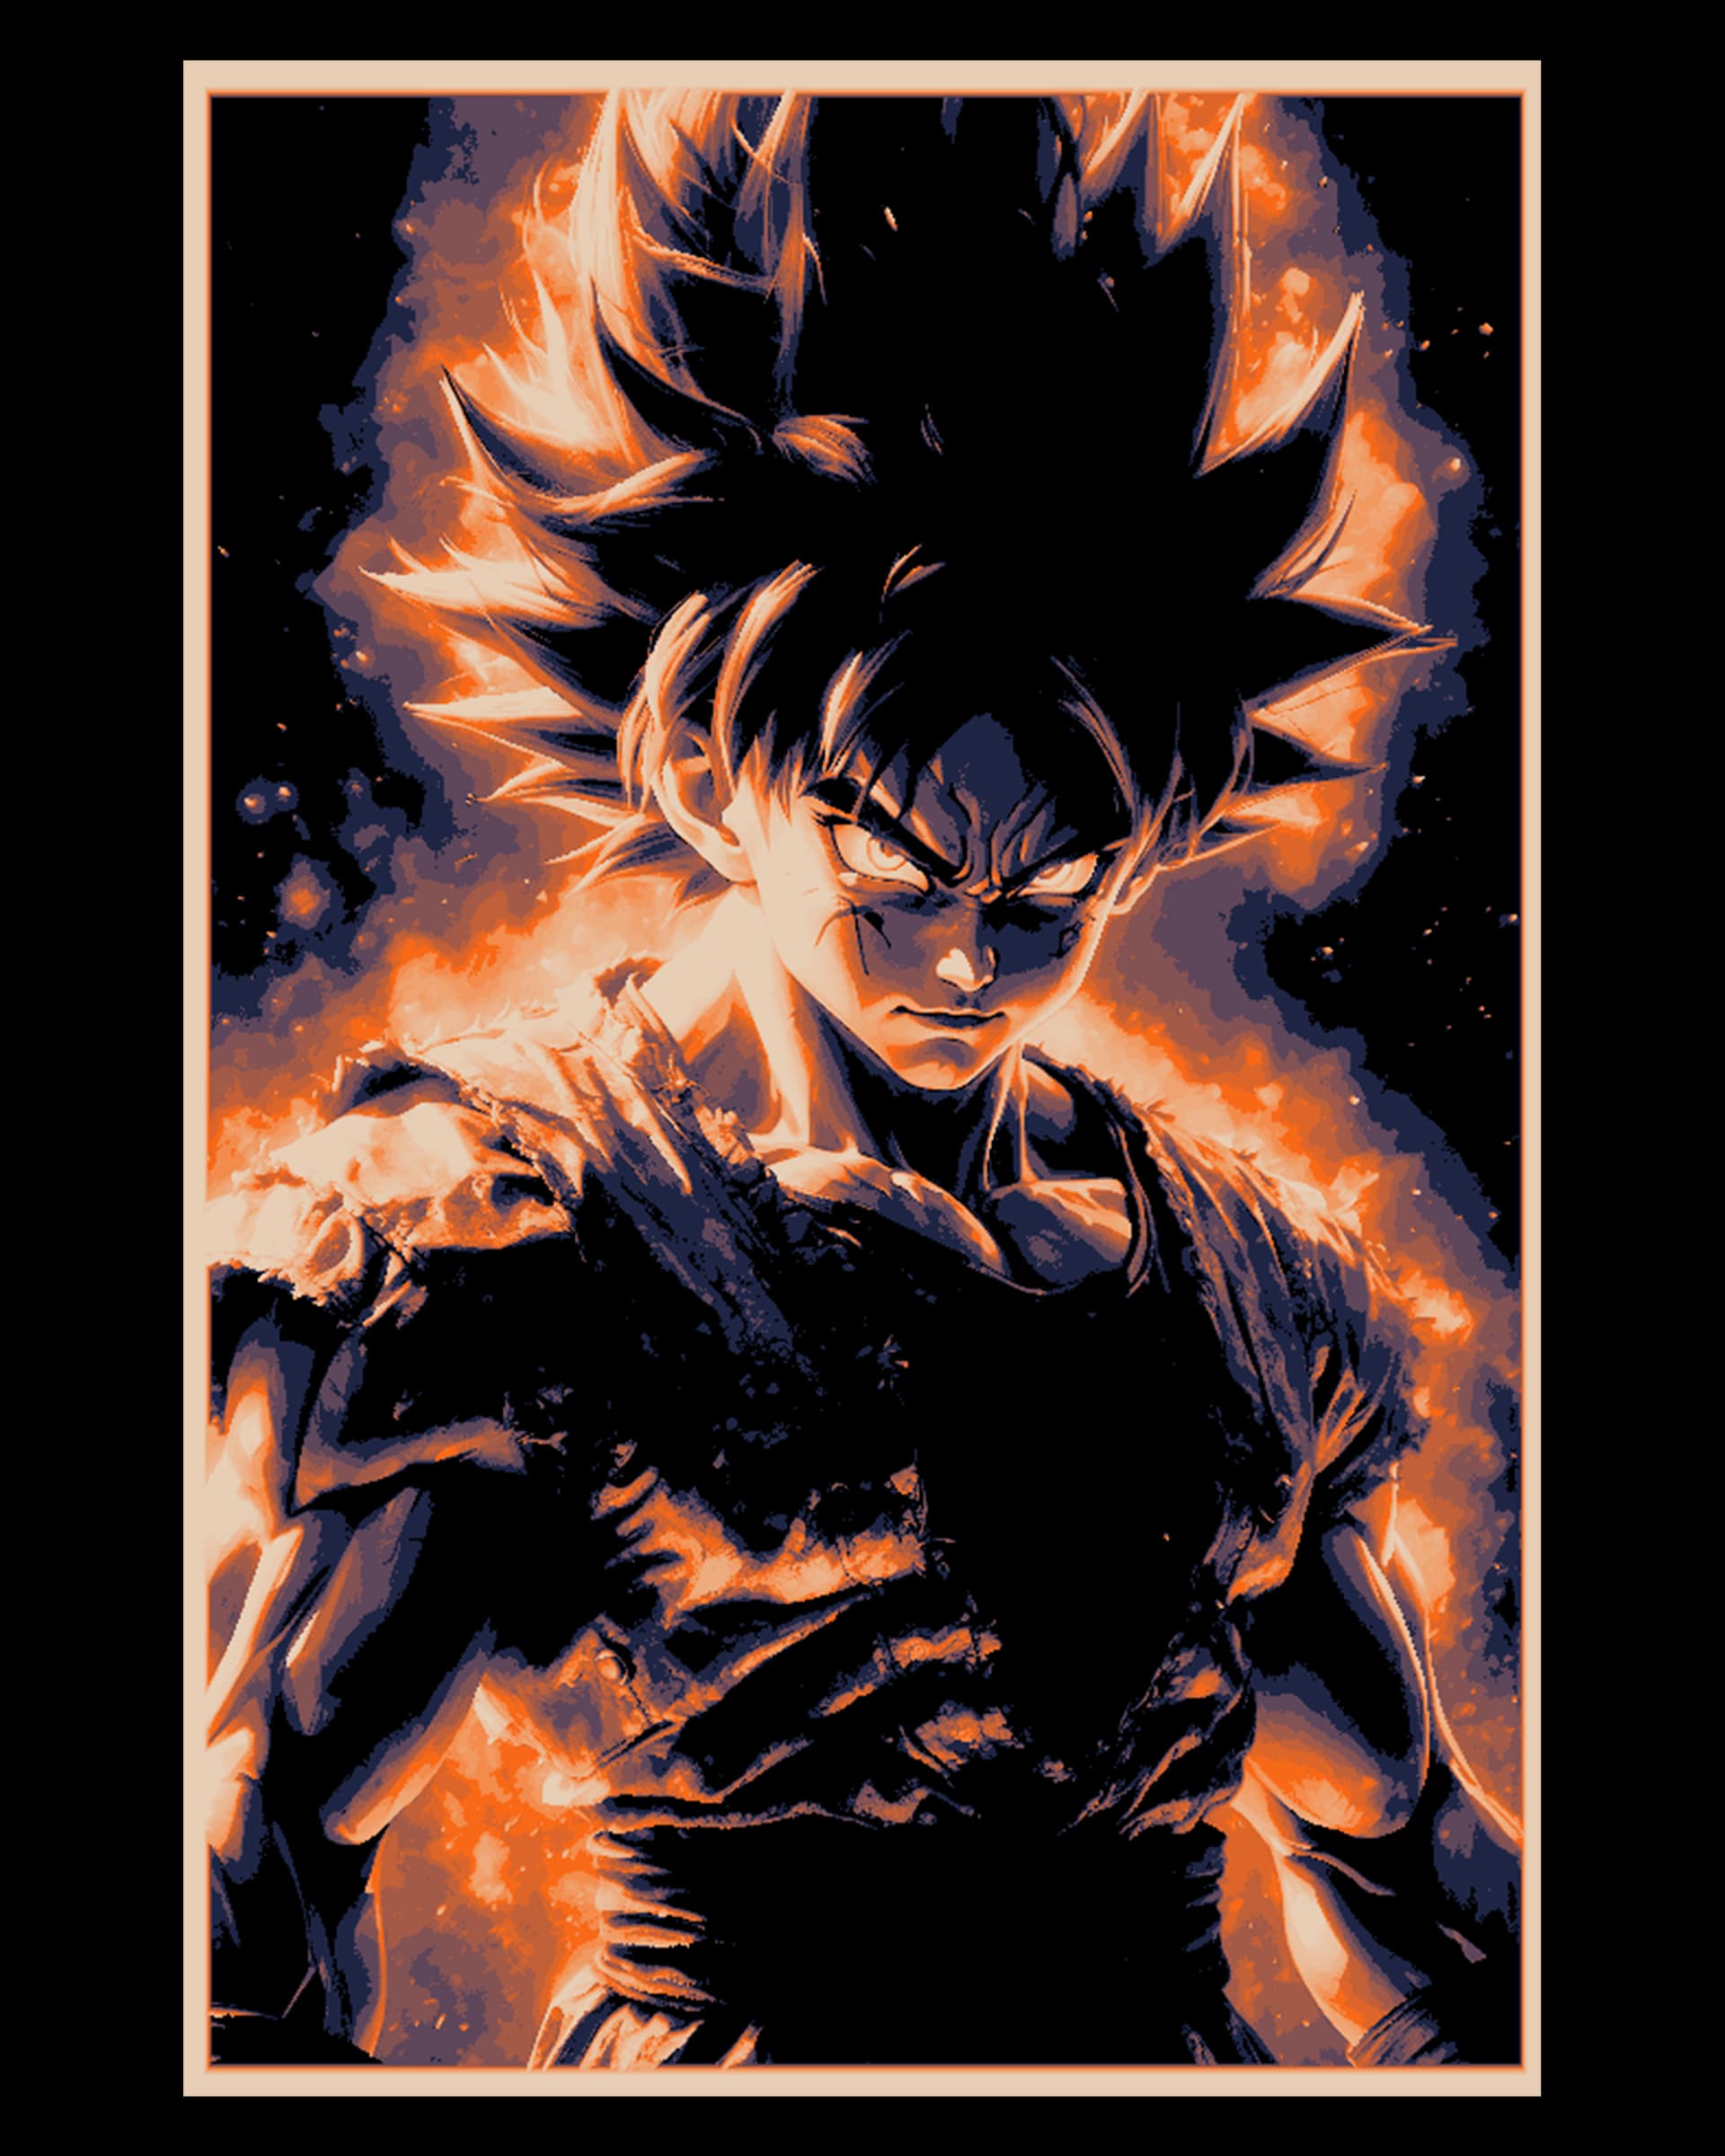
Fan art of Son Goku from Dragon ball Z - Wall art
by BooneCo3d
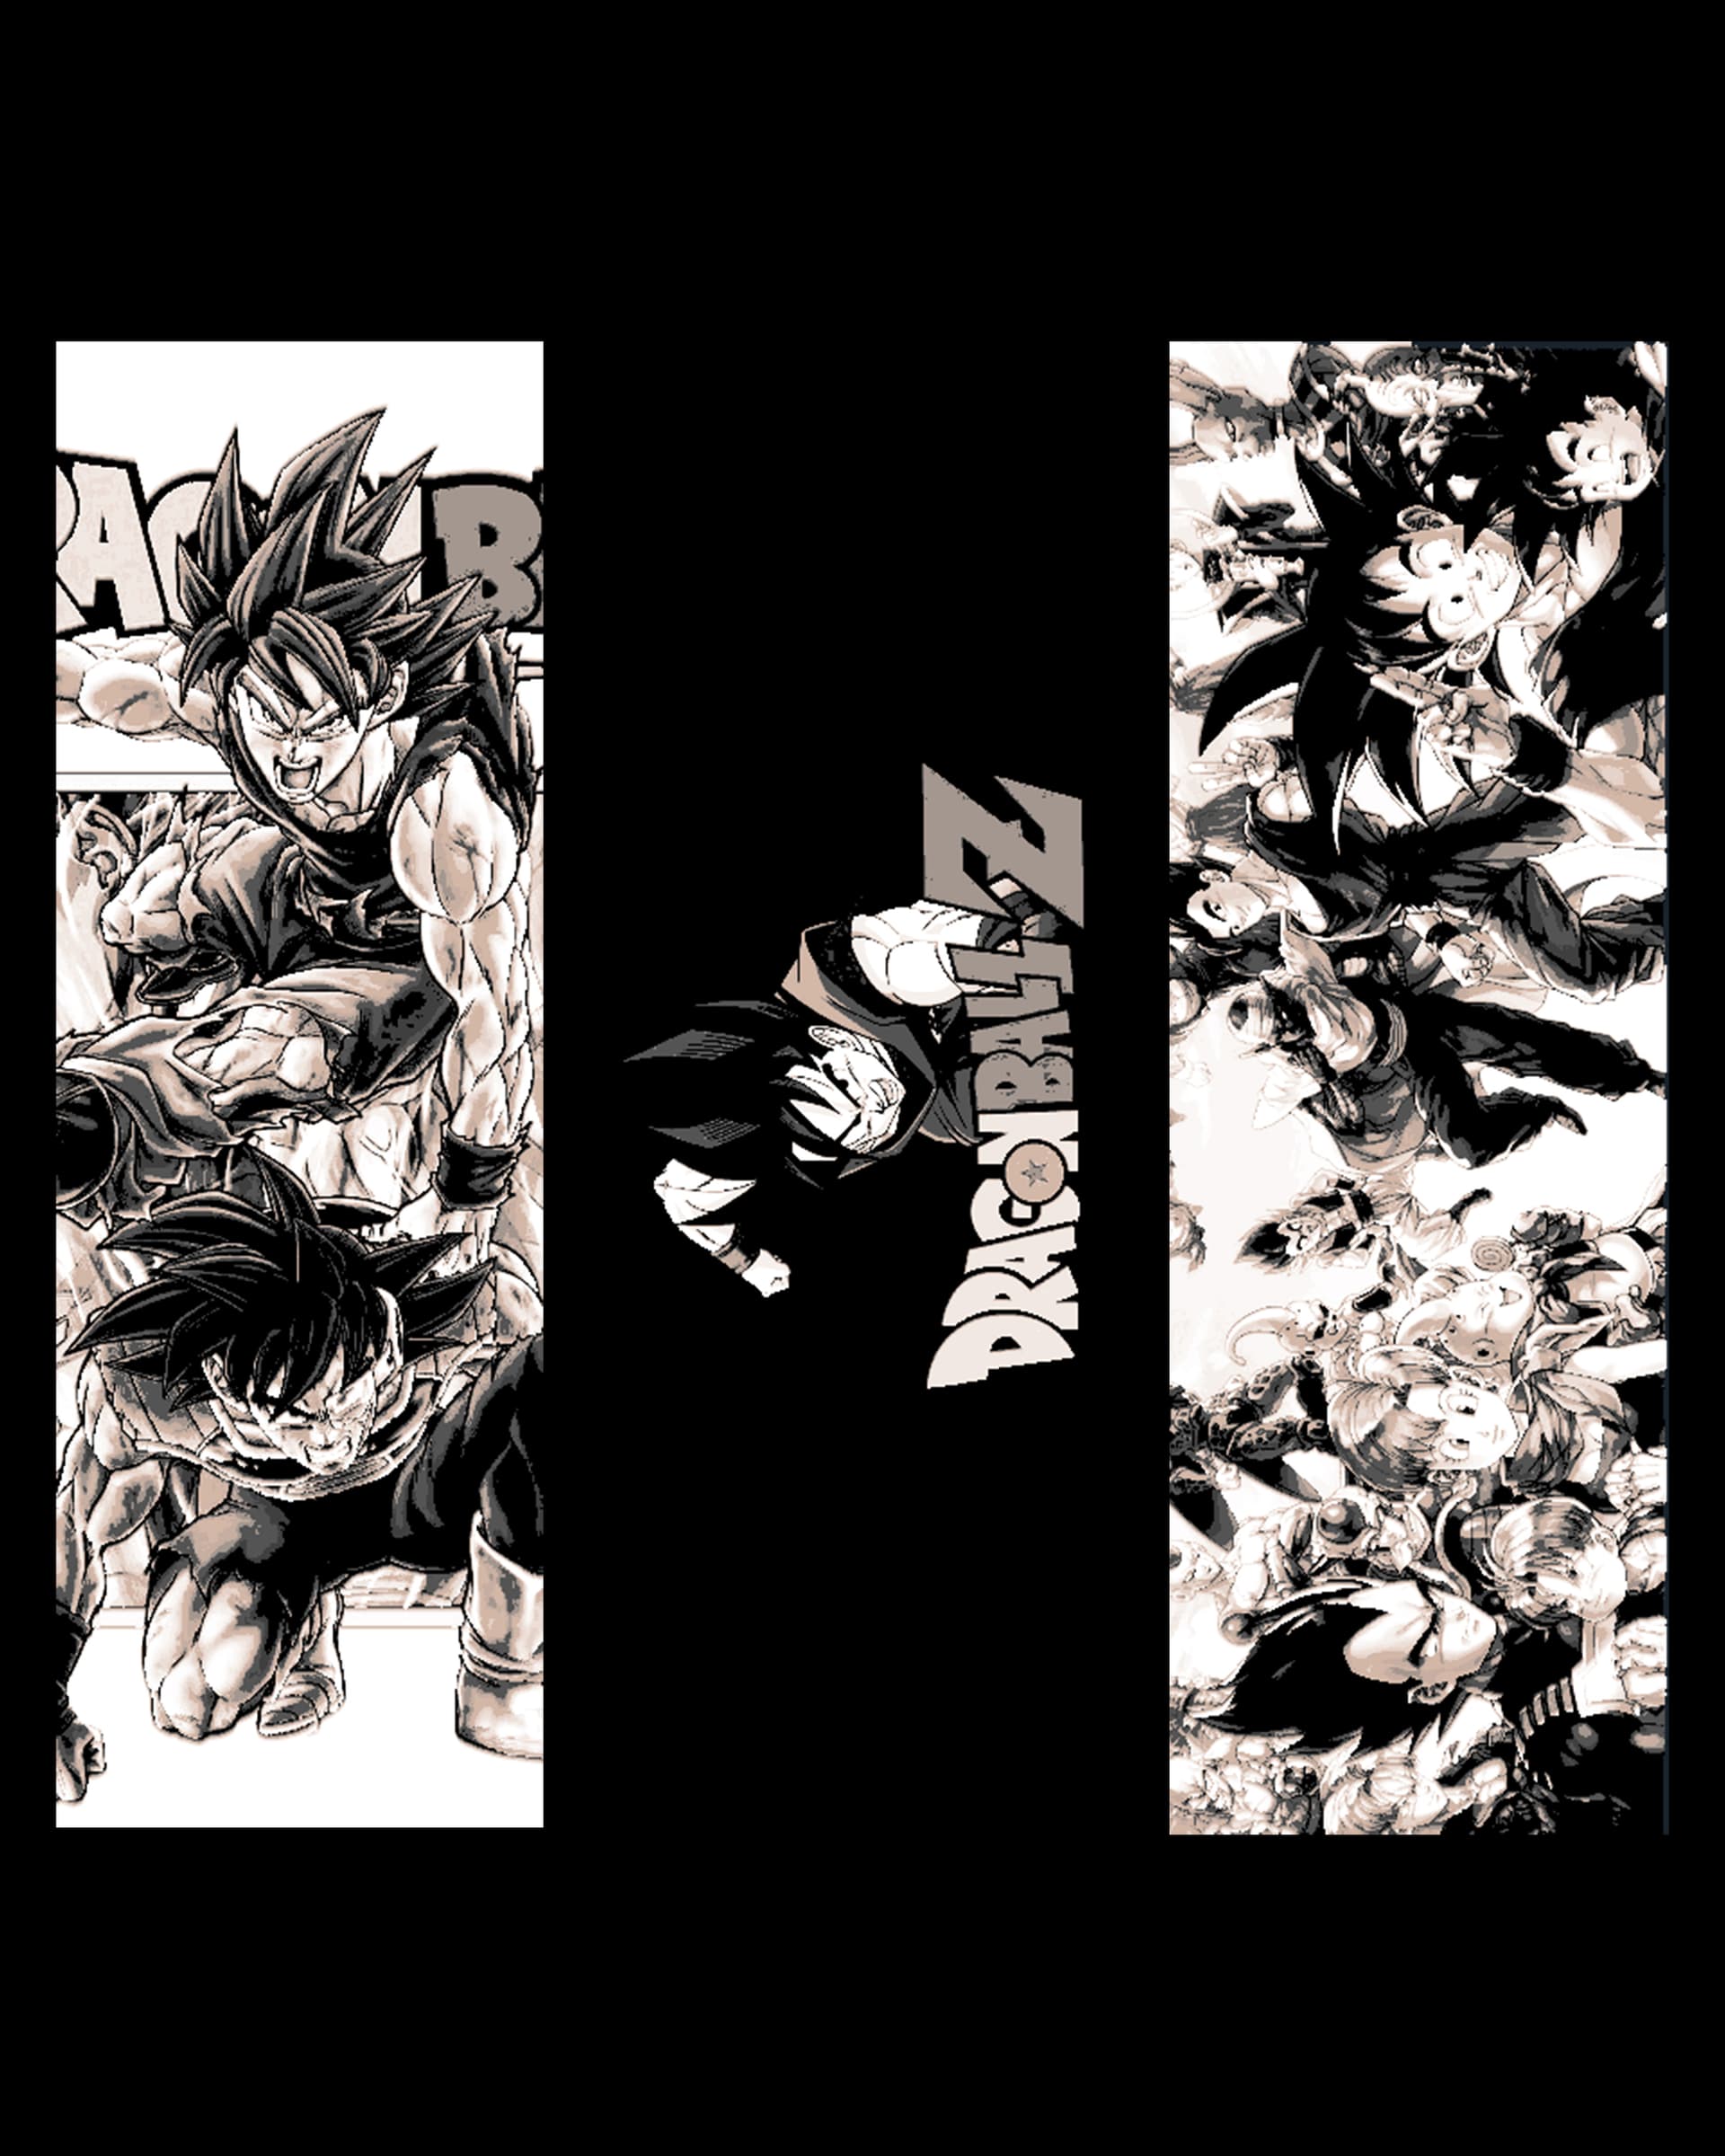
Fan Art Depictions from Dragon Ball Z - Set of Bookmarks
by BooneCo3d
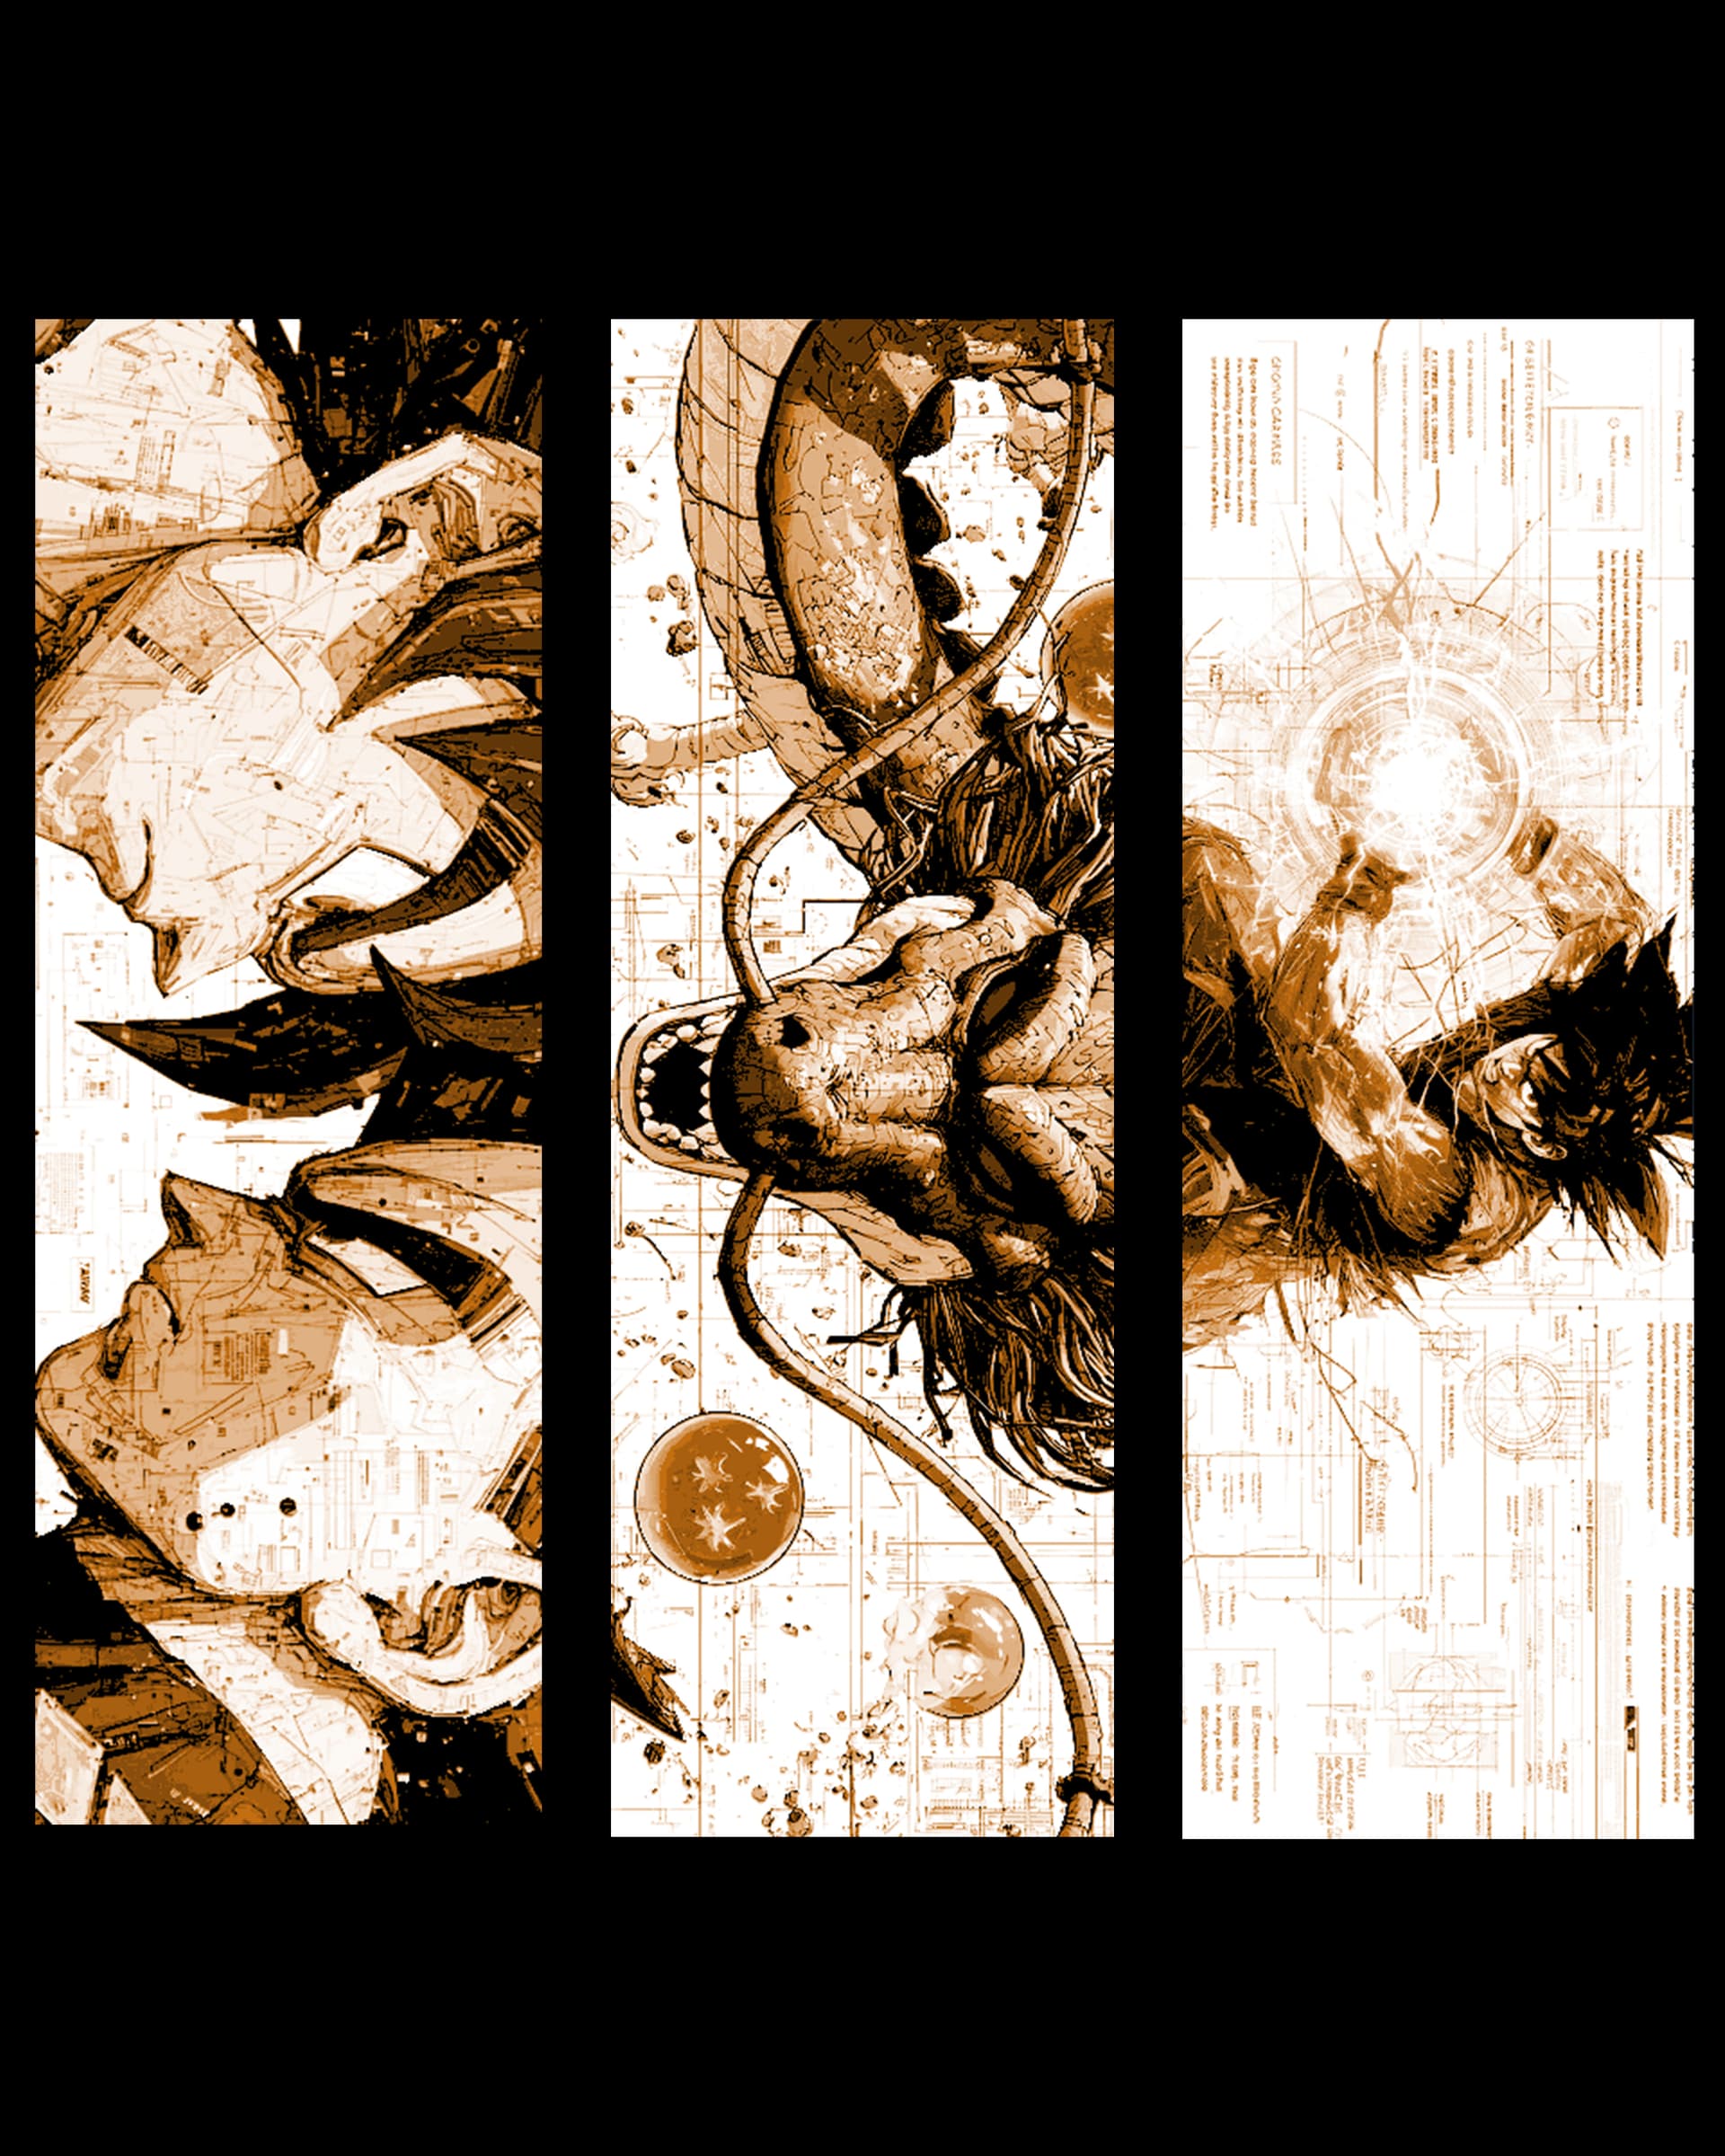
Fan art designs of Dragonball Heros and dragon - Set of bookmarks
by BooneCo3d
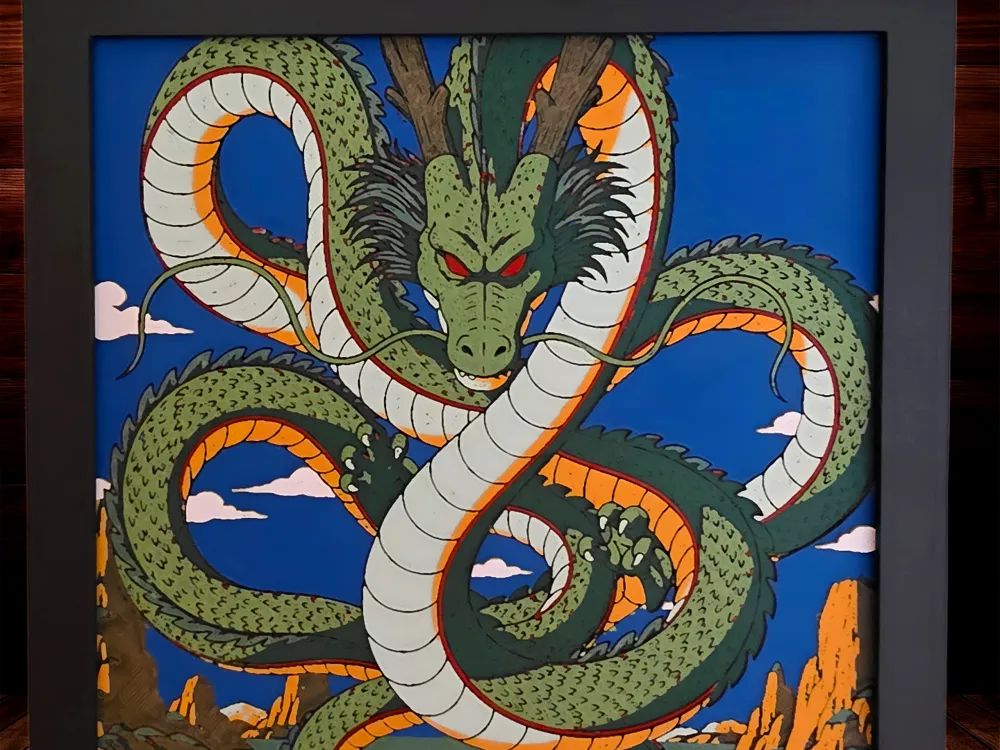
Shenron - Dragon Ball Z
by Side Quest Hues
Recent Articles
View all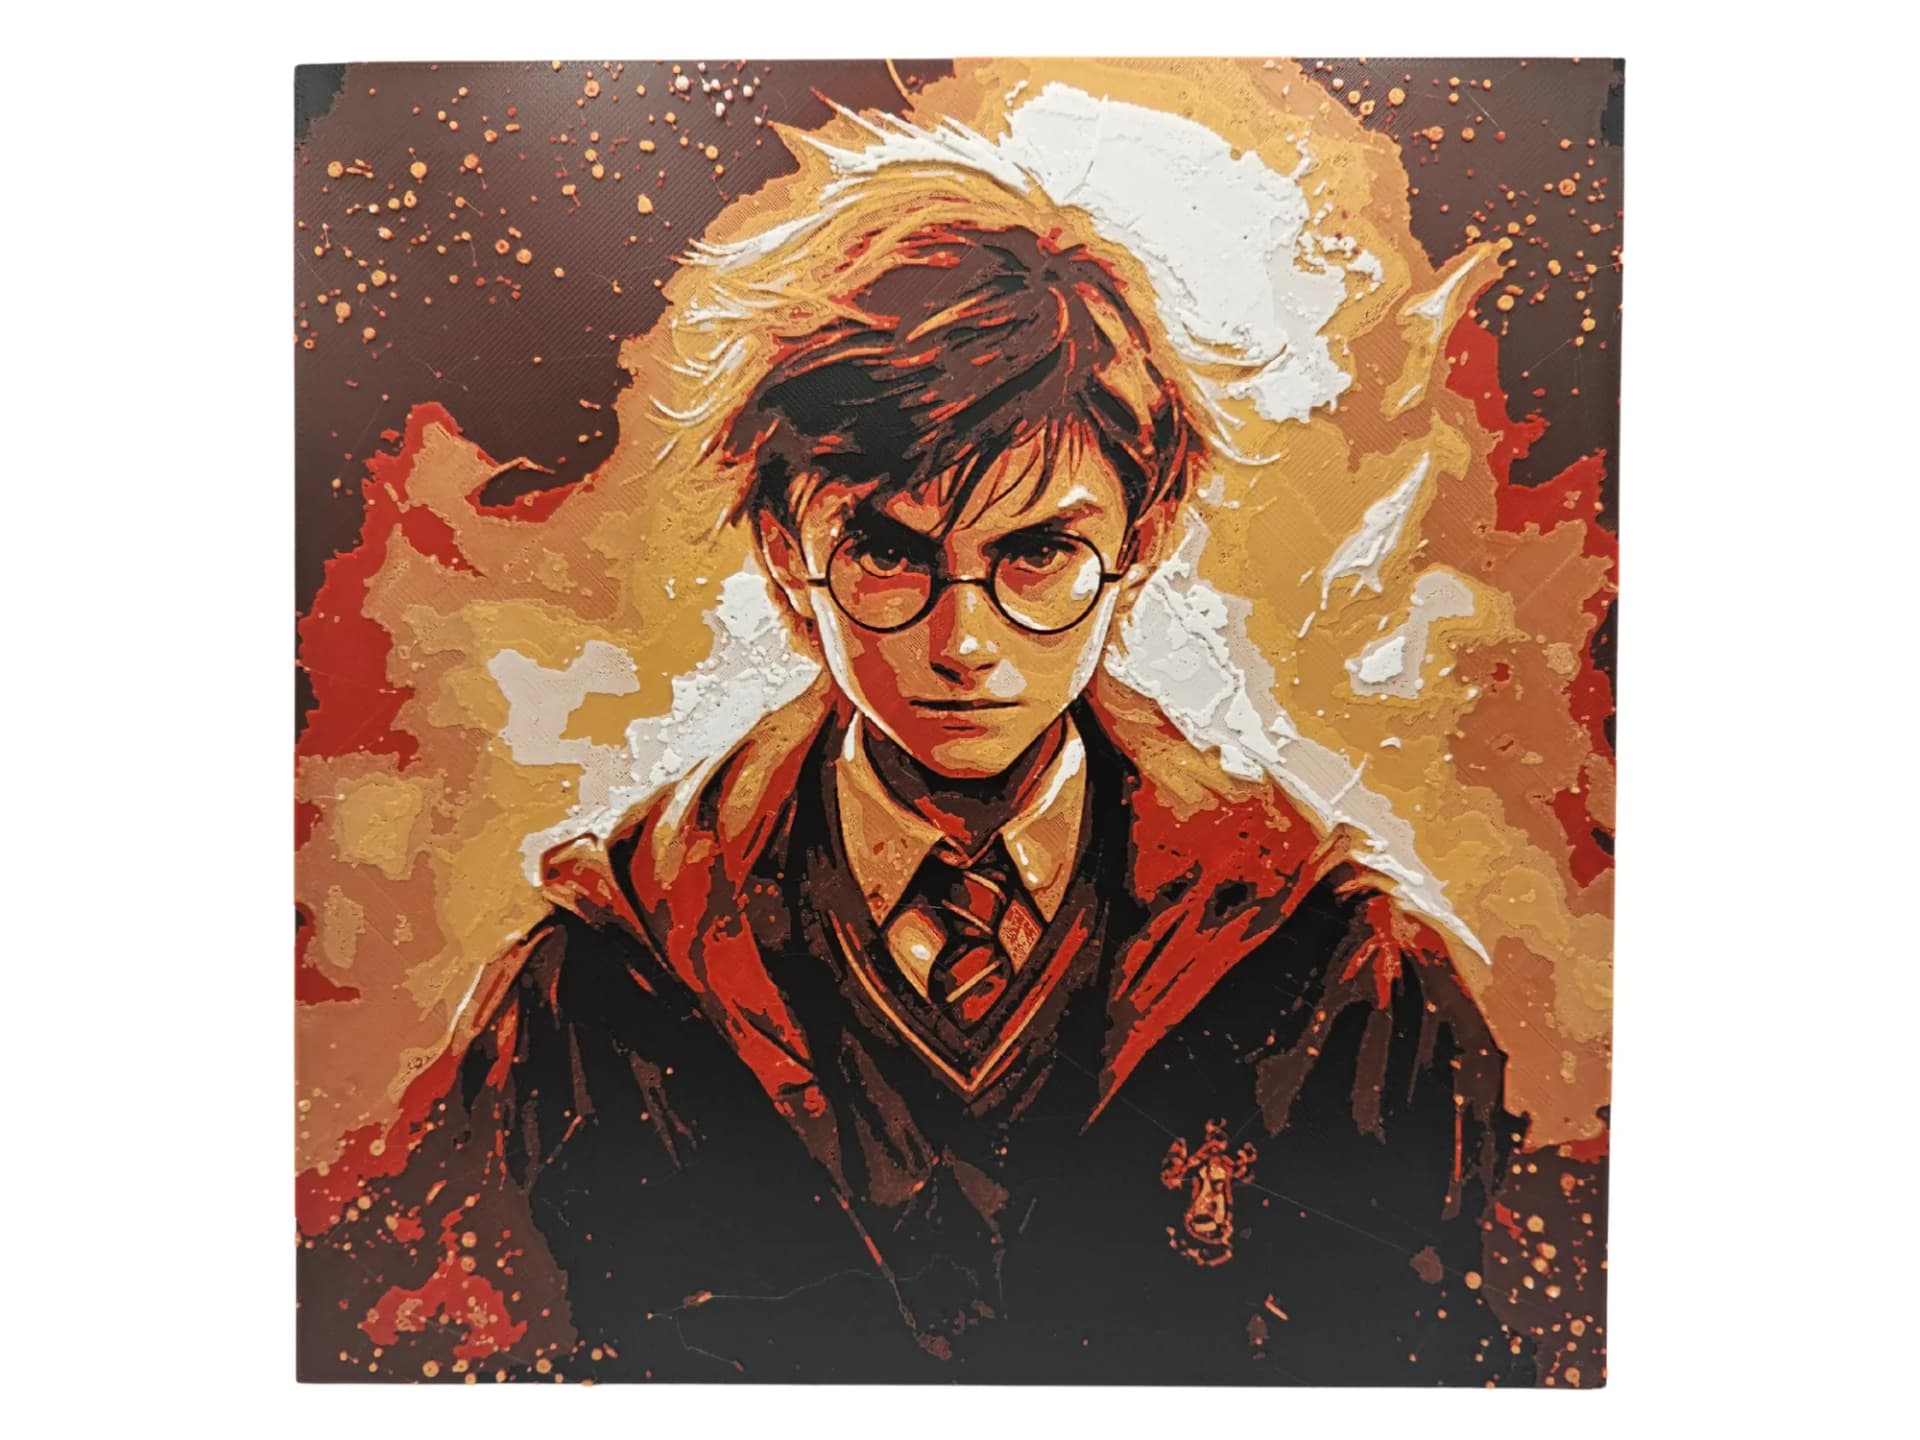
Best Harry Potter 3D Prints for HueForge: Hogwarts, Patronuses & the Deathly Hallows
The Harry Potter 3D prints worth making as HueForge filament paintings — Hogwarts and house crests, the Deathly Hallows, patronuses, and bookmarks, with the catalog's take on each.
Best 3D Printed Bookmarks for HueForge: Fandom, Dragons, Animals & More
The 3D printed bookmarks worth printing as HueForge filament paintings — fandom, dragon, animal, floral, and gothic designs, and why they make the ideal first print.
Best 3D Printed Animals for HueForge: Cats, Dogs, Birds & Wildlife
The 3D printed animals worth printing as HueForge filament paintings — cats, dogs, birds, wildlife, and ocean life, with the position the catalog takes on each.