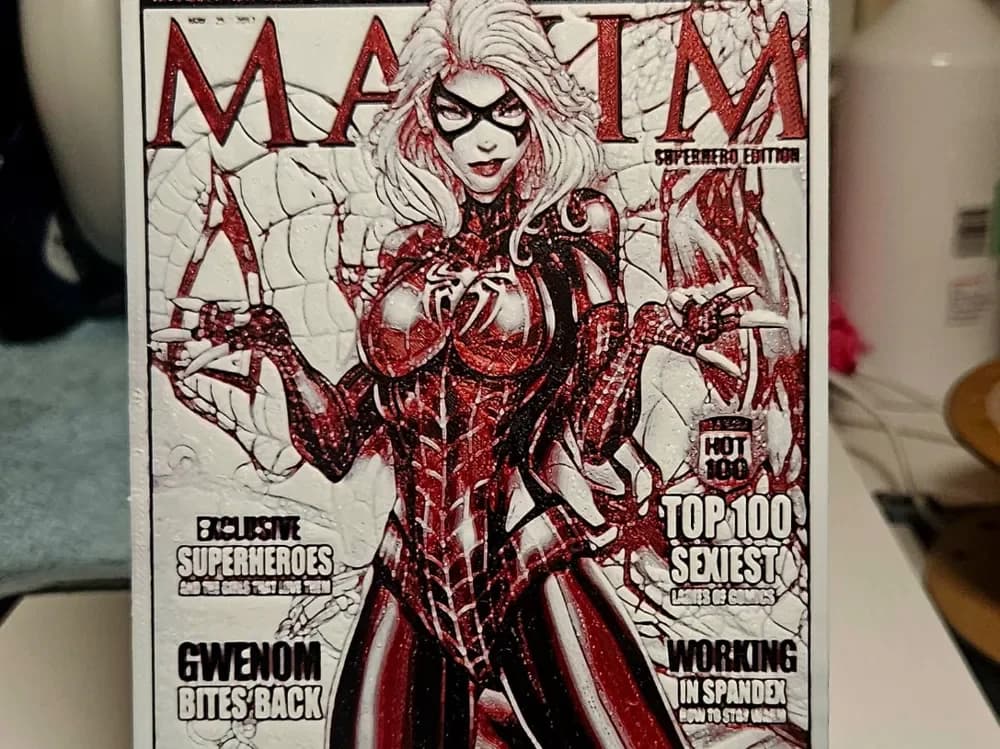
Maxim Black Cat Spiderman symbiote
Gwenom strikes a menacing pose on this mock Maxim "Superhero Edition" cover — a clever fusion of Black Cat's white hair and mask with the Venom symbiote's signature crimson and black. Mano's 3D_Art renders the piece in a bold two-tone palette of deep red glitter against stark white, with intricate web textures and sharp symbiote tendrils creating stunning dimensional depth throughout the embossed composition.
View on MakerWorldRequired Filaments4
Bambu Lab Basic Black
Bambu Lab Matte Dark Red
Bambu Lab Basic Gray
Bambu Lab Basic Jade White
Why filament details may vary
Filament details (brand, color, and TD value) may not exactly match the designer's original specification. In some cases, the designer didn't specify exact filaments and we've matched the closest options we could find. Always check the original listing for full details.
Some filament links are affiliate links — we may earn a small commission at no extra cost to you. Learn more
Sign up to track your filament inventory and check your matches.
Create accountYou Might Also Like
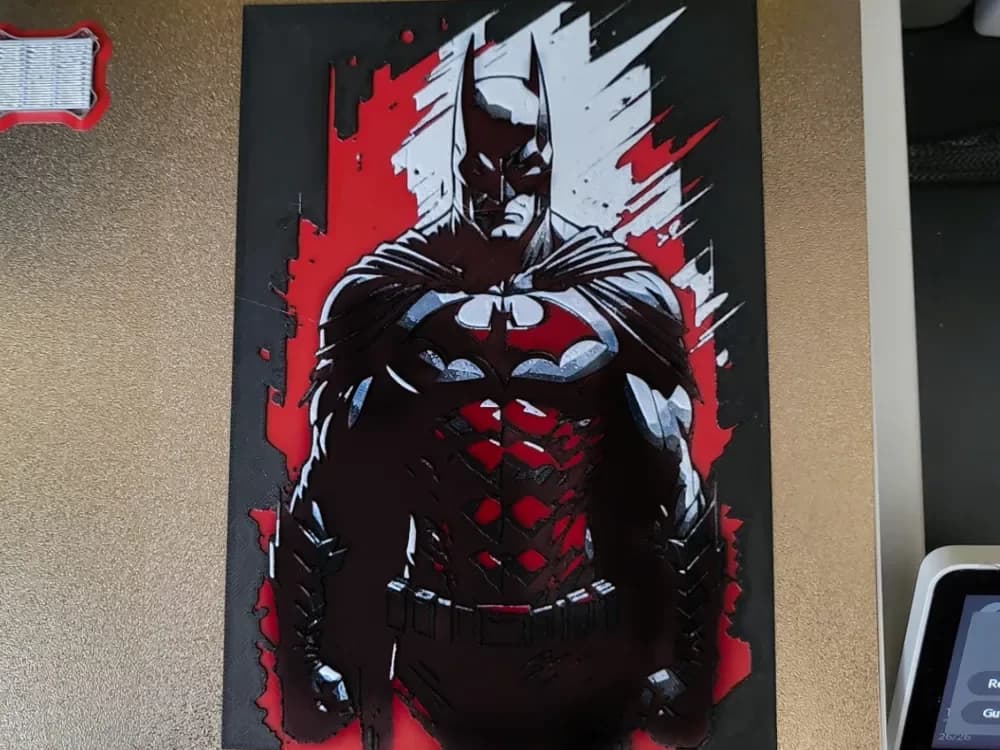
Hueforge Batman
by Luckyfer
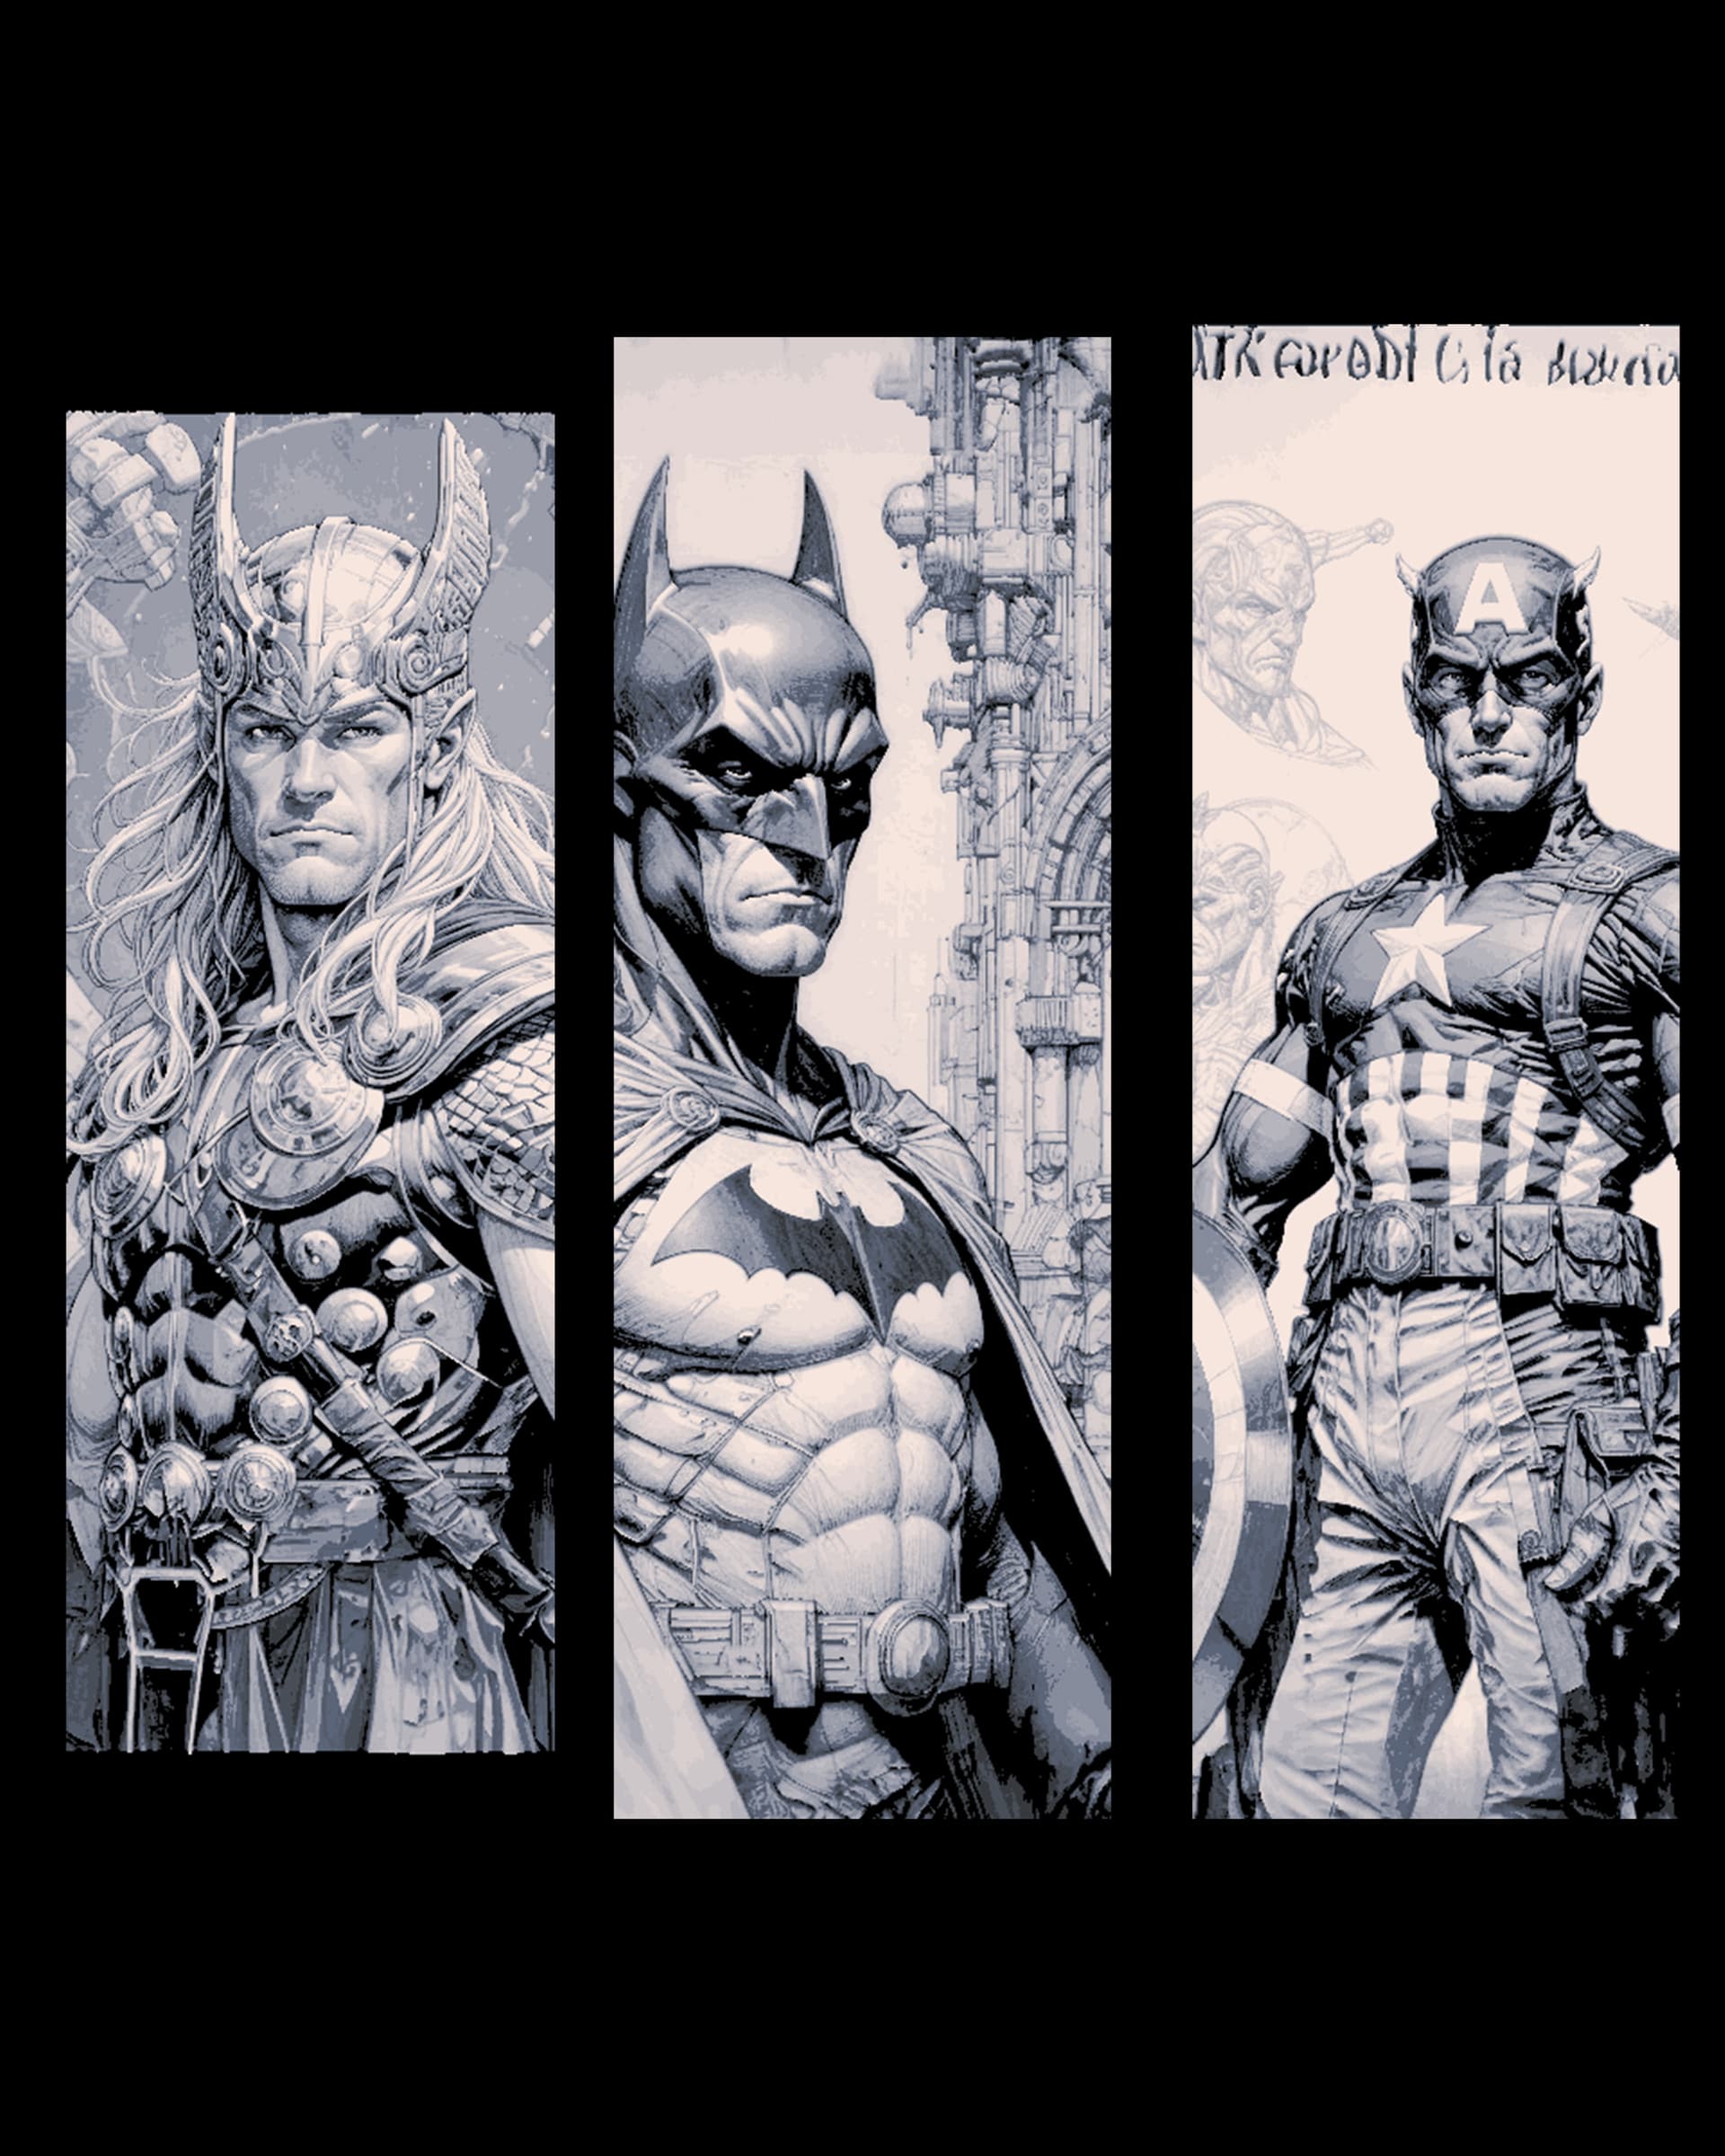
Classic Superhero Sketches - Views of the heroic worlds in Realism - Set of bookmarks
by BooneCo3d
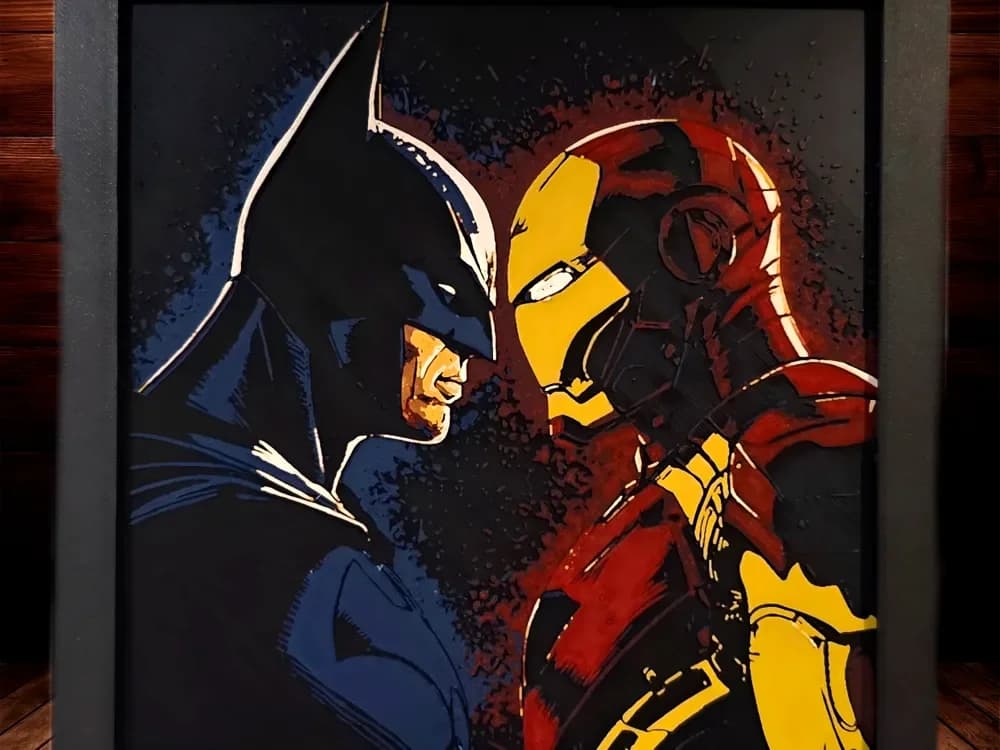
Batman Vs. Ironman aka the Billionaires Brawl (6C)
by Side Quest Hues
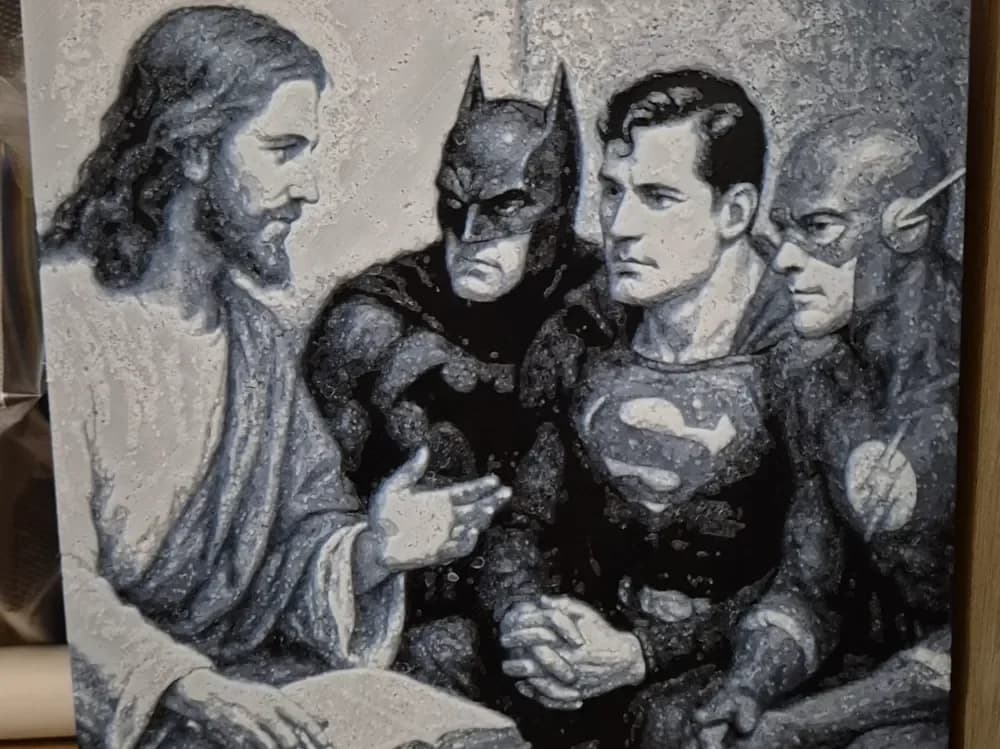
the good guys hueforge
by Buntsta

Stitch - Superman Cosplay Puzzle & Lid - Marvel / Disney
by Canadian Gamer

Deadpool has a way of getting around - Fan Art Set of Bookmarks of the Marvel Character
by BooneCo3d
Recent Articles
View all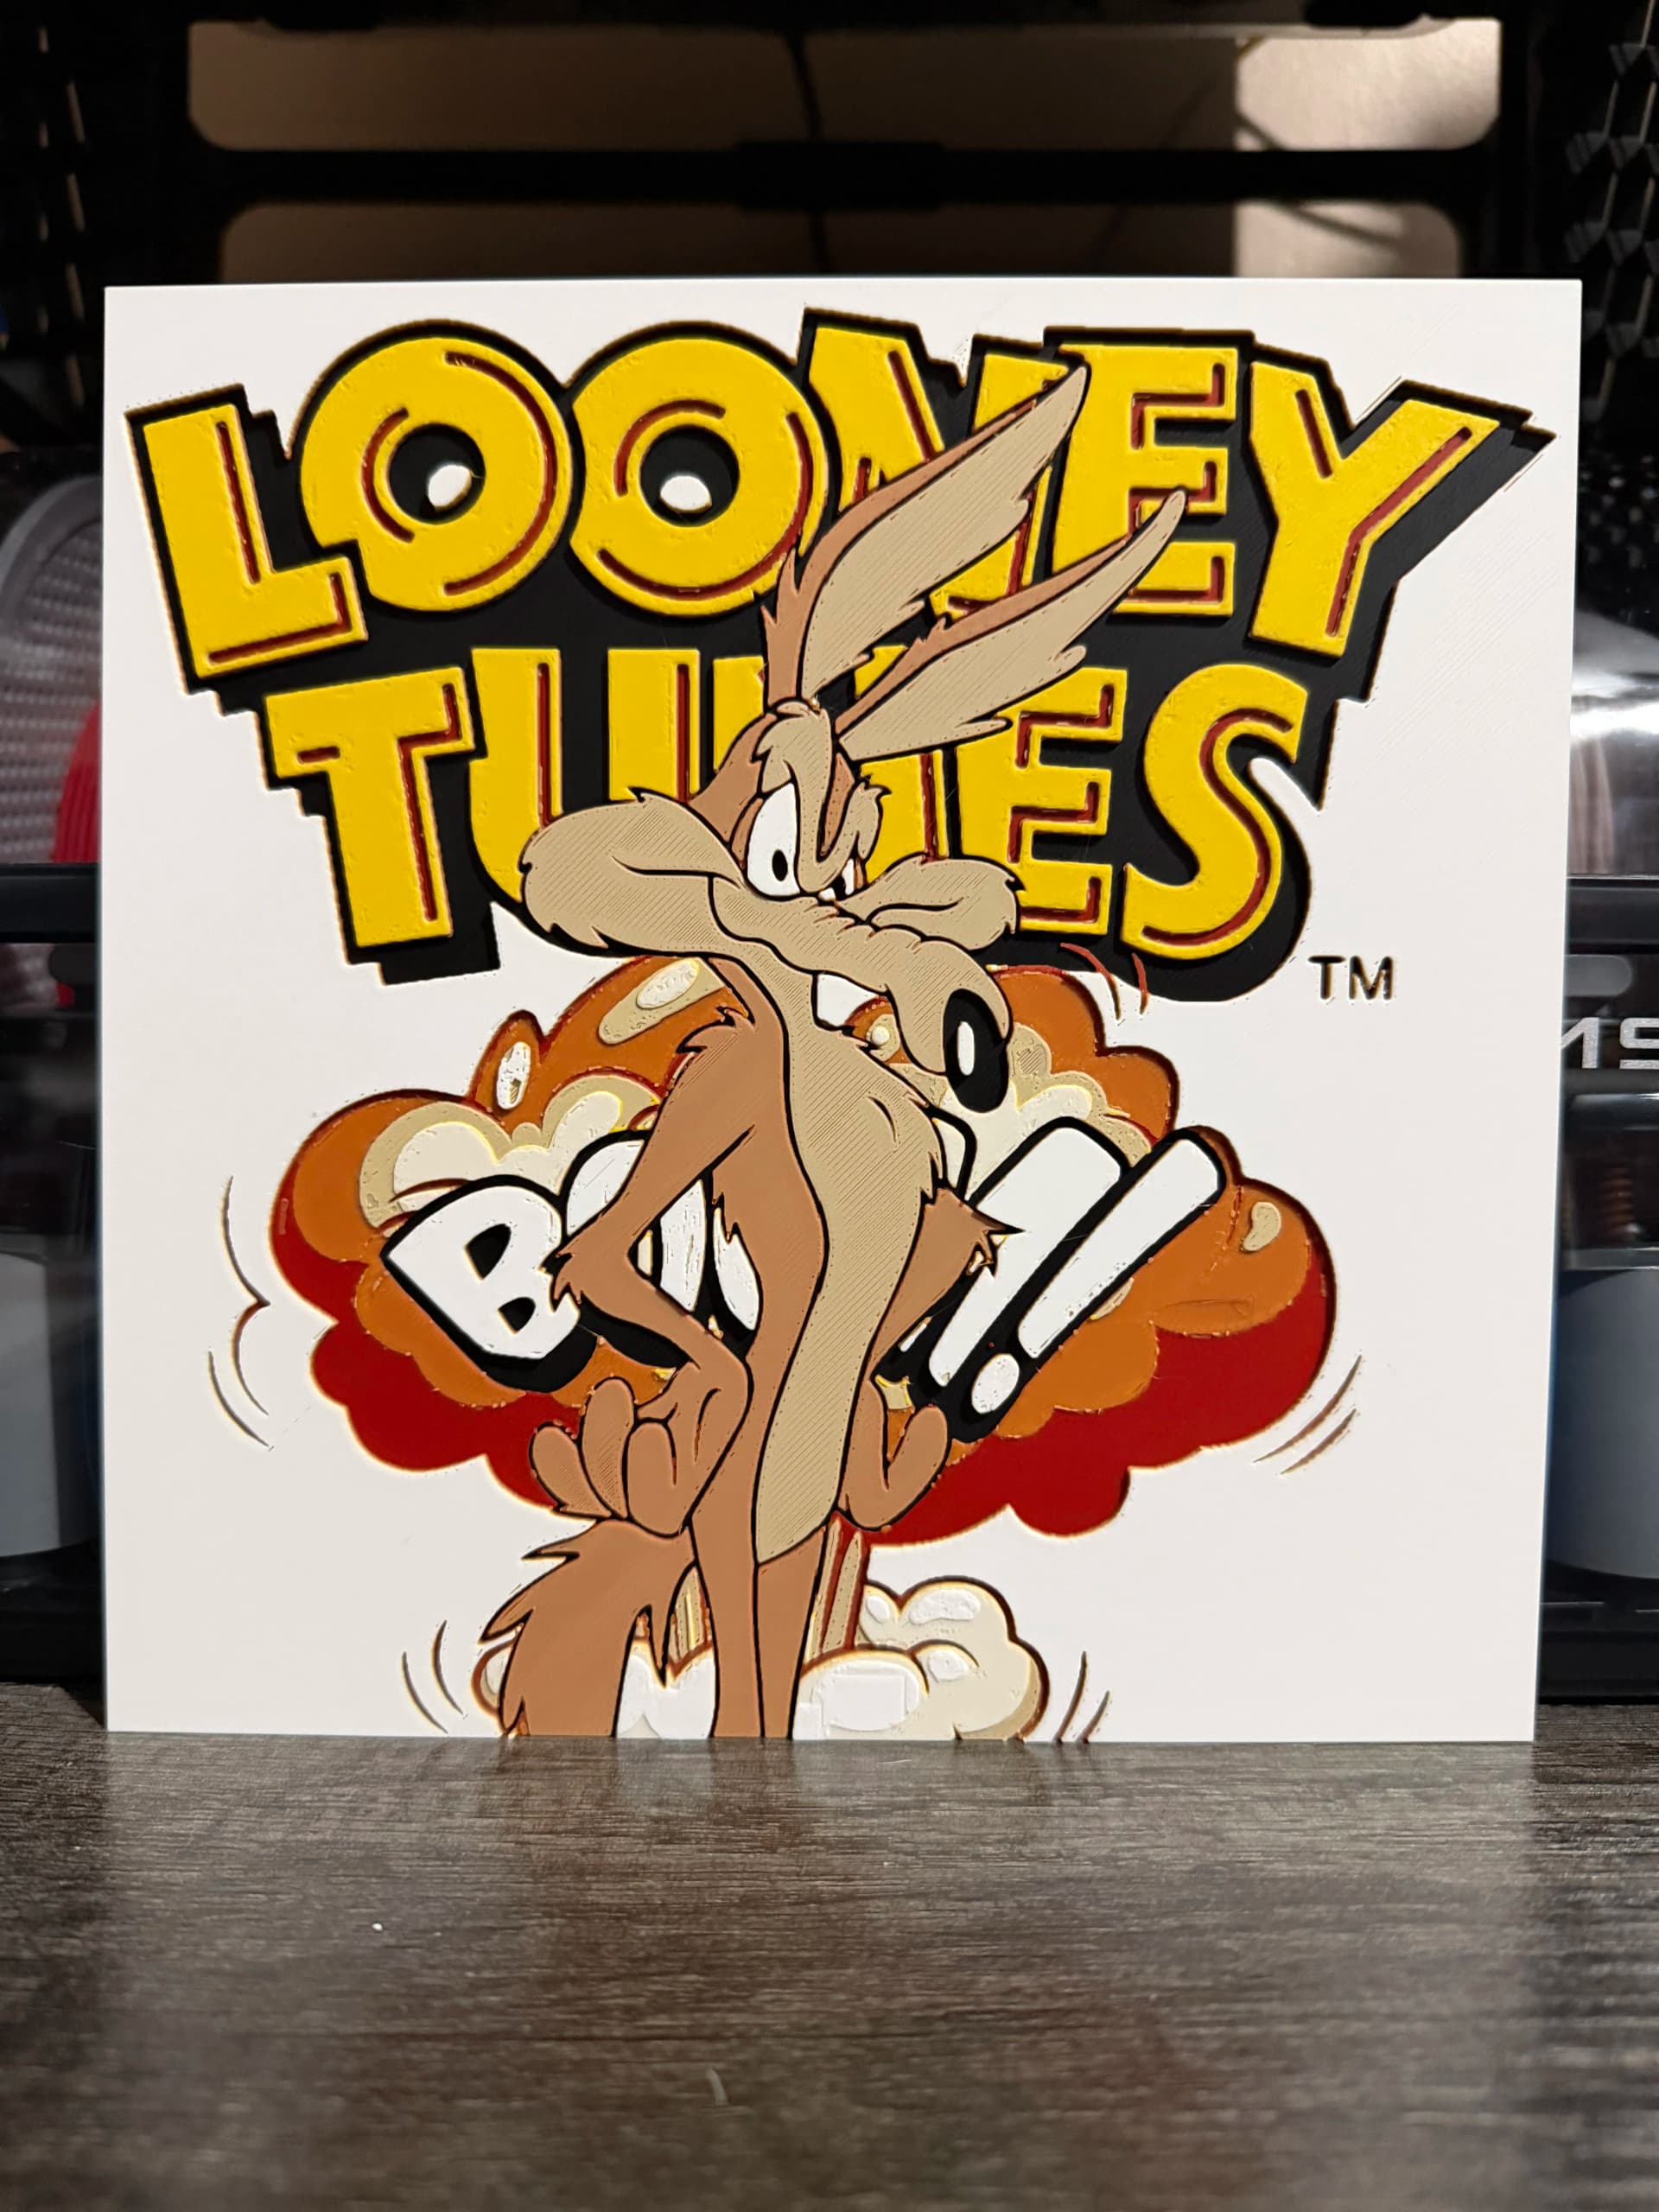
Best Classic Saturday Morning Cartoon STL Files for HueForge
The best classic Saturday morning cartoon STL files for HueForge — Scooby-Doo, Looney Tunes, Transformers, He-Man, TMNT and more, as bold filament wall art.
3D Printing Business Name Ideas (and How to Pick One That Lasts)
3D printing business name ideas grouped by style — descriptive, filament-themed, clever, and premium — plus naming principles and how to check a name is free to use.
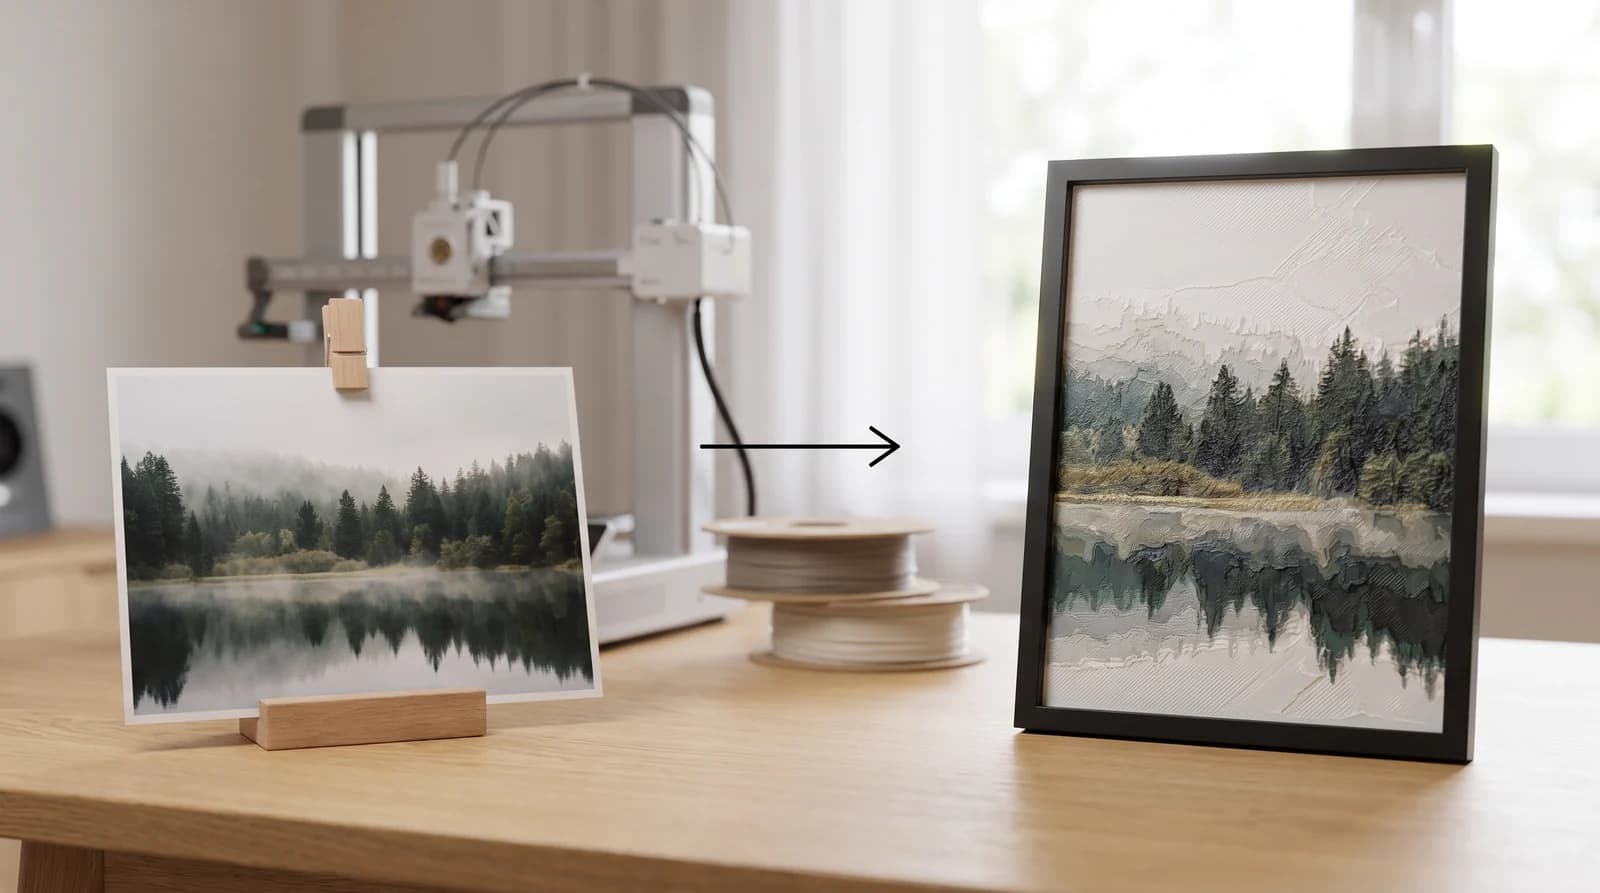
How to Use HueForge: A Software Walkthrough
How to use HueForge step by step — importing an image, setting your filament stack and TD values, tuning layers, reading the preview, and exporting a print file.