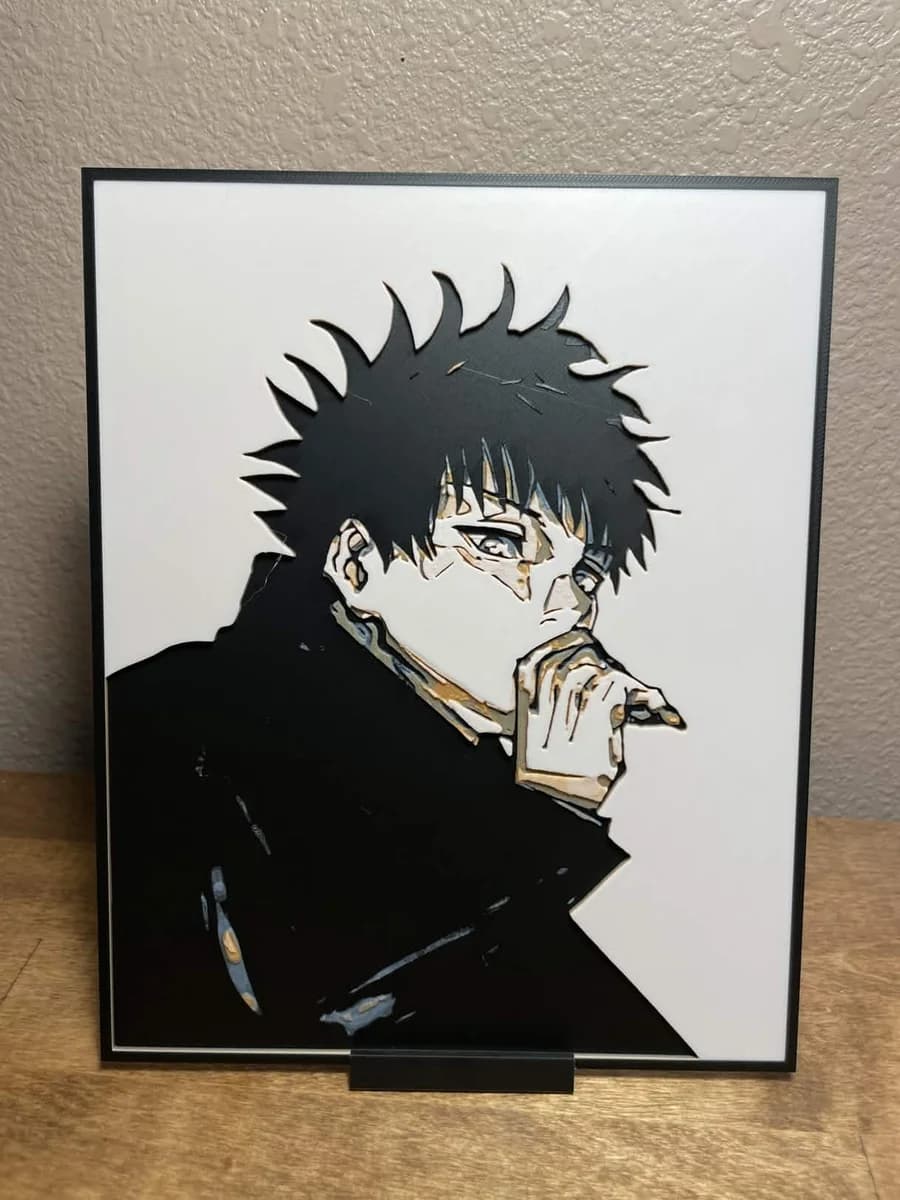
Megumi Manga
Megumi's contemplative expression emerges through masterful layering, capturing the beloved Jujutsu Kaisen sorcerer in a moment of quiet intensity. His distinctive spiky black hair creates dramatic contrast against the clean white background, while subtle flesh tones bring warmth to his face. The composition focuses on his characteristic hand-to-chin pose, emphasizing his thoughtful nature through careful geometric forms and strategic color transitions that highlight every detail of his determined gaze.
View on PatreonRequired Filaments5
Bambu Lab Basic Black
Bambu Lab Basic Blue Gray
Bambu Lab Basic Orange
Bambu Lab Basic Gold
Bambu Lab Basic Jade White
Why filament details may vary
Filament details (brand, color, and TD value) may not exactly match the designer's original specification. In some cases, the designer didn't specify exact filaments and we've matched the closest options we could find. Always check the original listing for full details.
Some filament links are affiliate links — we may earn a small commission at no extra cost to you. Learn more
Sign up to track your filament inventory and check your matches.
Create accountYou Might Also Like
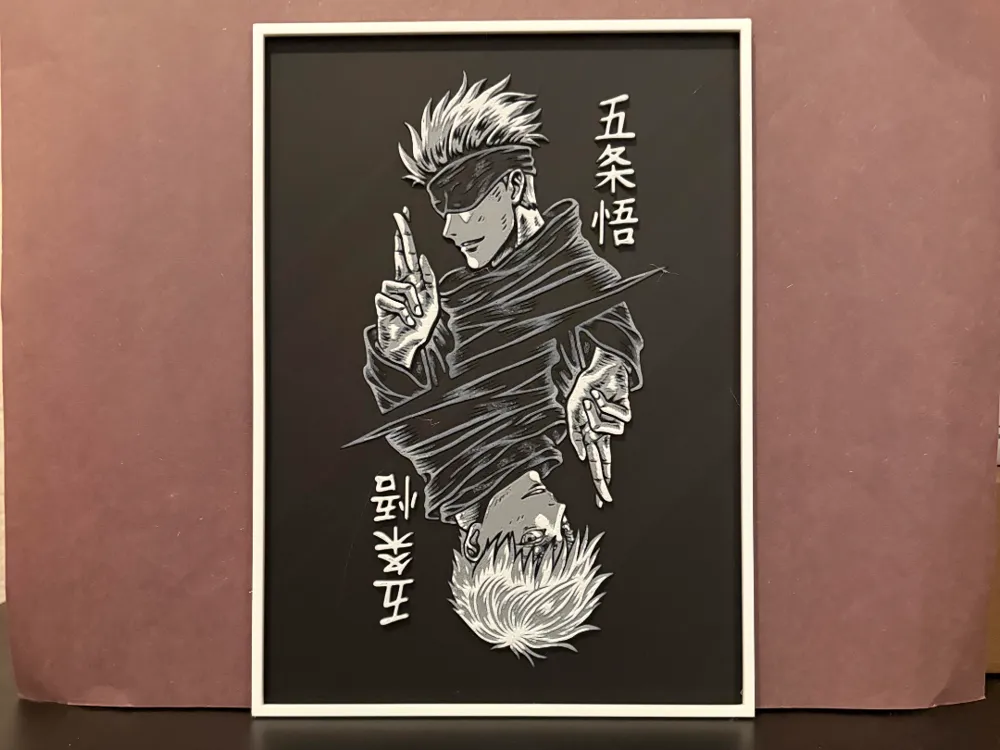
Jujutsu Kaisen - Satoru Gojo Hueforge
by Estiv

Jujutsu Kaisen
by 3D-Mentiel
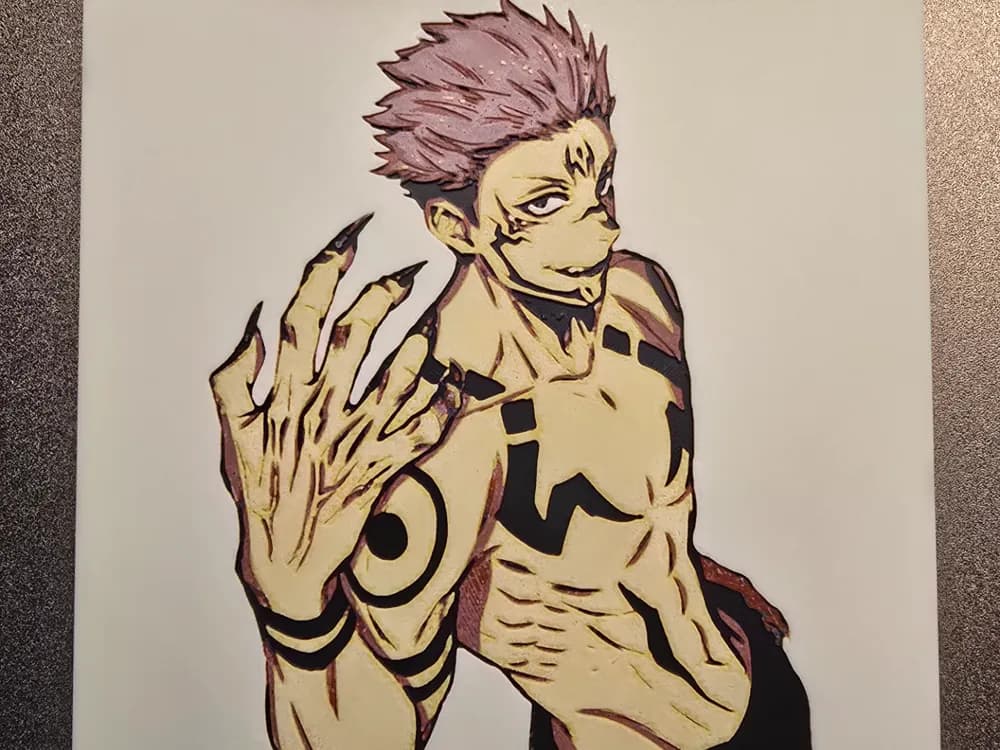
Jujutsu Kaisen - Sukuna Hueforge
by 3D-Mentiel

Satoru Gojo - Jujutsu Kaisen
by bzz999

Hueforge Young Suguru Geto from Jujutsu Kaisen
by SBC Creations
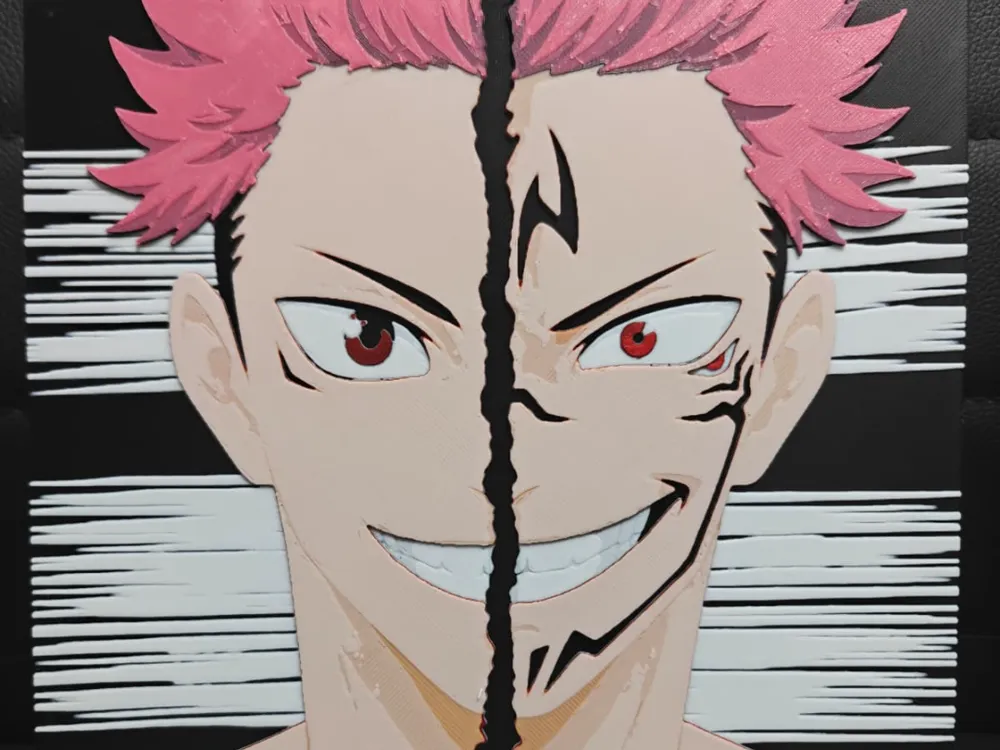
Yuji Itadori / Ryomen Sukuna Jujutsu Kaisen
by TheHueforgeLady
Recent Articles
View all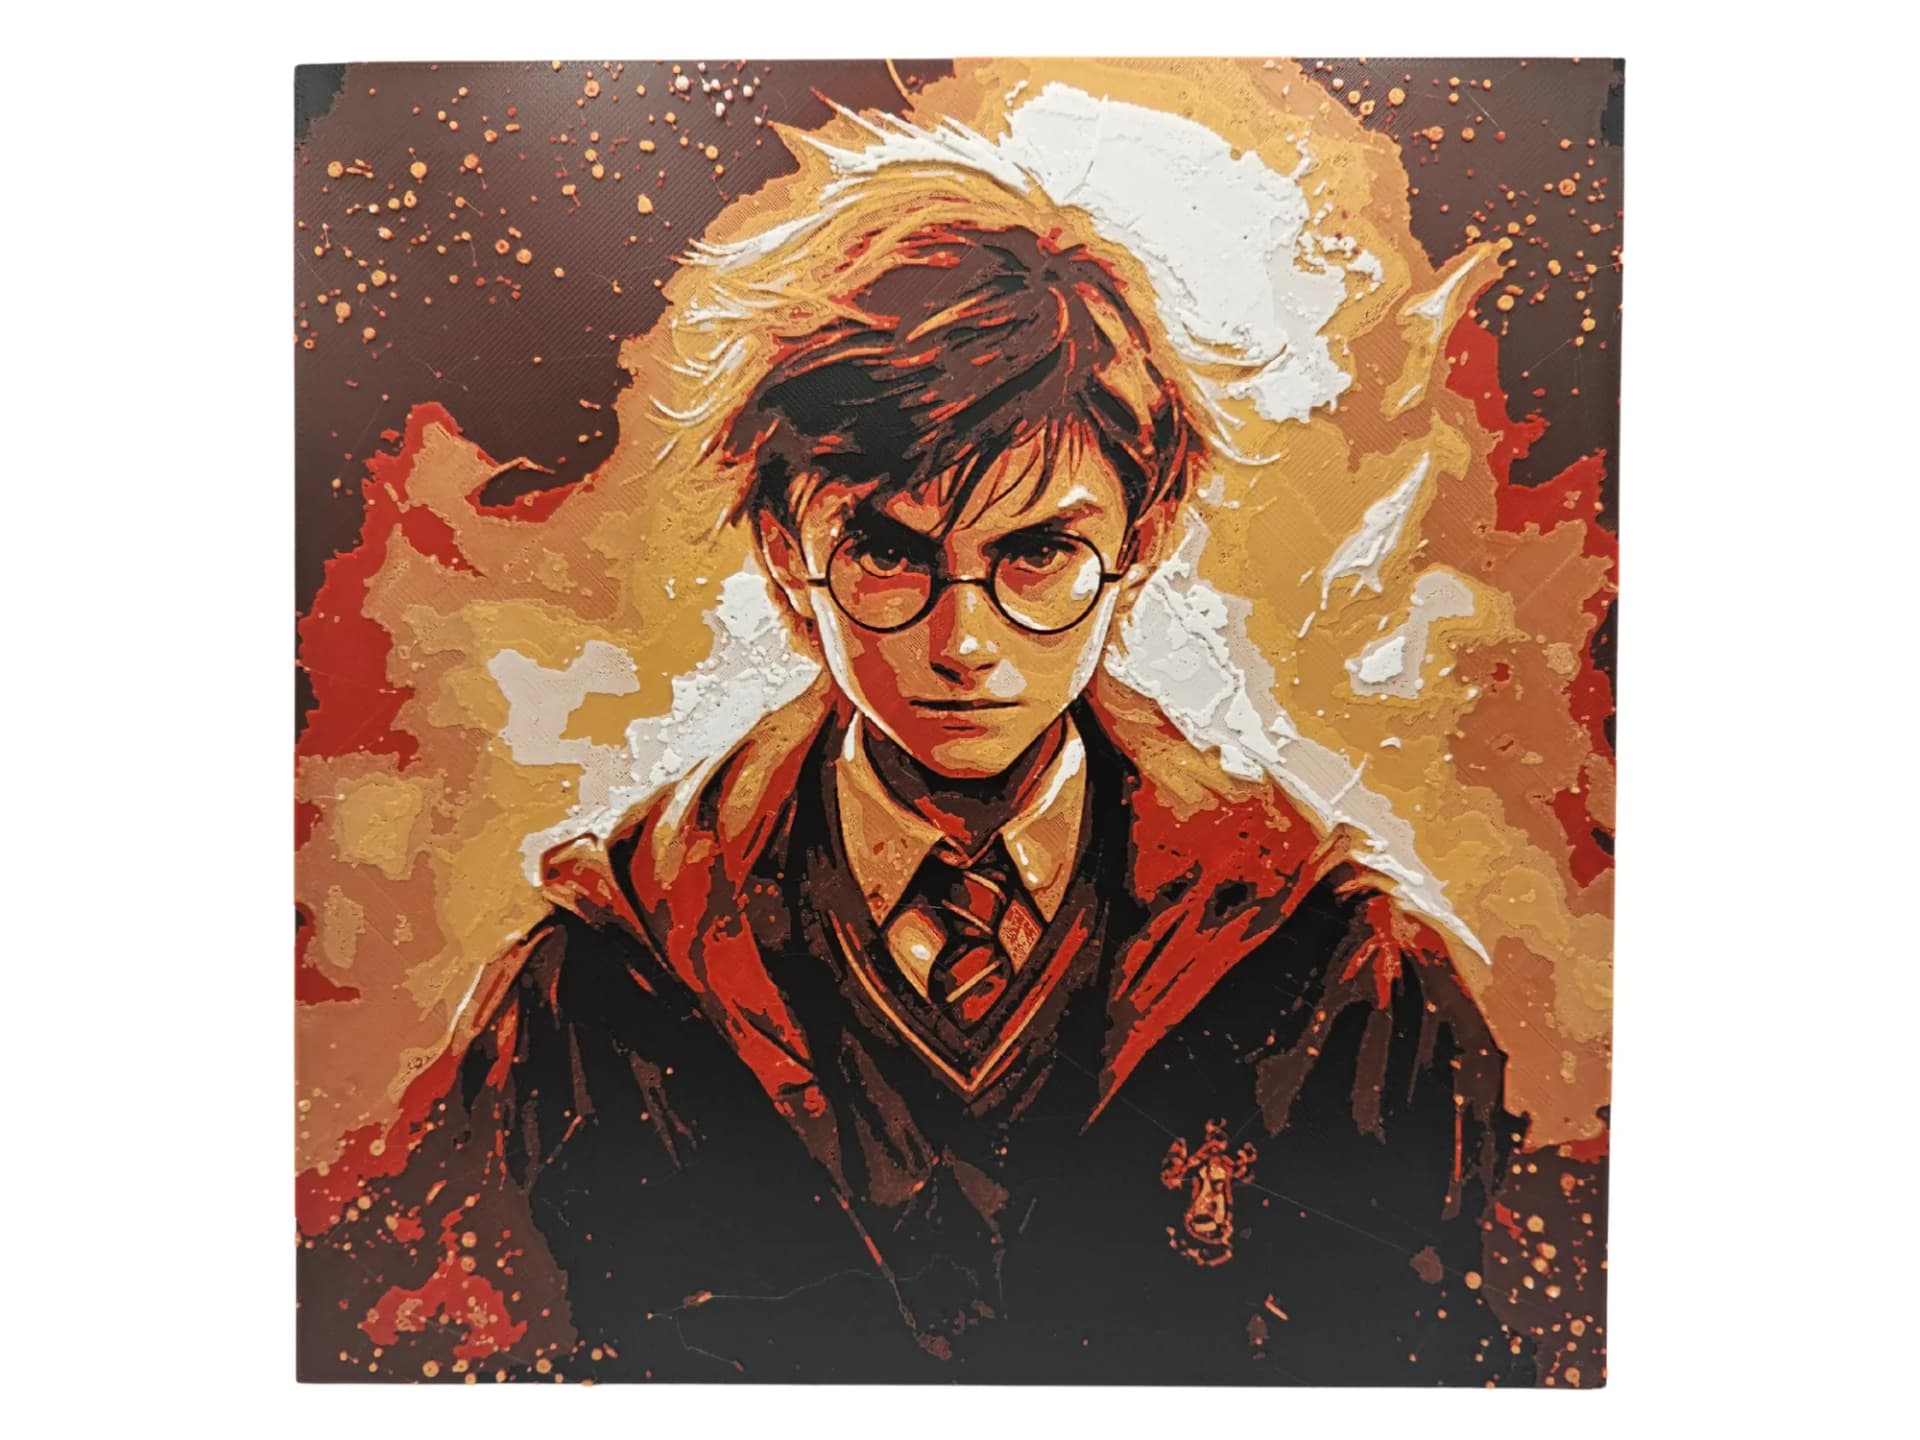
Best Harry Potter 3D Prints for HueForge: Hogwarts, Patronuses & the Deathly Hallows
The Harry Potter 3D prints worth making as HueForge filament paintings — Hogwarts and house crests, the Deathly Hallows, patronuses, and bookmarks, with the catalog's take on each.
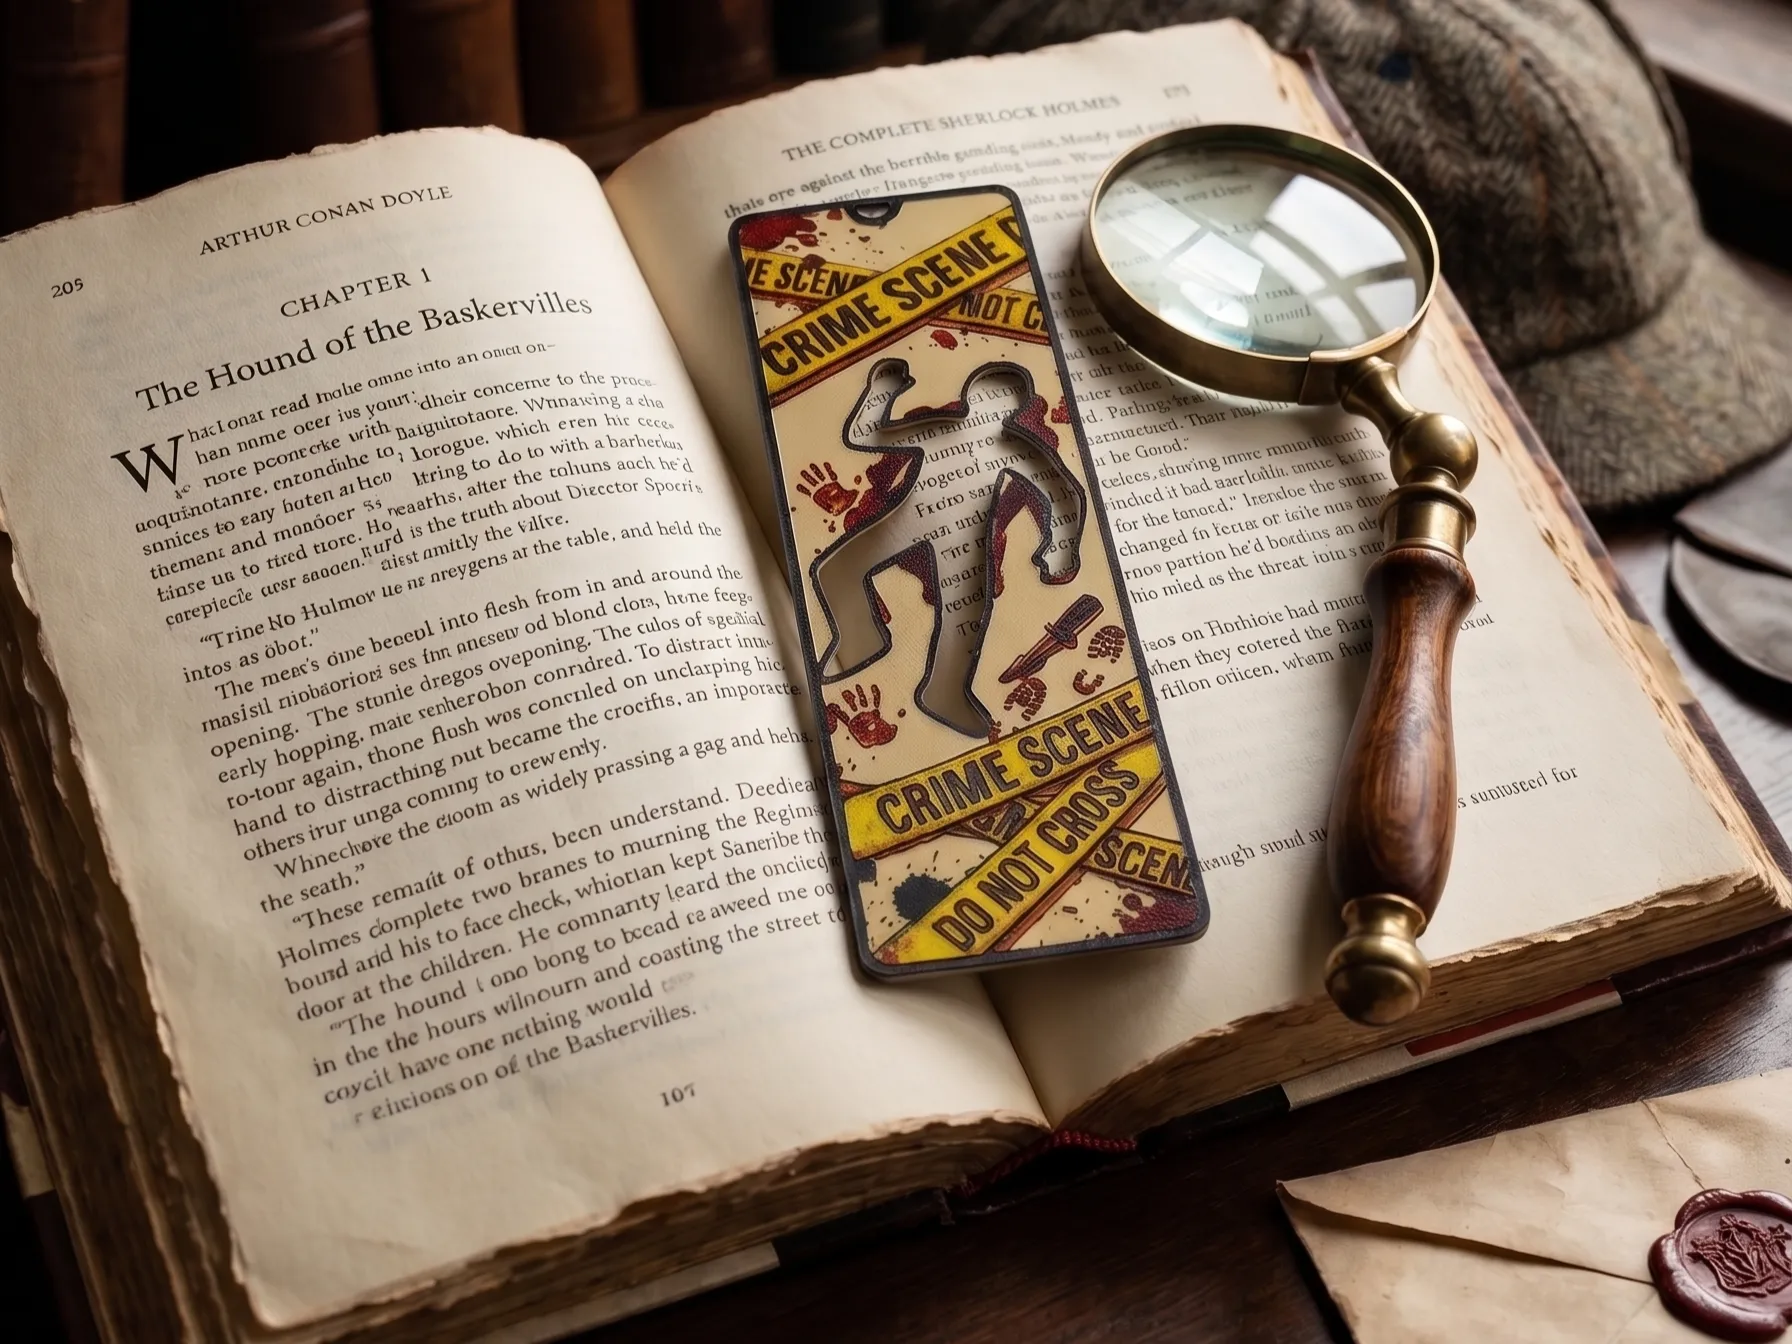
Best 3D Printed Bookmarks for HueForge: Fandom, Dragons, Animals & More
The 3D printed bookmarks worth printing as HueForge filament paintings — fandom, dragon, animal, floral, and gothic designs, and why they make the ideal first print.
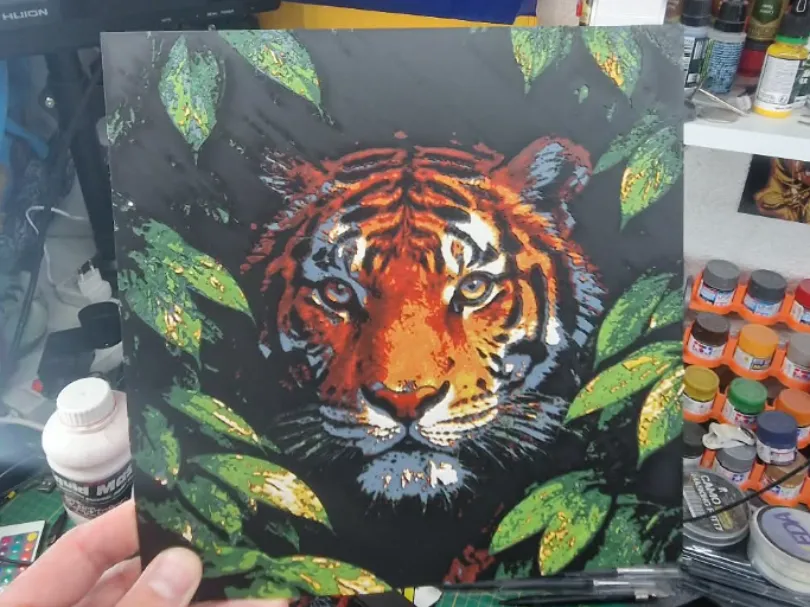
Best 3D Printed Animals for HueForge: Cats, Dogs, Birds & Wildlife
The 3D printed animals worth printing as HueForge filament paintings — cats, dogs, birds, wildlife, and ocean life, with the position the catalog takes on each.