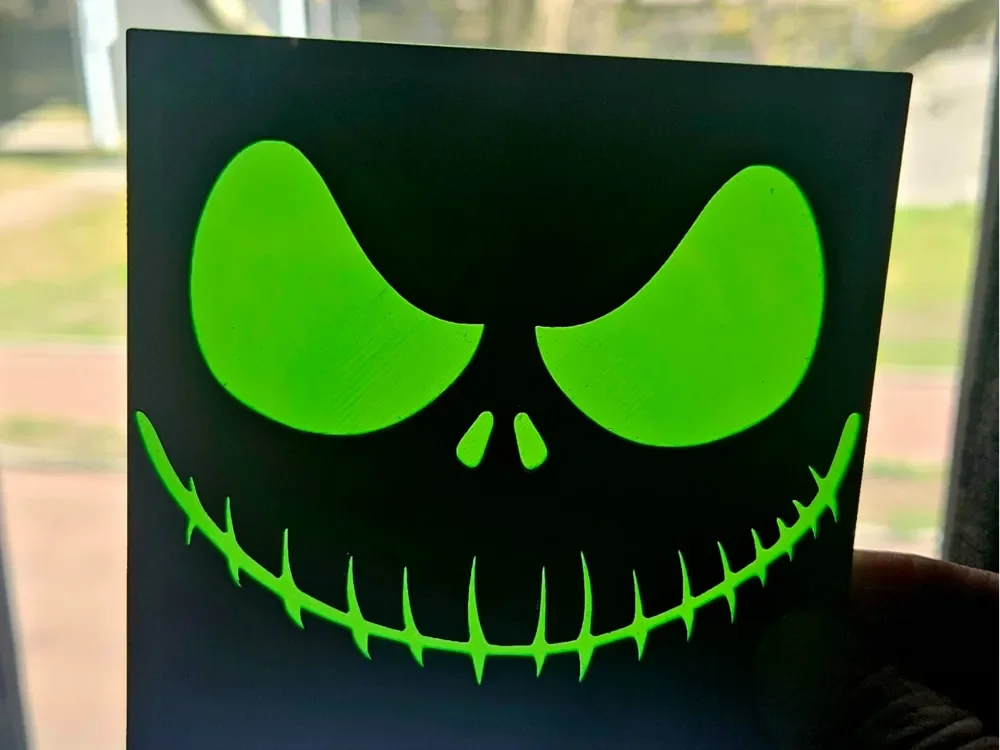
Nightmare before christmas halloween
Jack Skellington's iconic skull face glows with an eerie, sinister energy in this striking *Nightmare Before Christmas* tribute. Rendered in bold neon green against a deep black background, those hollow, angled eye sockets and the jagged stitched grin radiate pure Halloween menace. Mano's 3D_Art captures the Pumpkin King's unsettling charm with razor-sharp contrast — a perfect celebration of Tim Burton's beloved dark fantasy.
View on MakerWorldRequired Filaments2
CopyMaster3D Perfect Purple
Bambu Lab Basic Black
Why filament details may vary
Filament details (brand, color, and TD value) may not exactly match the designer's original specification. In some cases, the designer didn't specify exact filaments and we've matched the closest options we could find. Always check the original listing for full details.
Some filament links are affiliate links — we may earn a small commission at no extra cost to you. Learn more
Sign up to track your filament inventory and check your matches.
Create accountYou Might Also Like

Jack and Sally bookmarks from Nightmare before Christmas - Fanart
by BooneCo3d

Celebration of Halloween - Jack and Sally Dressed for the festivities - Clockface
by BooneCo3d

Stained Glass Jack and Sally Nightmare Before Christmas Halloween Bookmarks - Set of 3
by BooneCo3d
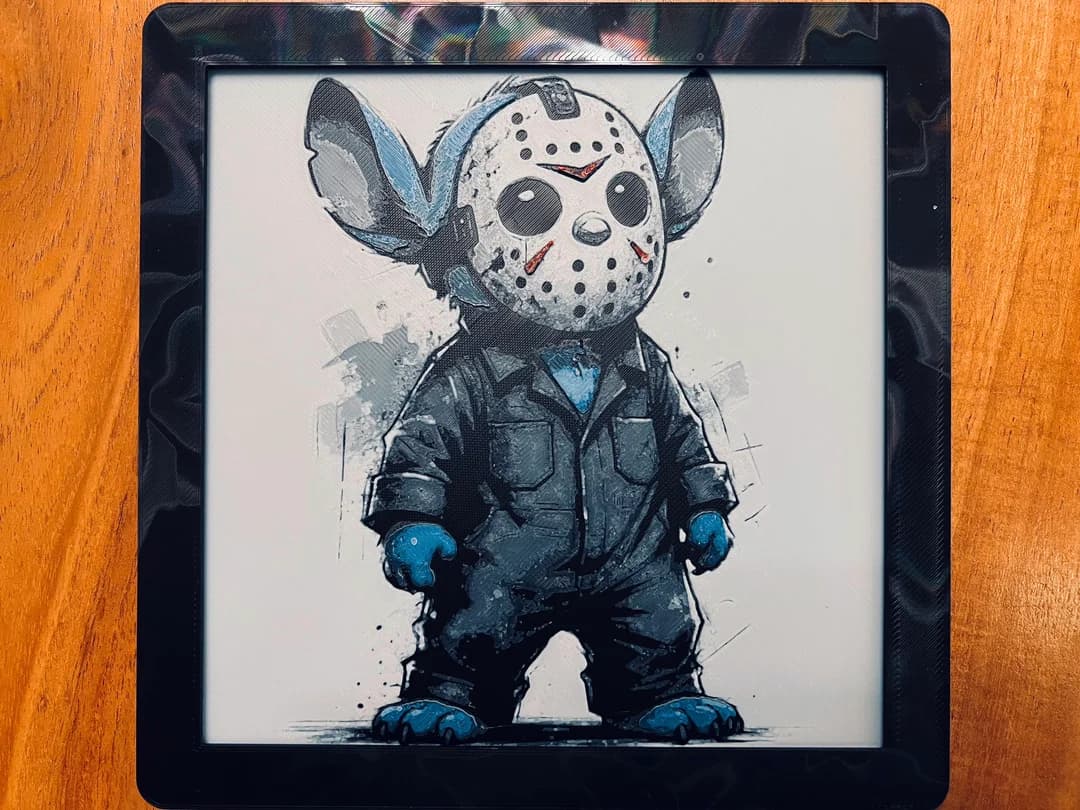
Stitch Dressed as Jason
by JustBe 3D Printing
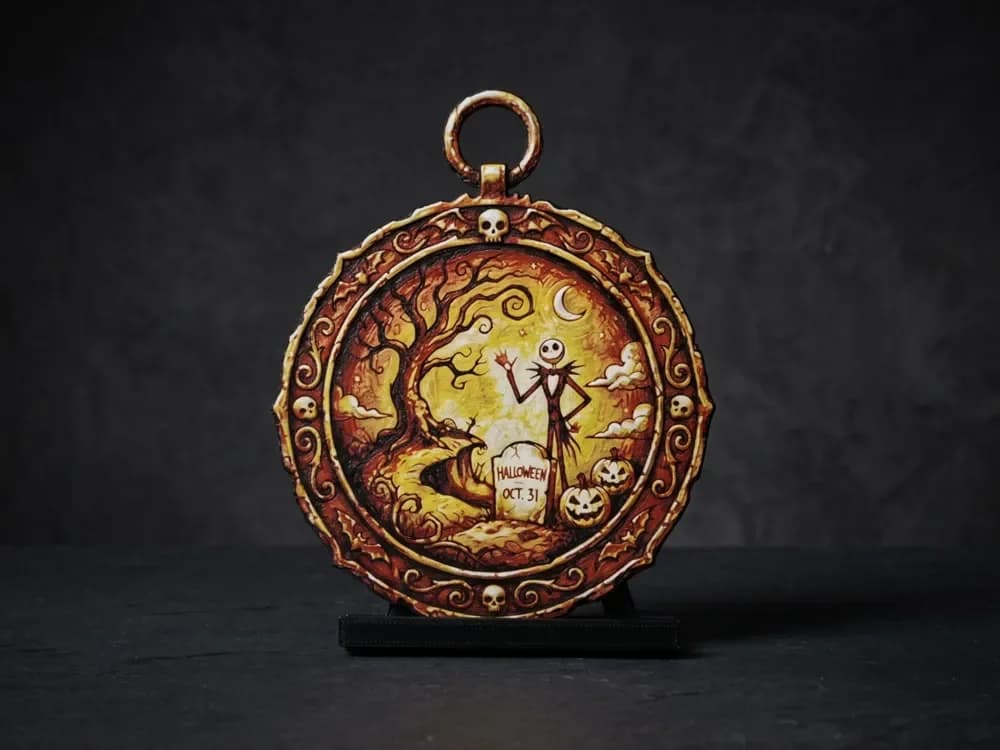
Jack Skele Halloween Medallion
by LED

Jack and Sally from Nightmare Before Christmas - Fanart Clockface
by BooneCo3d
Recent Articles
View all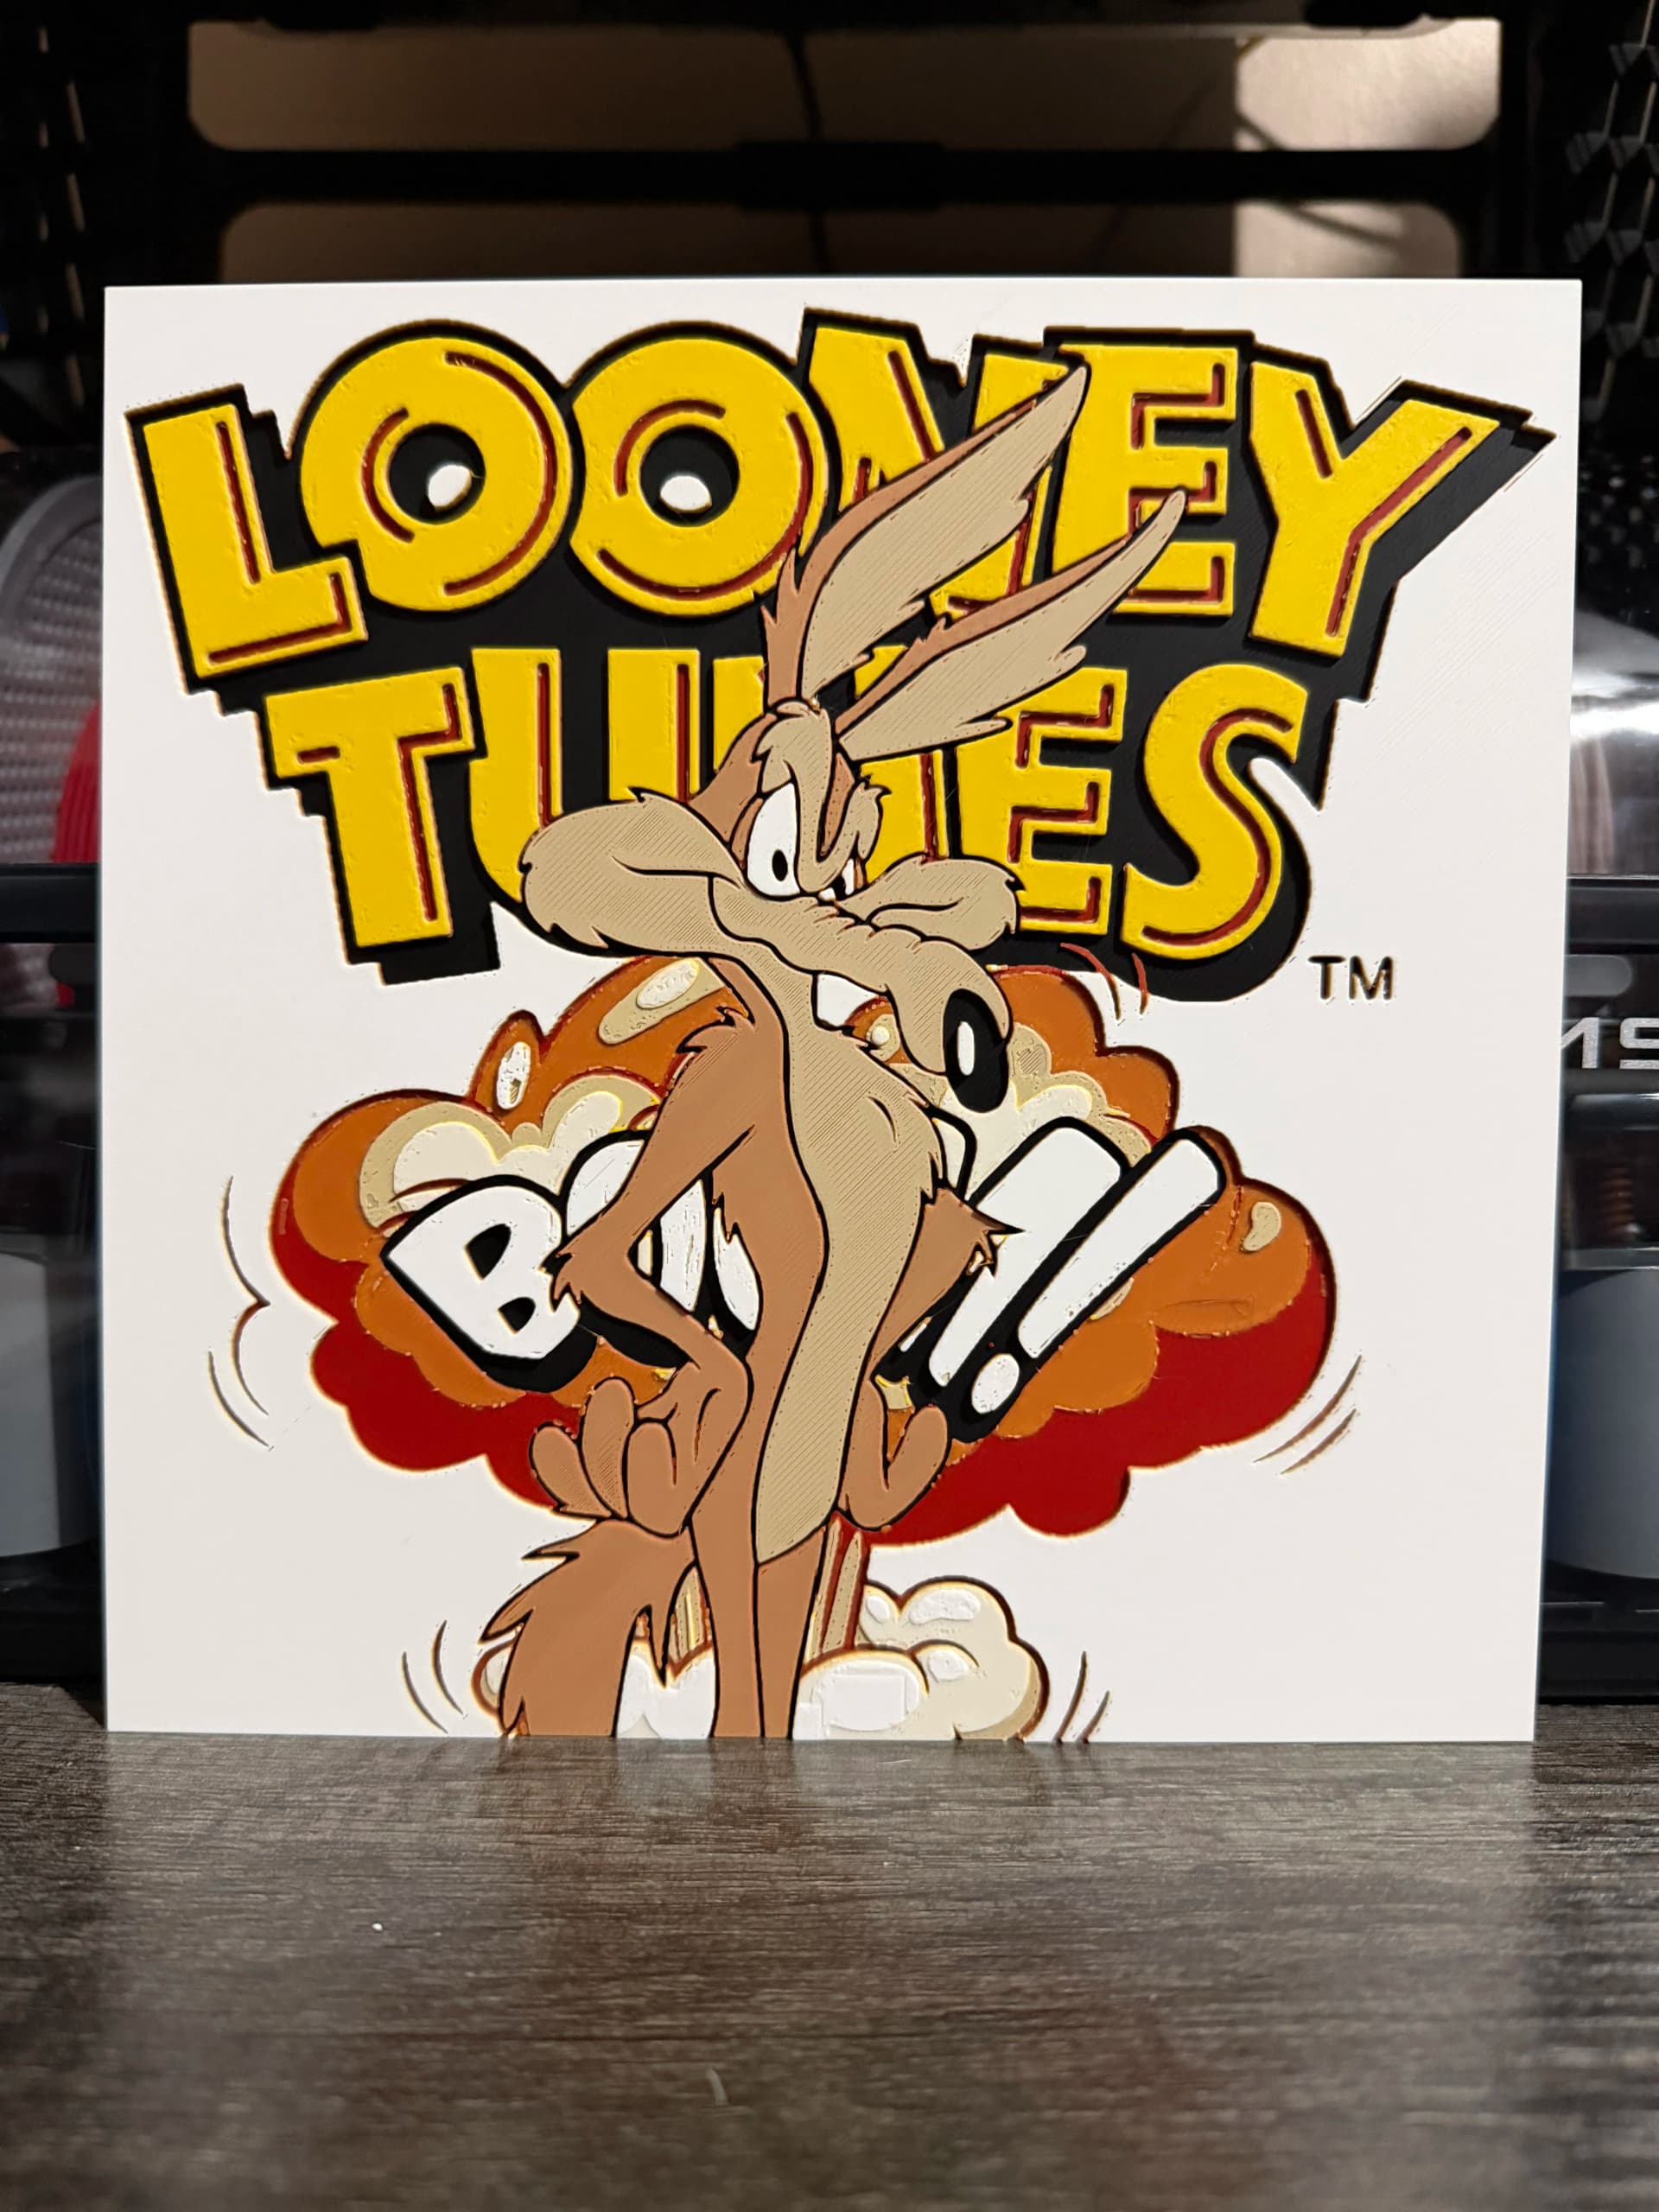
Best Classic Saturday Morning Cartoon STL Files for HueForge
The best classic Saturday morning cartoon STL files for HueForge — Scooby-Doo, Looney Tunes, Transformers, He-Man, TMNT and more, as bold filament wall art.
3D Printing Business Name Ideas (and How to Pick One That Lasts)
3D printing business name ideas grouped by style — descriptive, filament-themed, clever, and premium — plus naming principles and how to check a name is free to use.
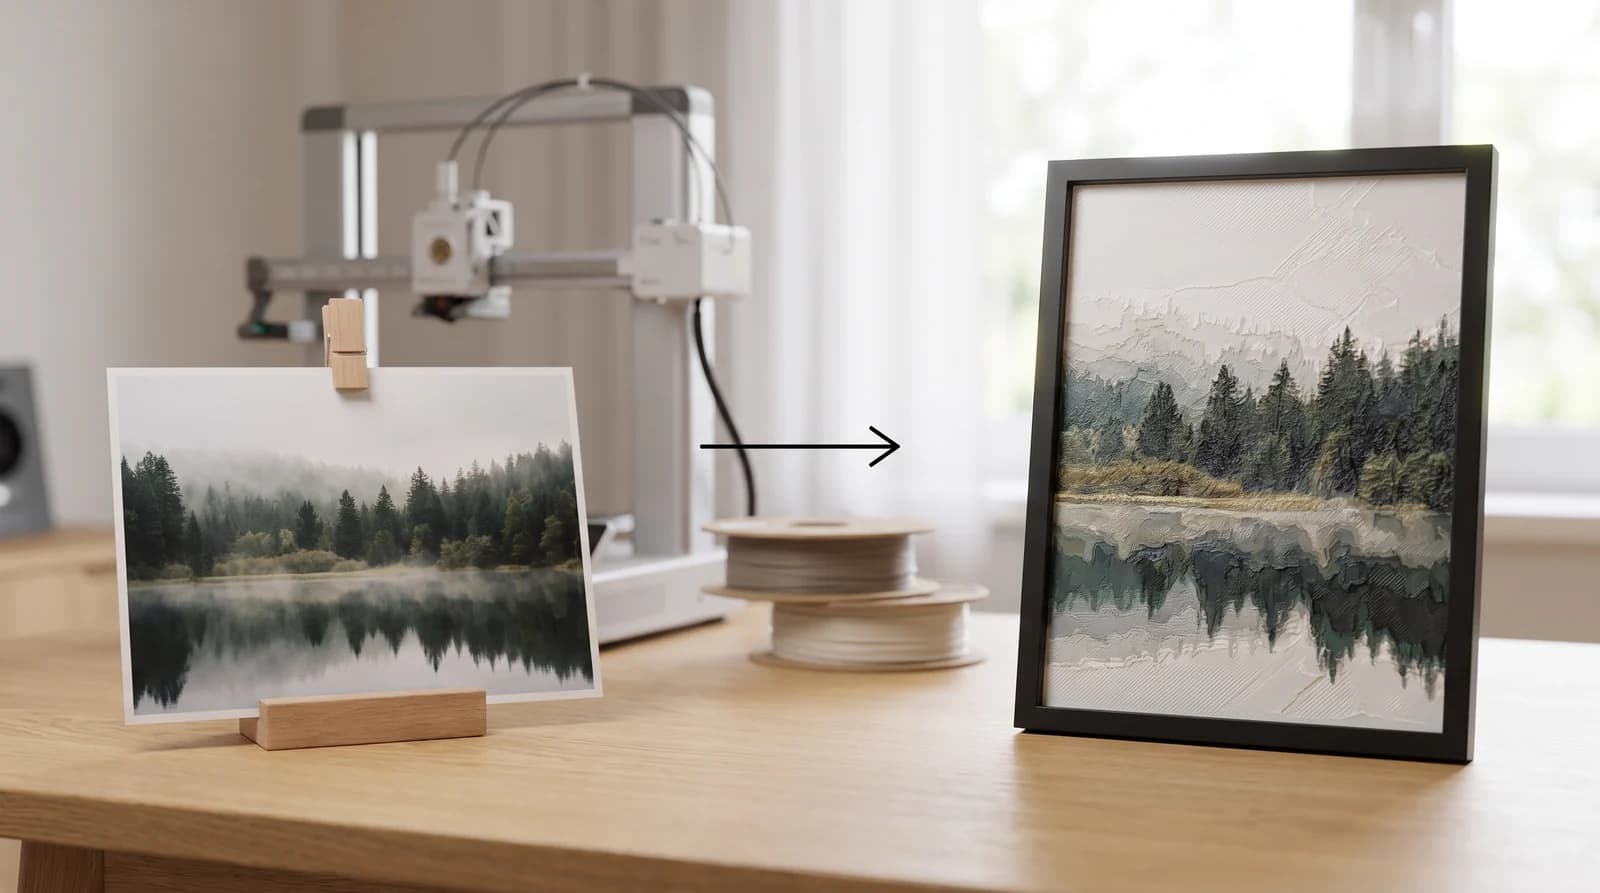
How to Use HueForge: A Software Walkthrough
How to use HueForge step by step — importing an image, setting your filament stack and TD values, tuning layers, reading the preview, and exporting a print file.