Spider-Man Break In
by BusyKikiBee
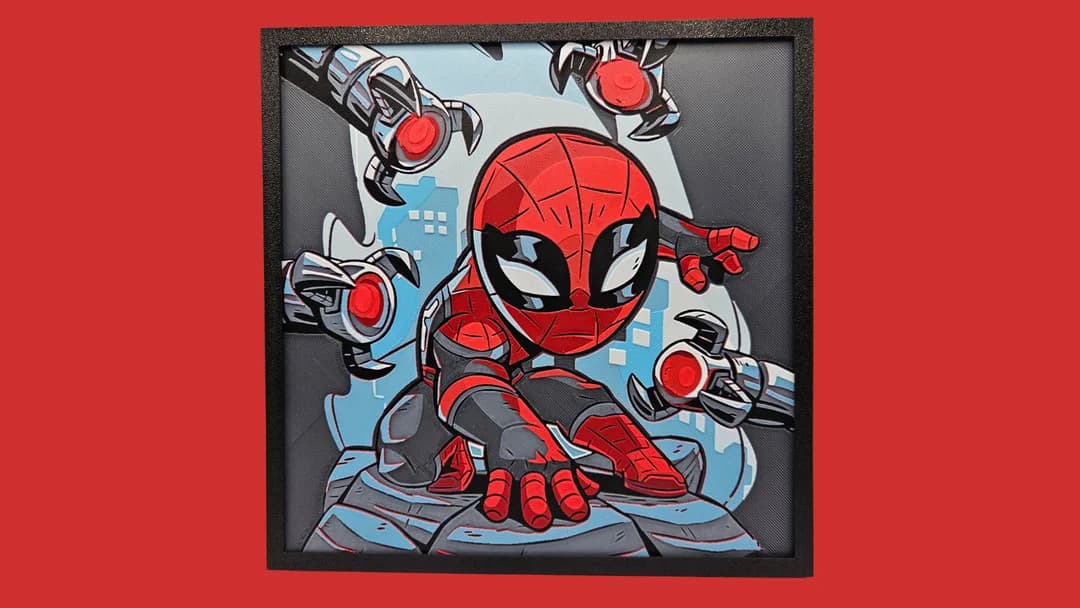
Caught mid-break-in, a chibi Spider-Man crouches low against rooftop concrete, surrounded by the menacing mechanical claws of Doctor Octopus closing in from every angle. BusyKikiBee's bold comic-art style pops in vivid red and charcoal against a cool blue cityscape backdrop. The oversized expressive eyes and chunky proportions give this tense standoff an irresistible charm, balancing danger with pure superhero personality.
View on PatreonRequired Filaments6
Bambu Lab Basic Black
Bambu Lab Basic Blue Gray
Bambu Lab Basic Maroon Red
Bambu Lab Matte Scarlet Red
Bambu Lab Matte Sky Blue
Bambu Lab Matte Ivory White
Why filament details may vary
Filament details (brand, color, and TD value) may not exactly match the designer's original specification. In some cases, the designer didn't specify exact filaments and we've matched the closest options we could find. Always check the original listing for full details.
Some filament links are affiliate links — we may earn a small commission at no extra cost to you. Learn more
Sign up to track your filament inventory and check your matches.
Create accountYou Might Also Like
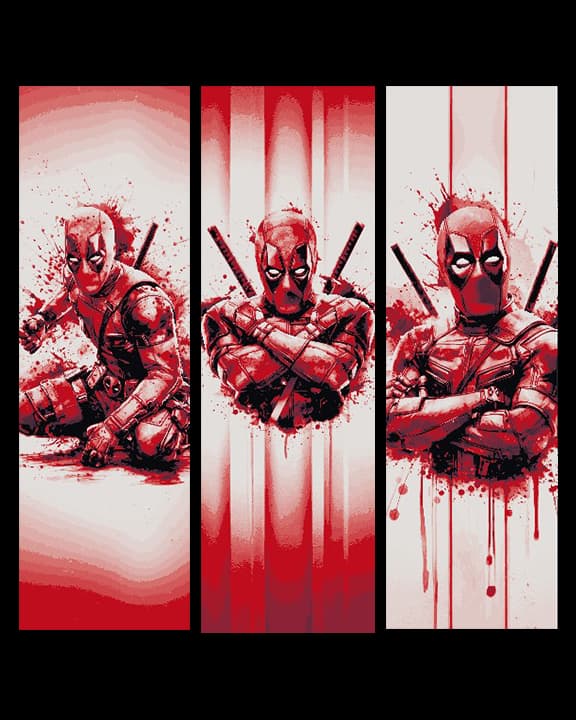
Fan Art - Marvel Character Deadpool portraits -set of 3 Bookmarks
by BooneCo3d
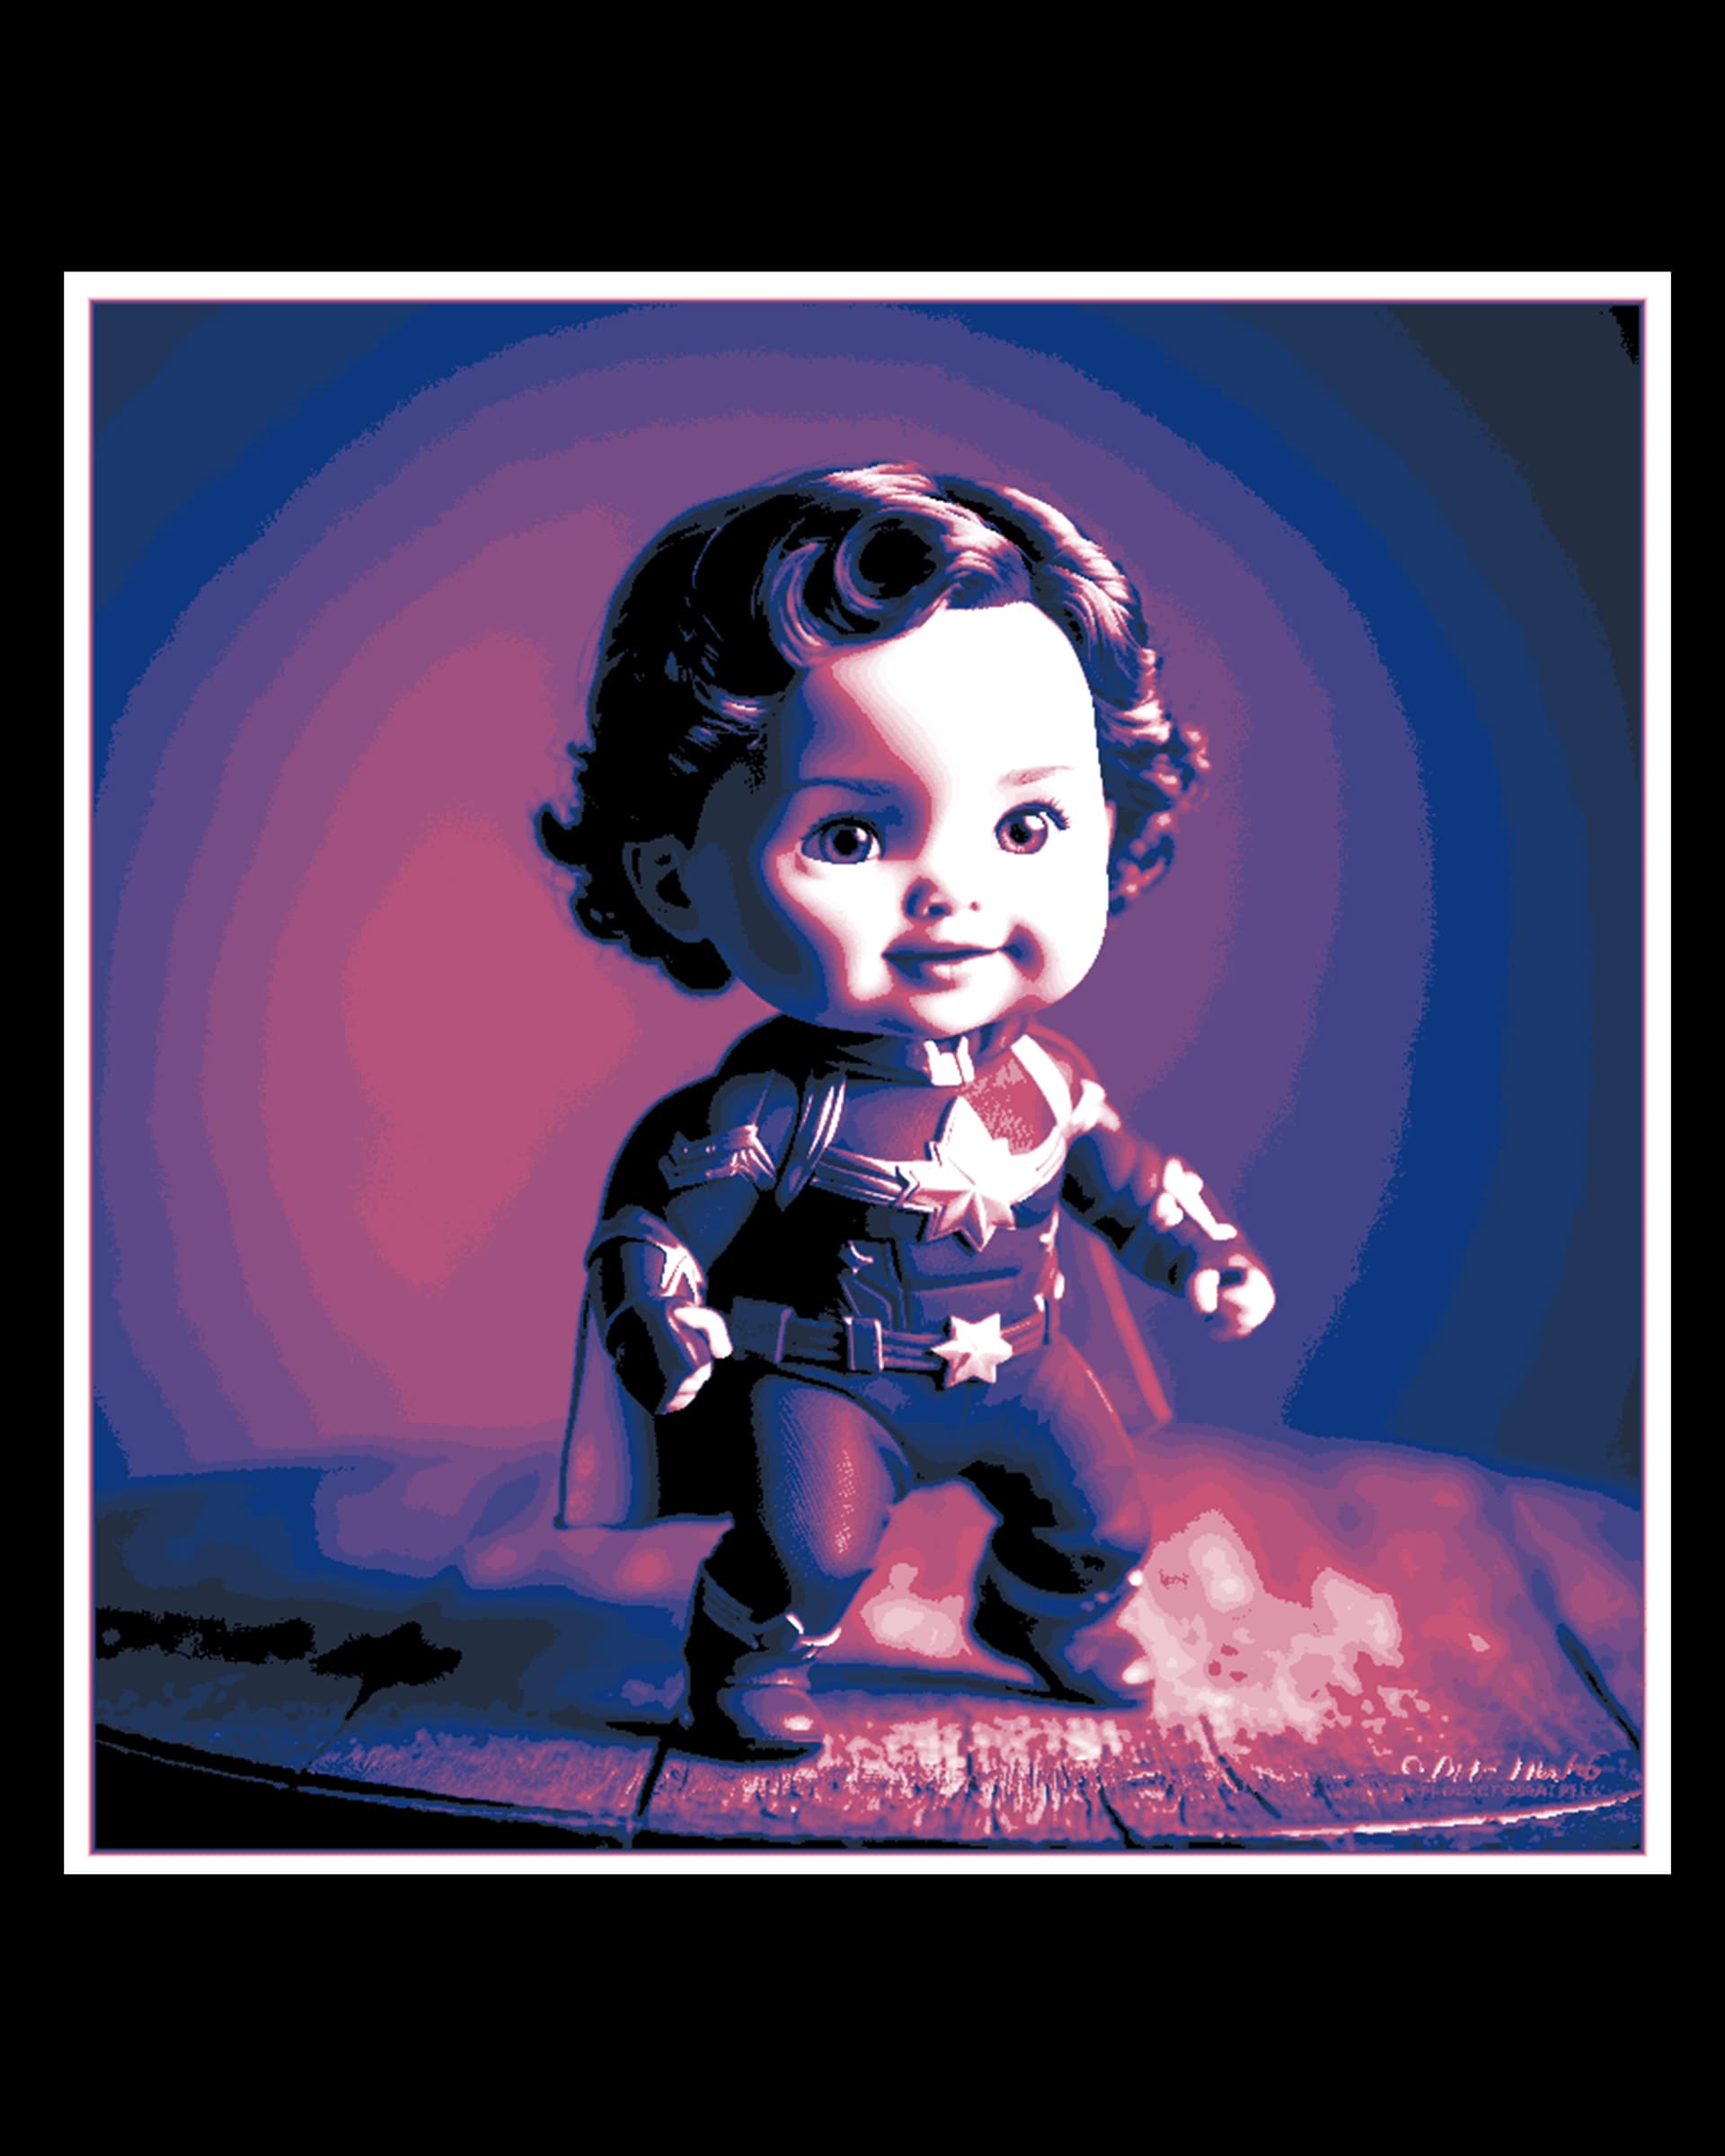
marvel.3mf
by BooneCo3d
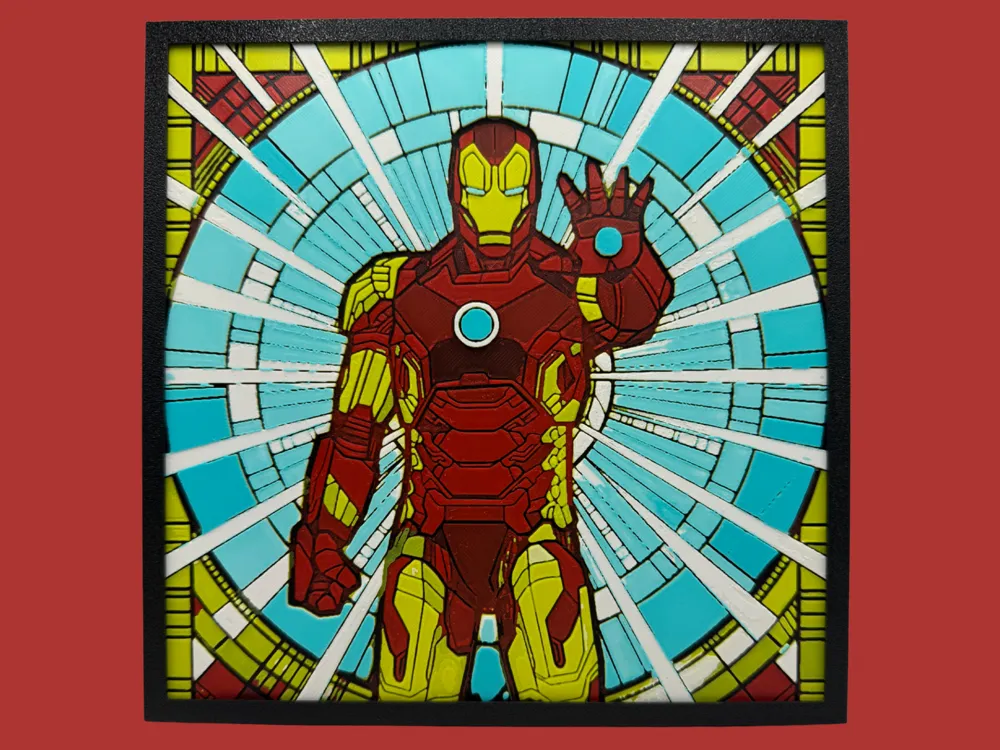
Ironman - Stained Glass
by Canadian Gamer
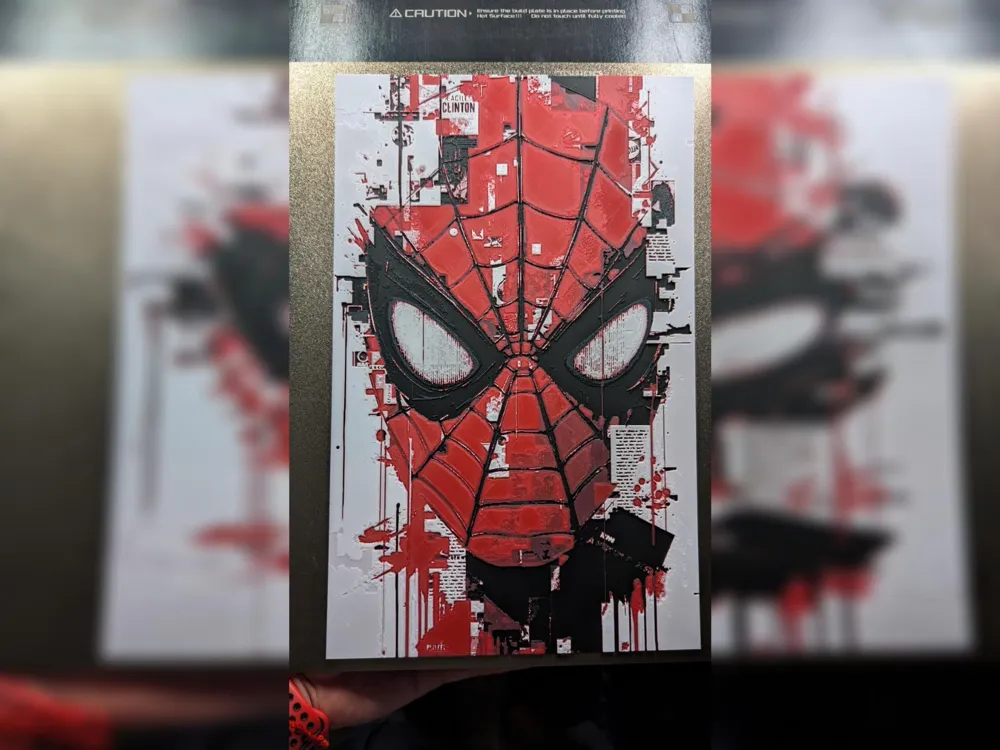
Spider Man Hueforge
by LuisArnauth
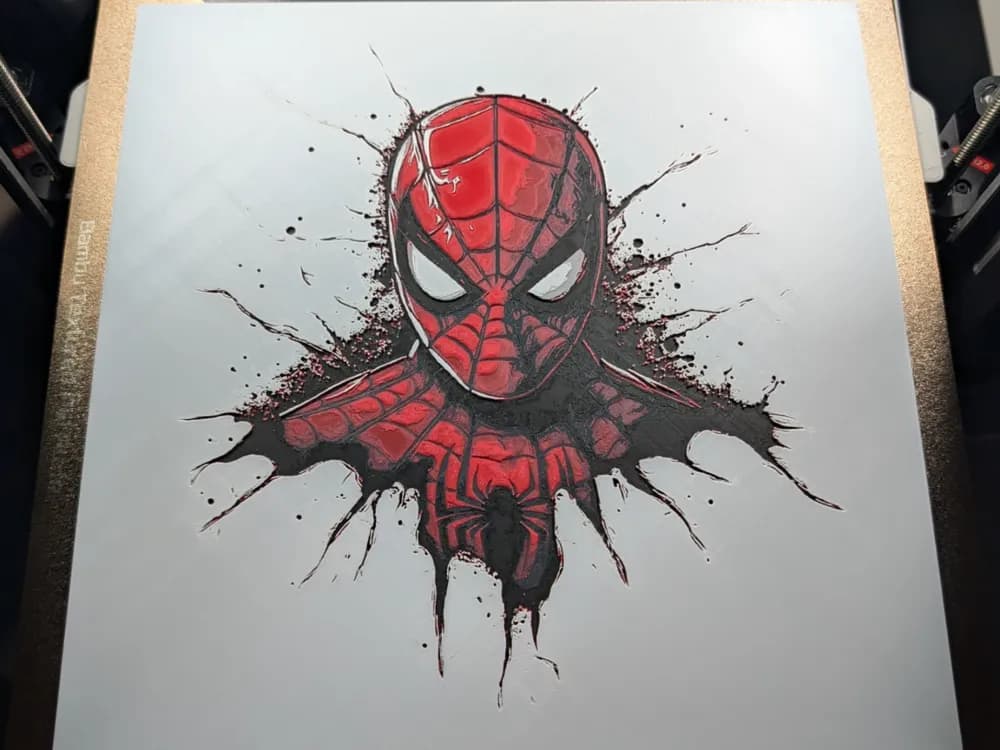
Spider Man Hueforge
by LuisArnauth
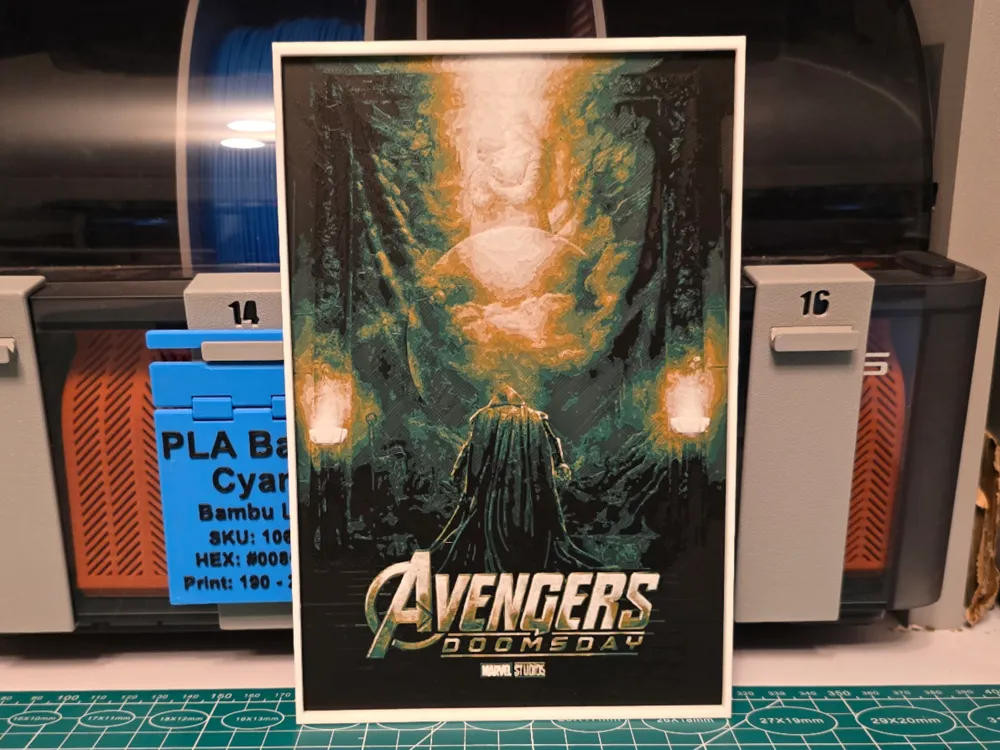
Avengers: Doomsday Movie Poster - Hueforge Art
by Lumpy3D
Recent Articles
View all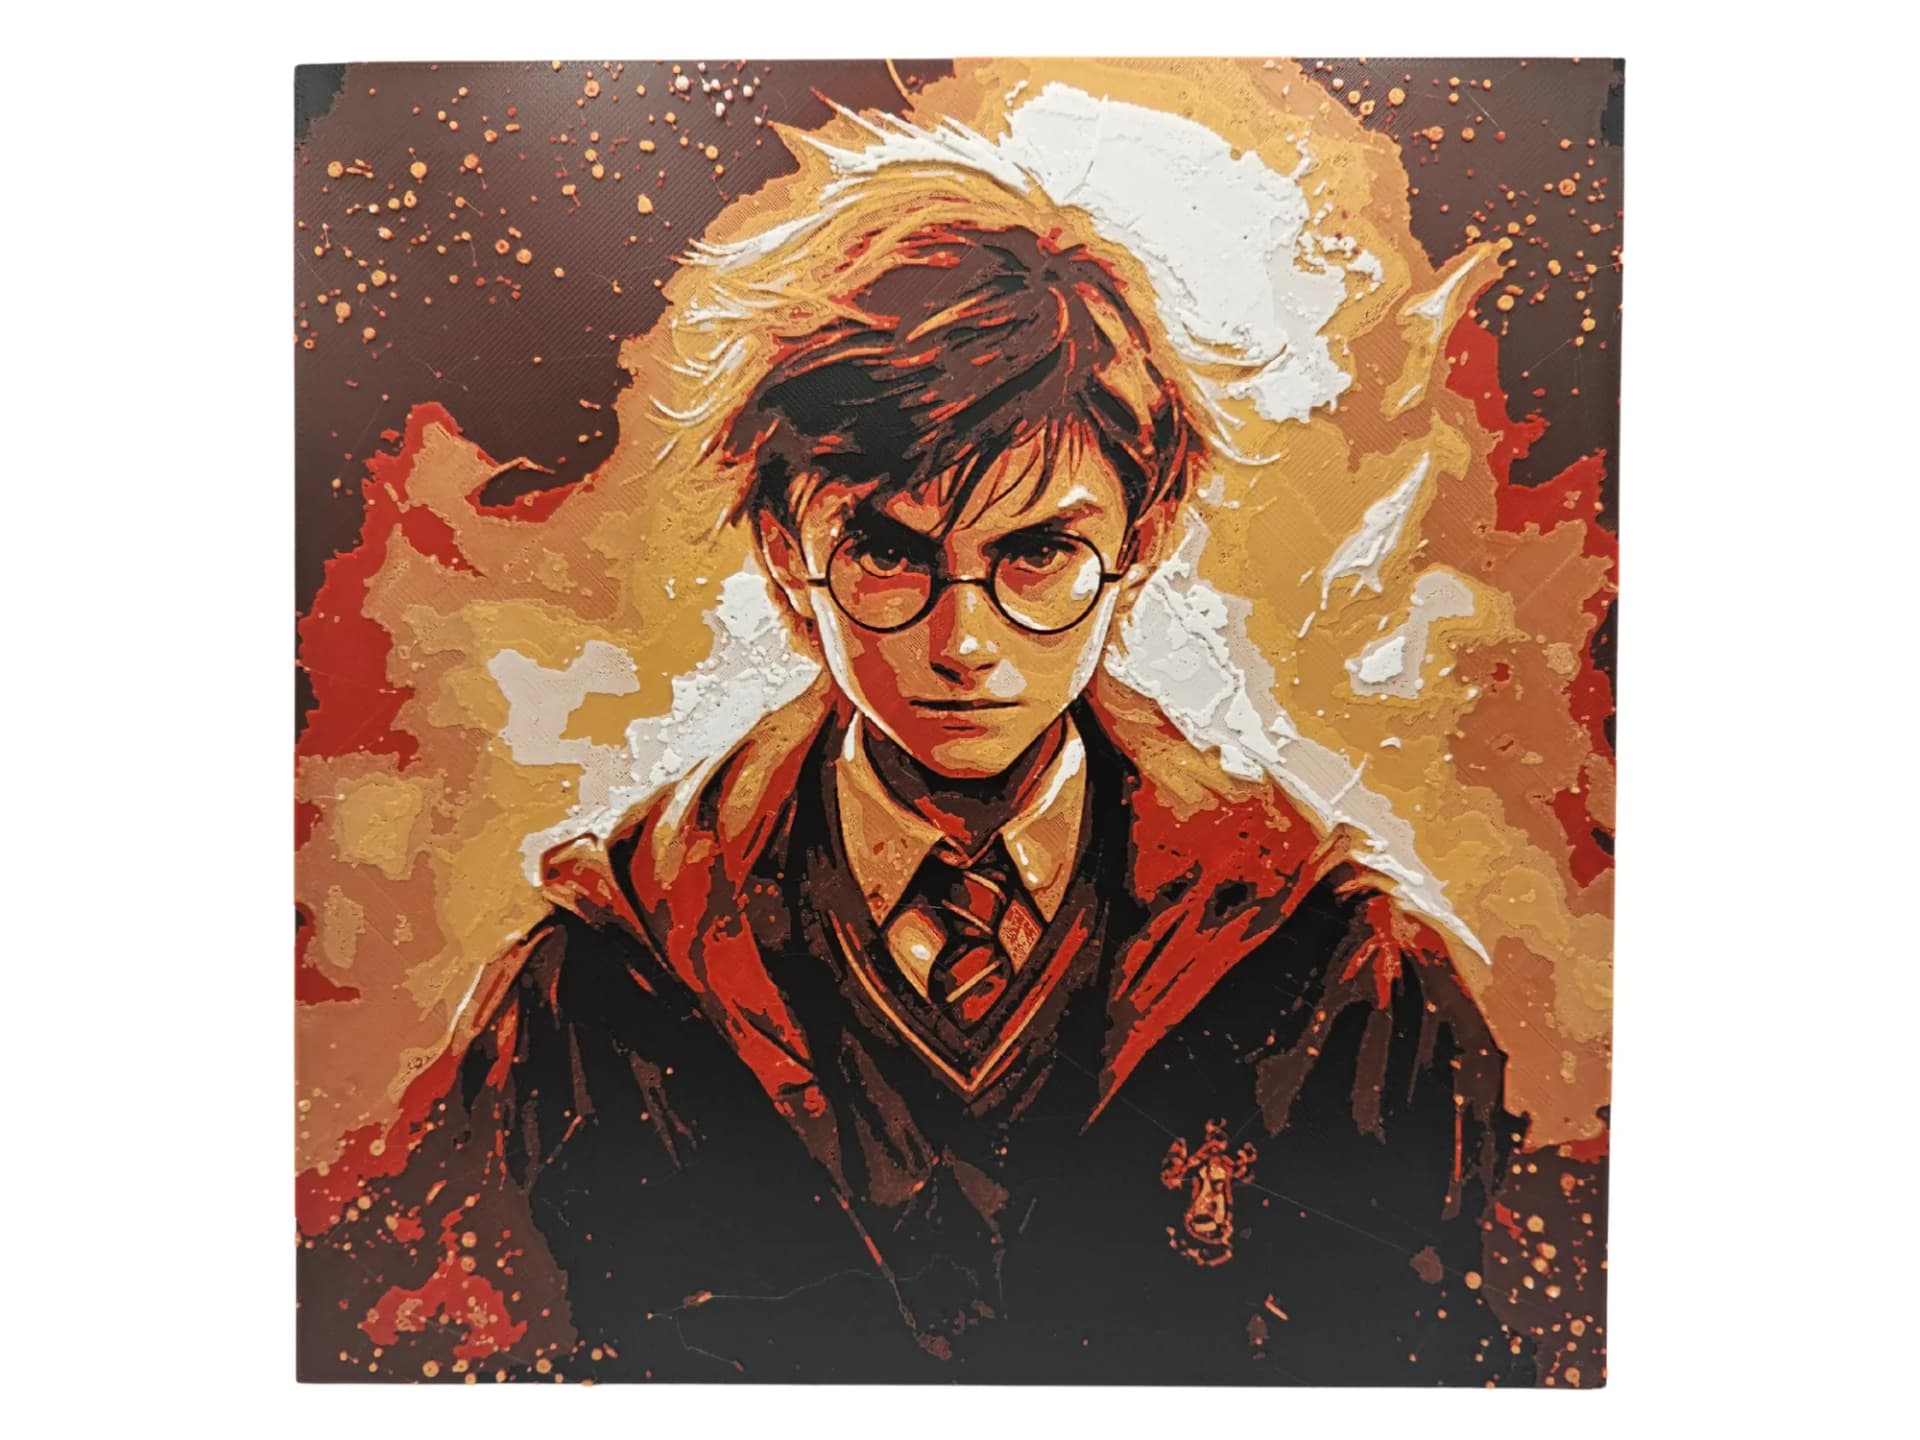
Best Harry Potter 3D Prints for HueForge: Hogwarts, Patronuses & the Deathly Hallows
The Harry Potter 3D prints worth making as HueForge filament paintings — Hogwarts and house crests, the Deathly Hallows, patronuses, and bookmarks, with the catalog's take on each.
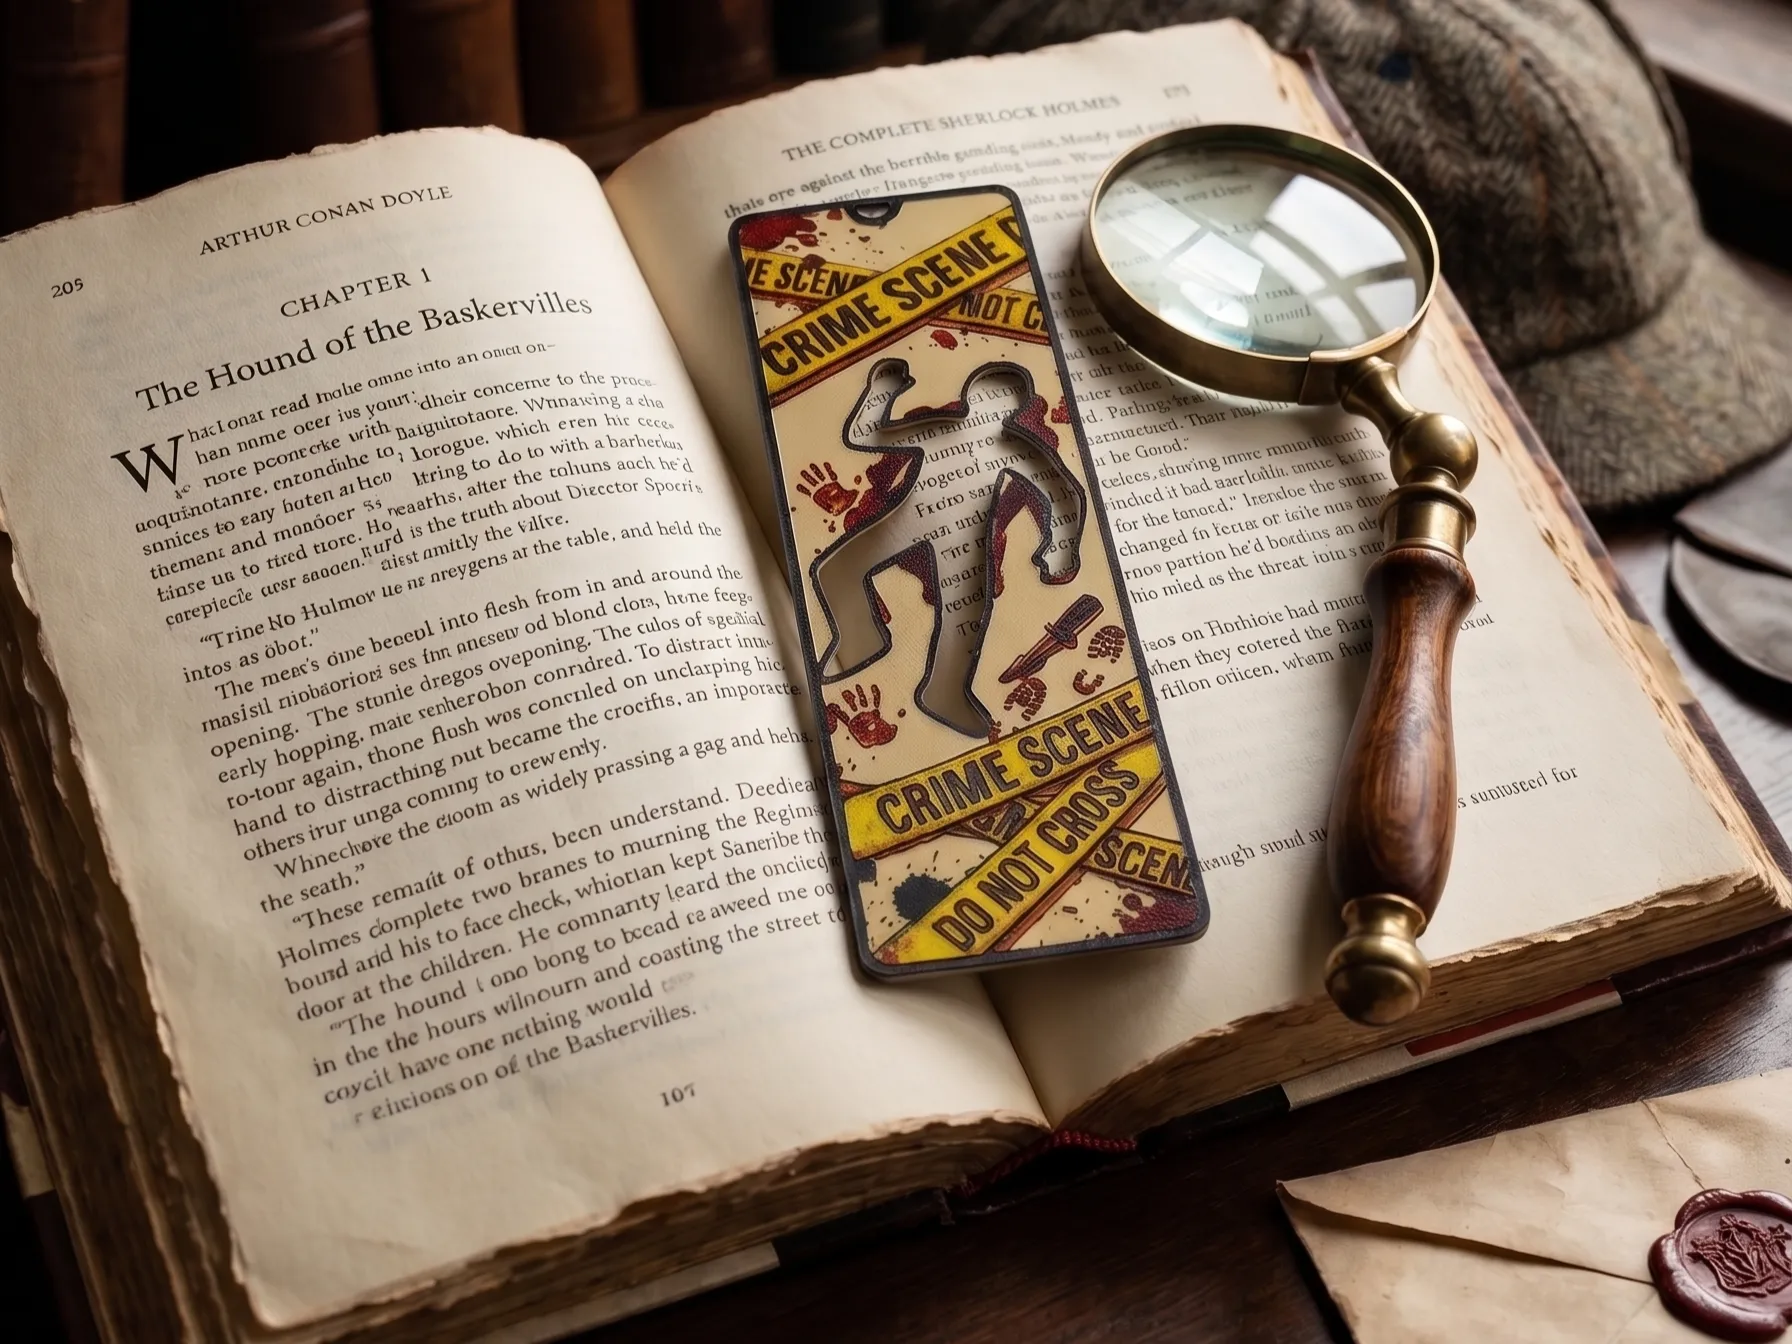
Best 3D Printed Bookmarks for HueForge: Fandom, Dragons, Animals & More
The 3D printed bookmarks worth printing as HueForge filament paintings — fandom, dragon, animal, floral, and gothic designs, and why they make the ideal first print.
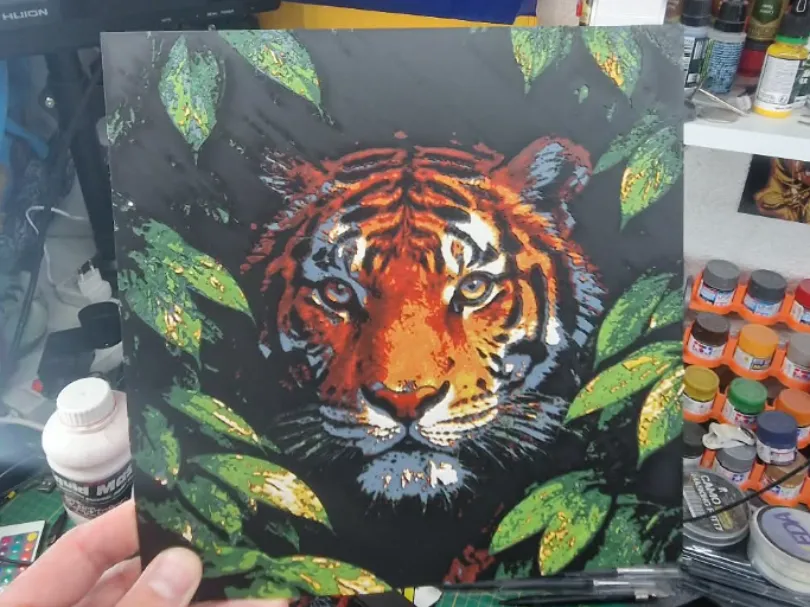
Best 3D Printed Animals for HueForge: Cats, Dogs, Birds & Wildlife
The 3D printed animals worth printing as HueForge filament paintings — cats, dogs, birds, wildlife, and ocean life, with the position the catalog takes on each.