
Star Wars 1983
Jabba's sail barge glides across a warm desert sunset in this striking tribute to *Return of the Jedi*'s 1983 release. Mano's 3d_Art layers deep crimson, burnt orange, amber, and gold into a retro-horizon composition, with the iconic vessel rendered in crisp white silhouette. The bold Star Wars logo anchors the piece below, grounding its vintage poster energy in unmistakable franchise identity.
View on MakerWorldRequired Filaments5
Bambu Lab Basic Orange
Bambu Lab Basic Yellow
Bambu Lab Basic Jade White
Why filament details may vary
Filament details (brand, color, and TD value) may not exactly match the designer's original specification. In some cases, the designer didn't specify exact filaments and we've matched the closest options we could find. Always check the original listing for full details.
Some filament links are affiliate links — we may earn a small commission at no extra cost to you. Learn more
Sign up to track your filament inventory and check your matches.
Create accountYou Might Also Like

The Force is strong with even the Littlest Ones - Jedi Rabbits and Mice Set of Bookmarks
by BooneCo3d

Fan Art - Star Wars Character Darth Maul Clockface
by BooneCo3d

Neo Art Deco Style Portraits of Star Wars Characters Luke, Leia and Darth Vader - Set of bookmarks
by BooneCo3d
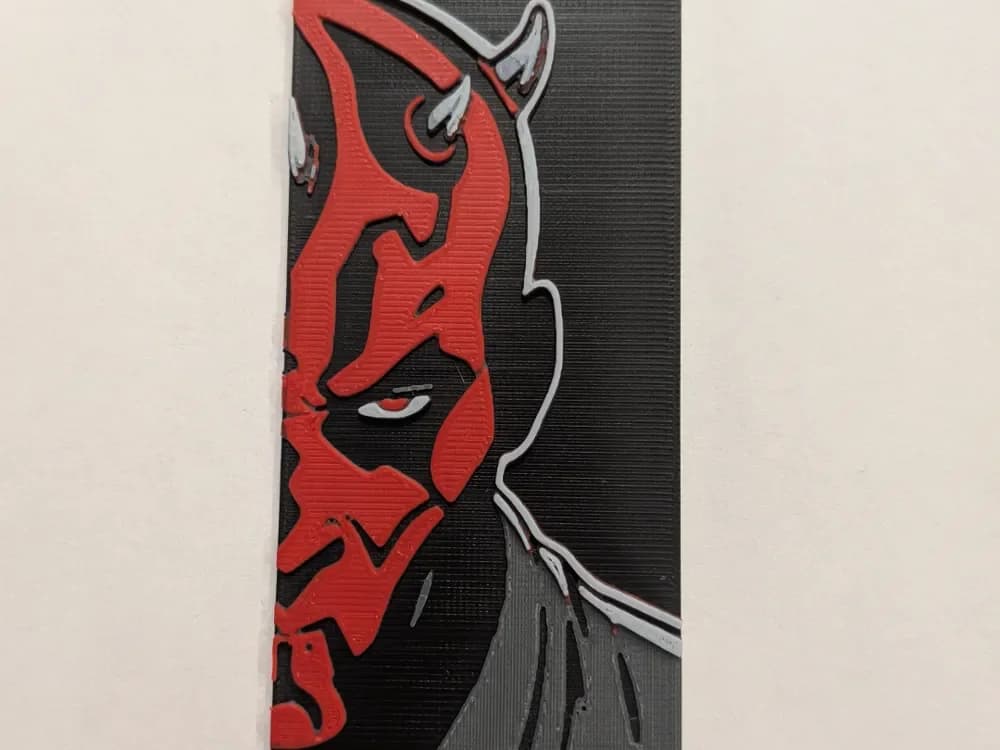
Maul Bookmark
by CommandersVault
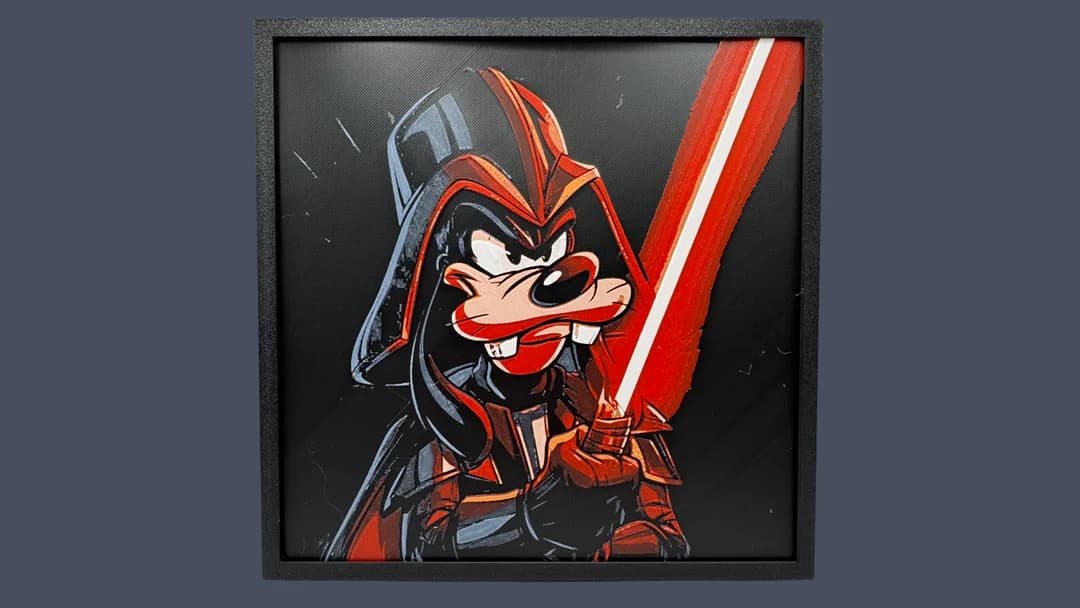
Darth Goofy - Starwars / Disney Hueforge
by Canadian Gamer

What do Stormtroopers do in their off-time??? - Star Wars Fan Art Set of Bookmarks
by BooneCo3d
Recent Articles
View all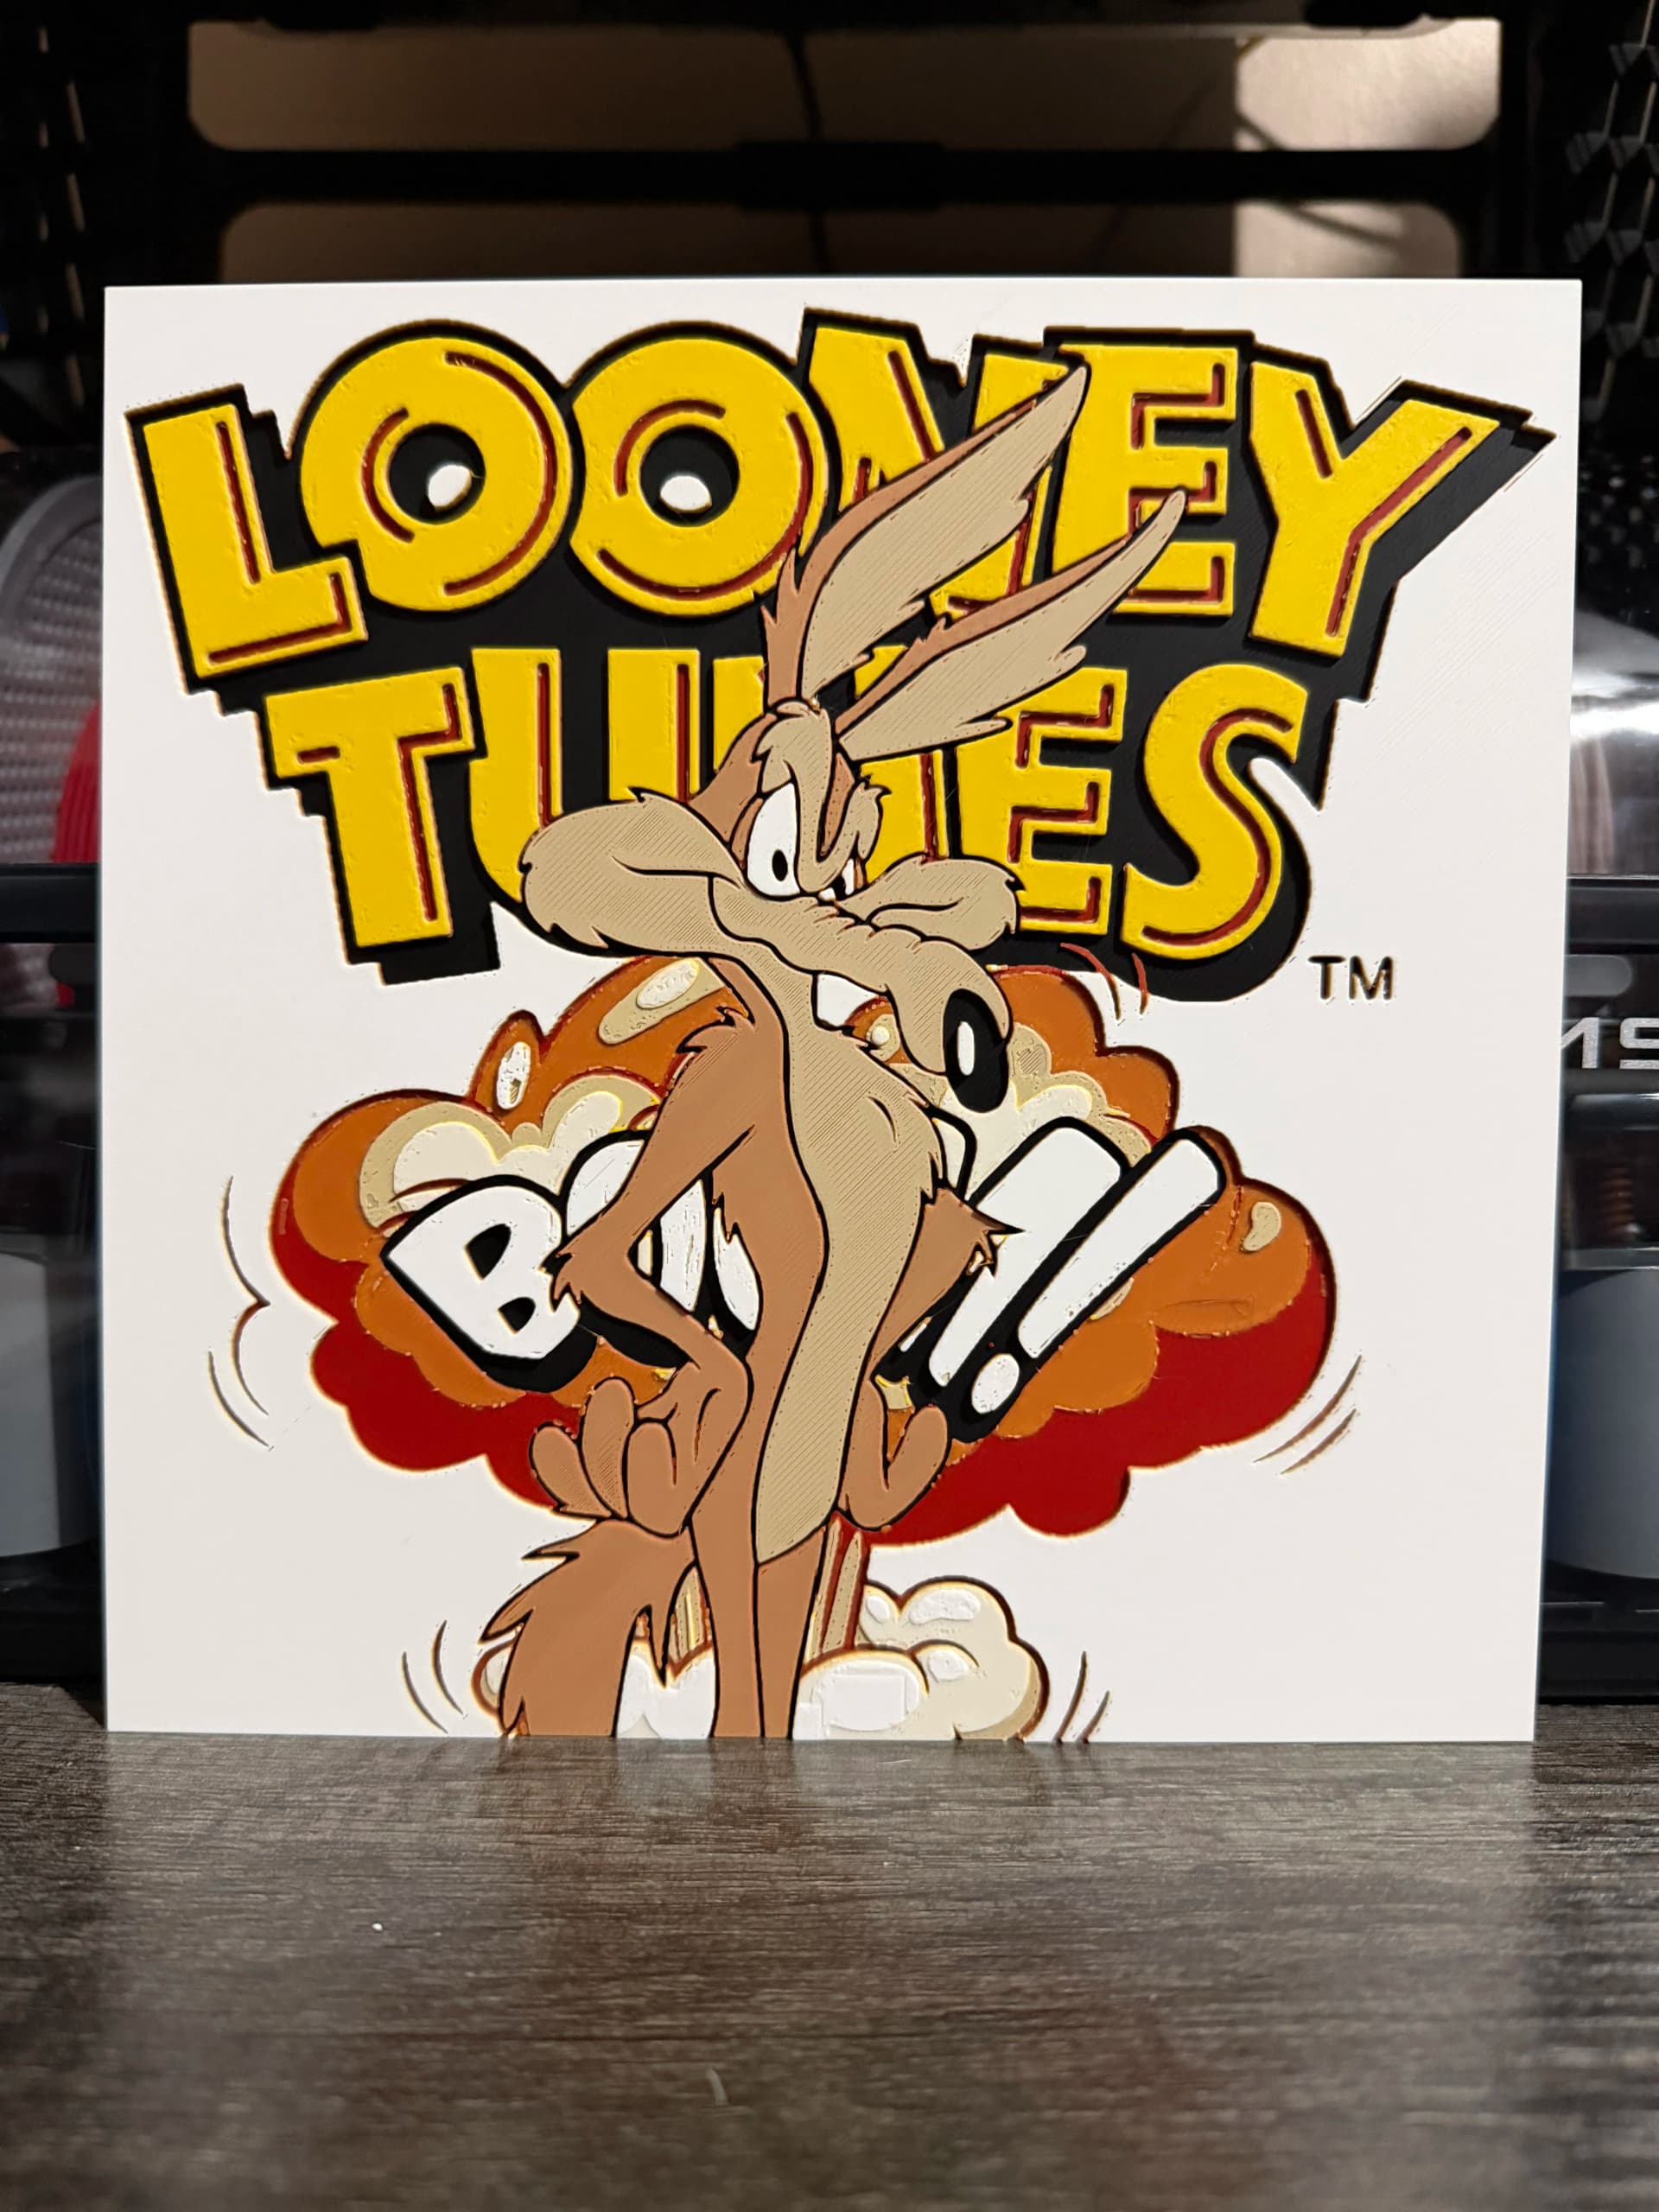
Best Classic Saturday Morning Cartoon STL Files for HueForge
The best classic Saturday morning cartoon STL files for HueForge — Scooby-Doo, Looney Tunes, Transformers, He-Man, TMNT and more, as bold filament wall art.
3D Printing Business Name Ideas (and How to Pick One That Lasts)
3D printing business name ideas grouped by style — descriptive, filament-themed, clever, and premium — plus naming principles and how to check a name is free to use.
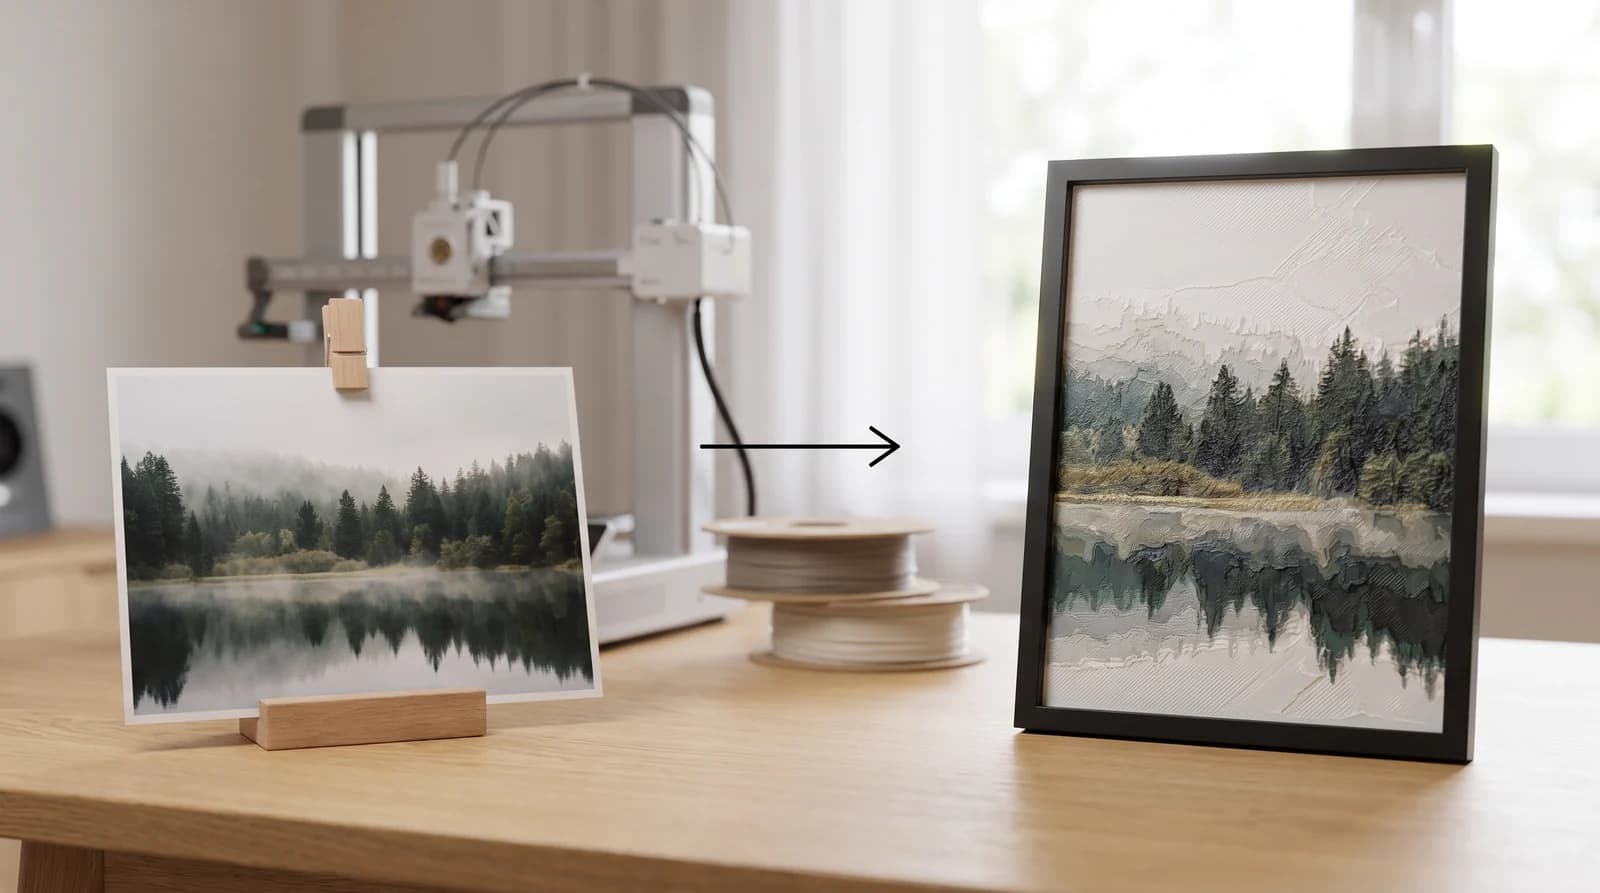
How to Use HueForge: A Software Walkthrough
How to use HueForge step by step — importing an image, setting your filament stack and TD values, tuning layers, reading the preview, and exporting a print file.