
Tamsy Gachiakuta
Spiky blonde hair and fierce determination define this striking portrayal of Tamsy from Gachiakuta. Bold blue typography frames the character against a dynamic composition of cool grays and whites, while warm golden highlights bring depth to his distinctive hairstyle. The layered design captures the gritty urban aesthetic of the manga series, with intricate details that showcase the character's rebellious spirit and complex personality through expertly crafted dimensional printing.
View on PatreonRequired Filaments6
Bambu Lab Basic Black
Bambu Lab Basic Blue
Bambu Lab Matte Lemon Yellow
Bambu Lab Basic Red
Bambu Lab Basic Pink
Bambu Lab Matte Ivory White
Why filament details may vary
Filament details (brand, color, and TD value) may not exactly match the designer's original specification. In some cases, the designer didn't specify exact filaments and we've matched the closest options we could find. Always check the original listing for full details.
Some filament links are affiliate links — we may earn a small commission at no extra cost to you. Learn more
Sign up to track your filament inventory and check your matches.
Create accountYou Might Also Like
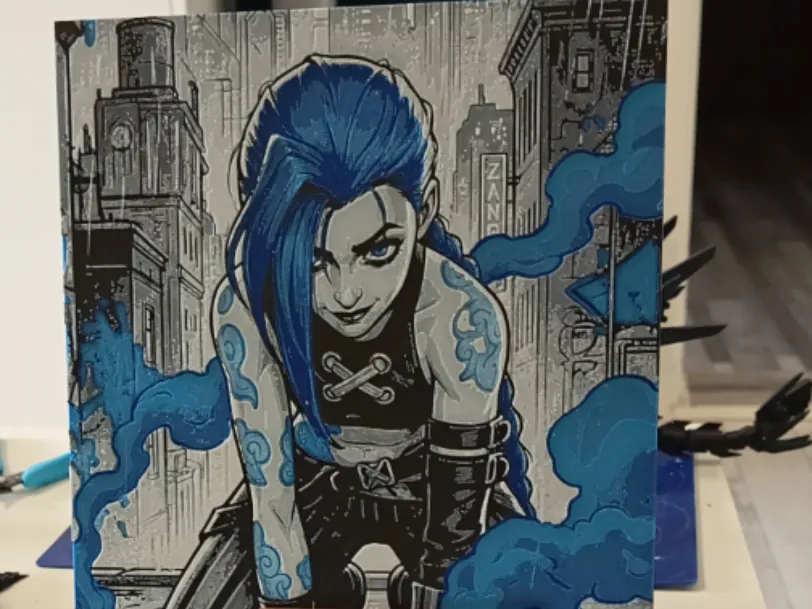
League of Legends Jinx Hueforge
by 3DNesy
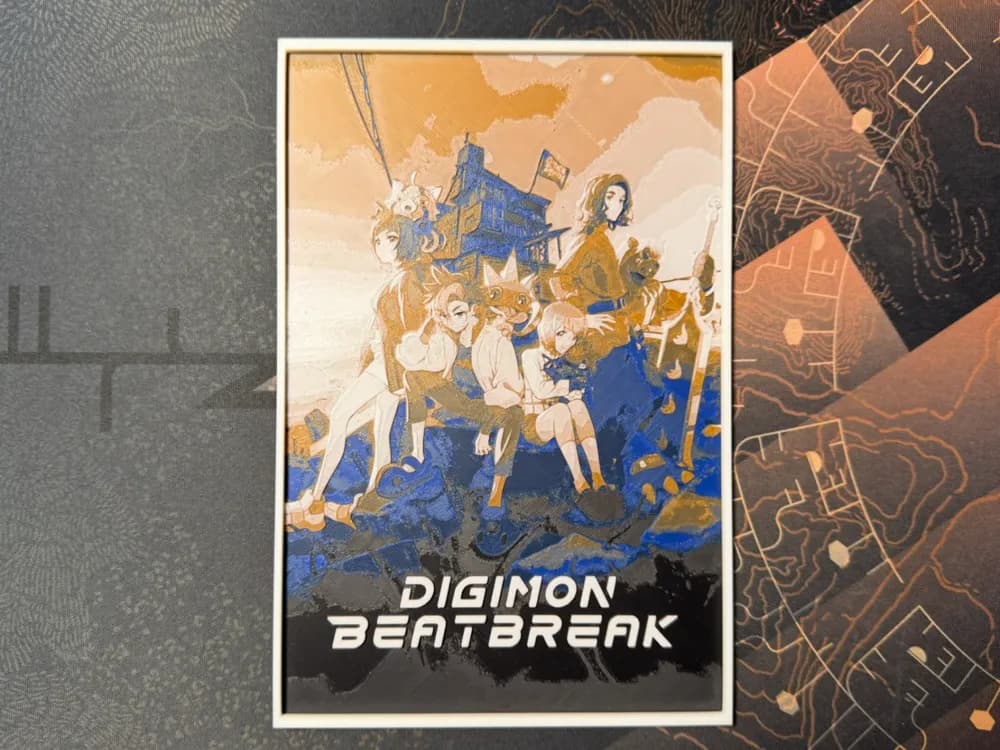
Digimon Beatbreak - HueForge
by ZorPrime7
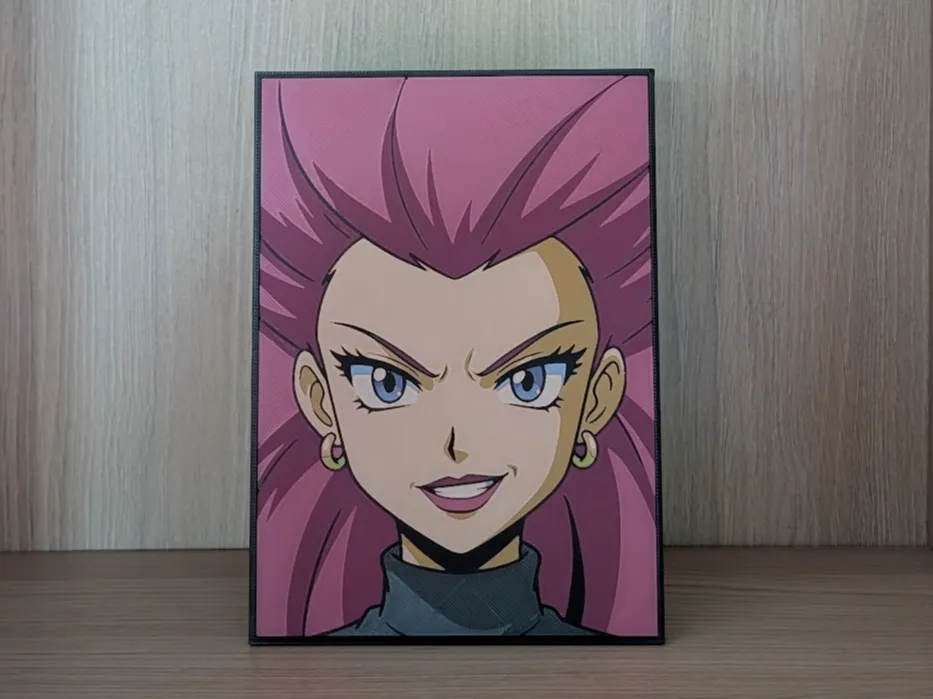
Jessie Hueforge & Frame
by N3D
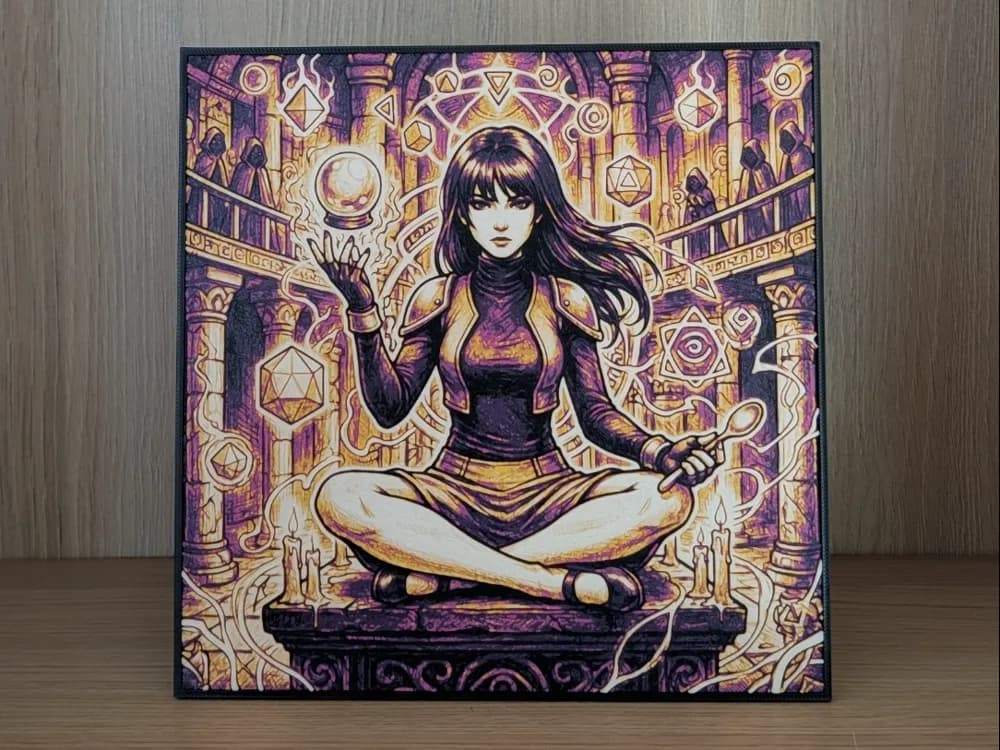
Sabrina (Pokemon Gym Leader) Hueforge & Frame
by N3D
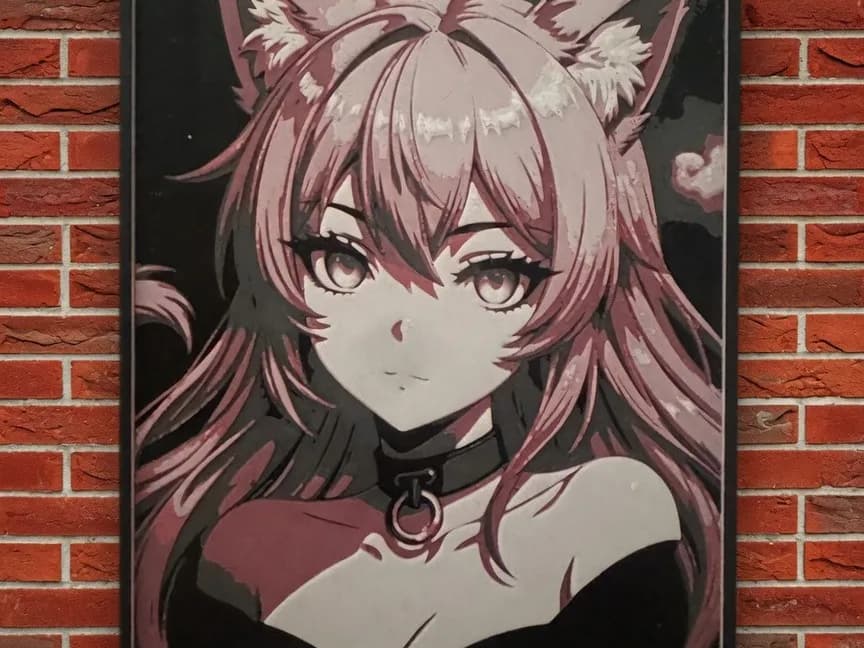
Kitty Girl
by World of Glt 3d
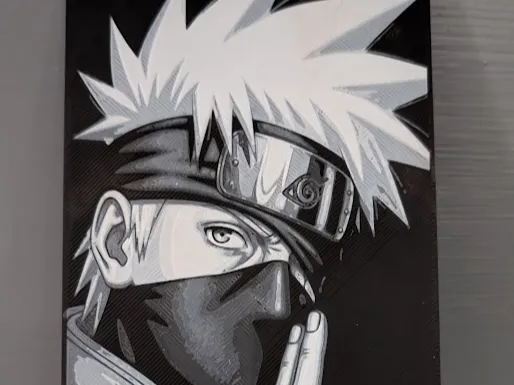
Kakashi Hatake - Naruto Shippuden Hueforge
by Sheesha1584
Recent Articles
View all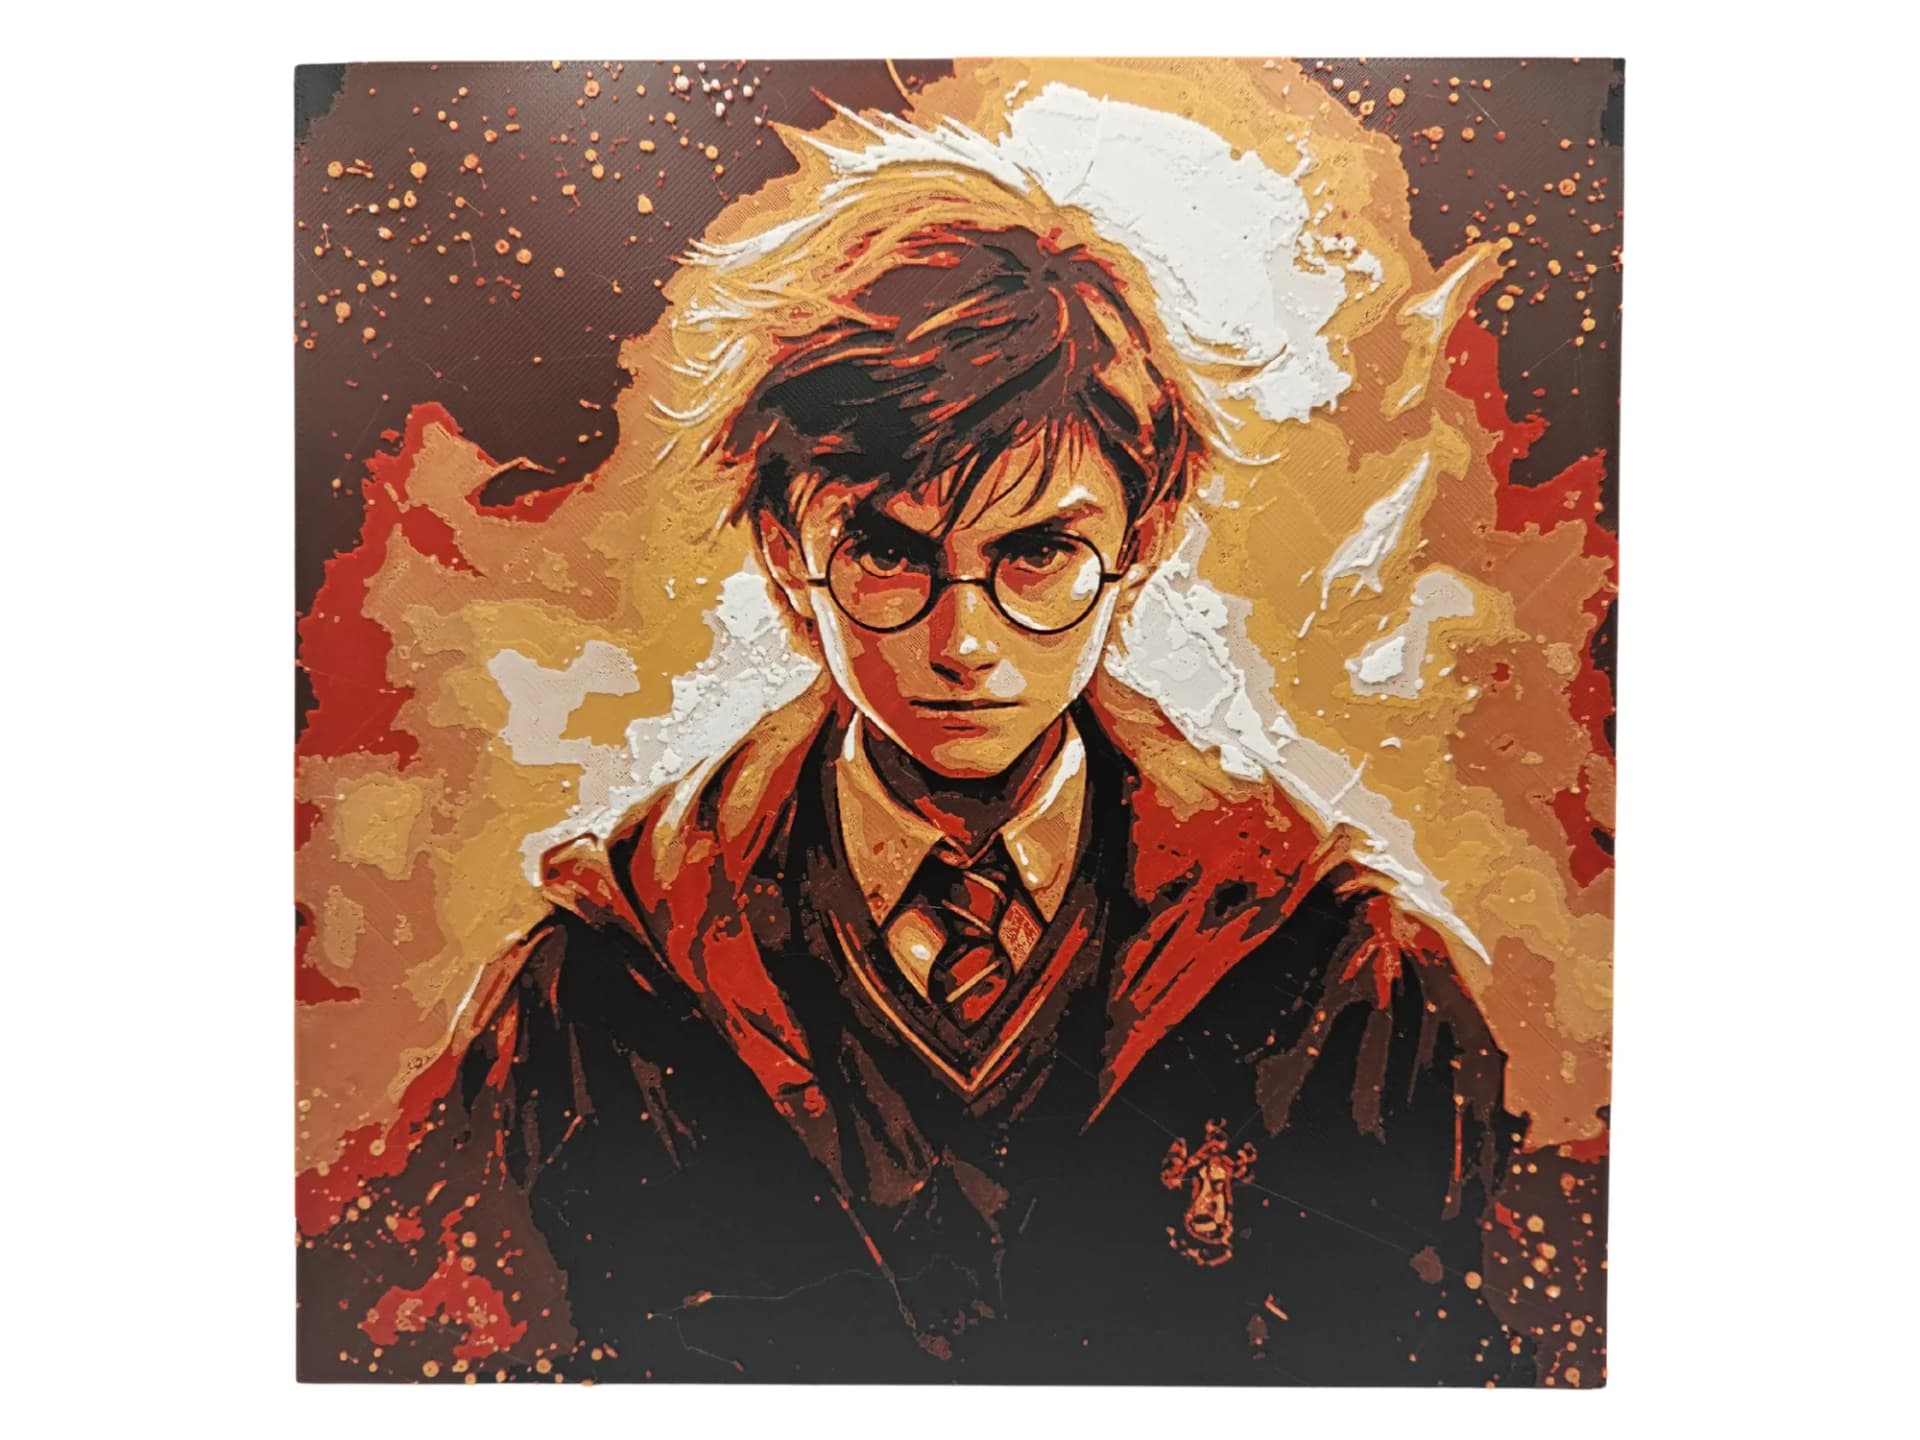
Best Harry Potter 3D Prints for HueForge: Hogwarts, Patronuses & the Deathly Hallows
The Harry Potter 3D prints worth making as HueForge filament paintings — Hogwarts and house crests, the Deathly Hallows, patronuses, and bookmarks, with the catalog's take on each.
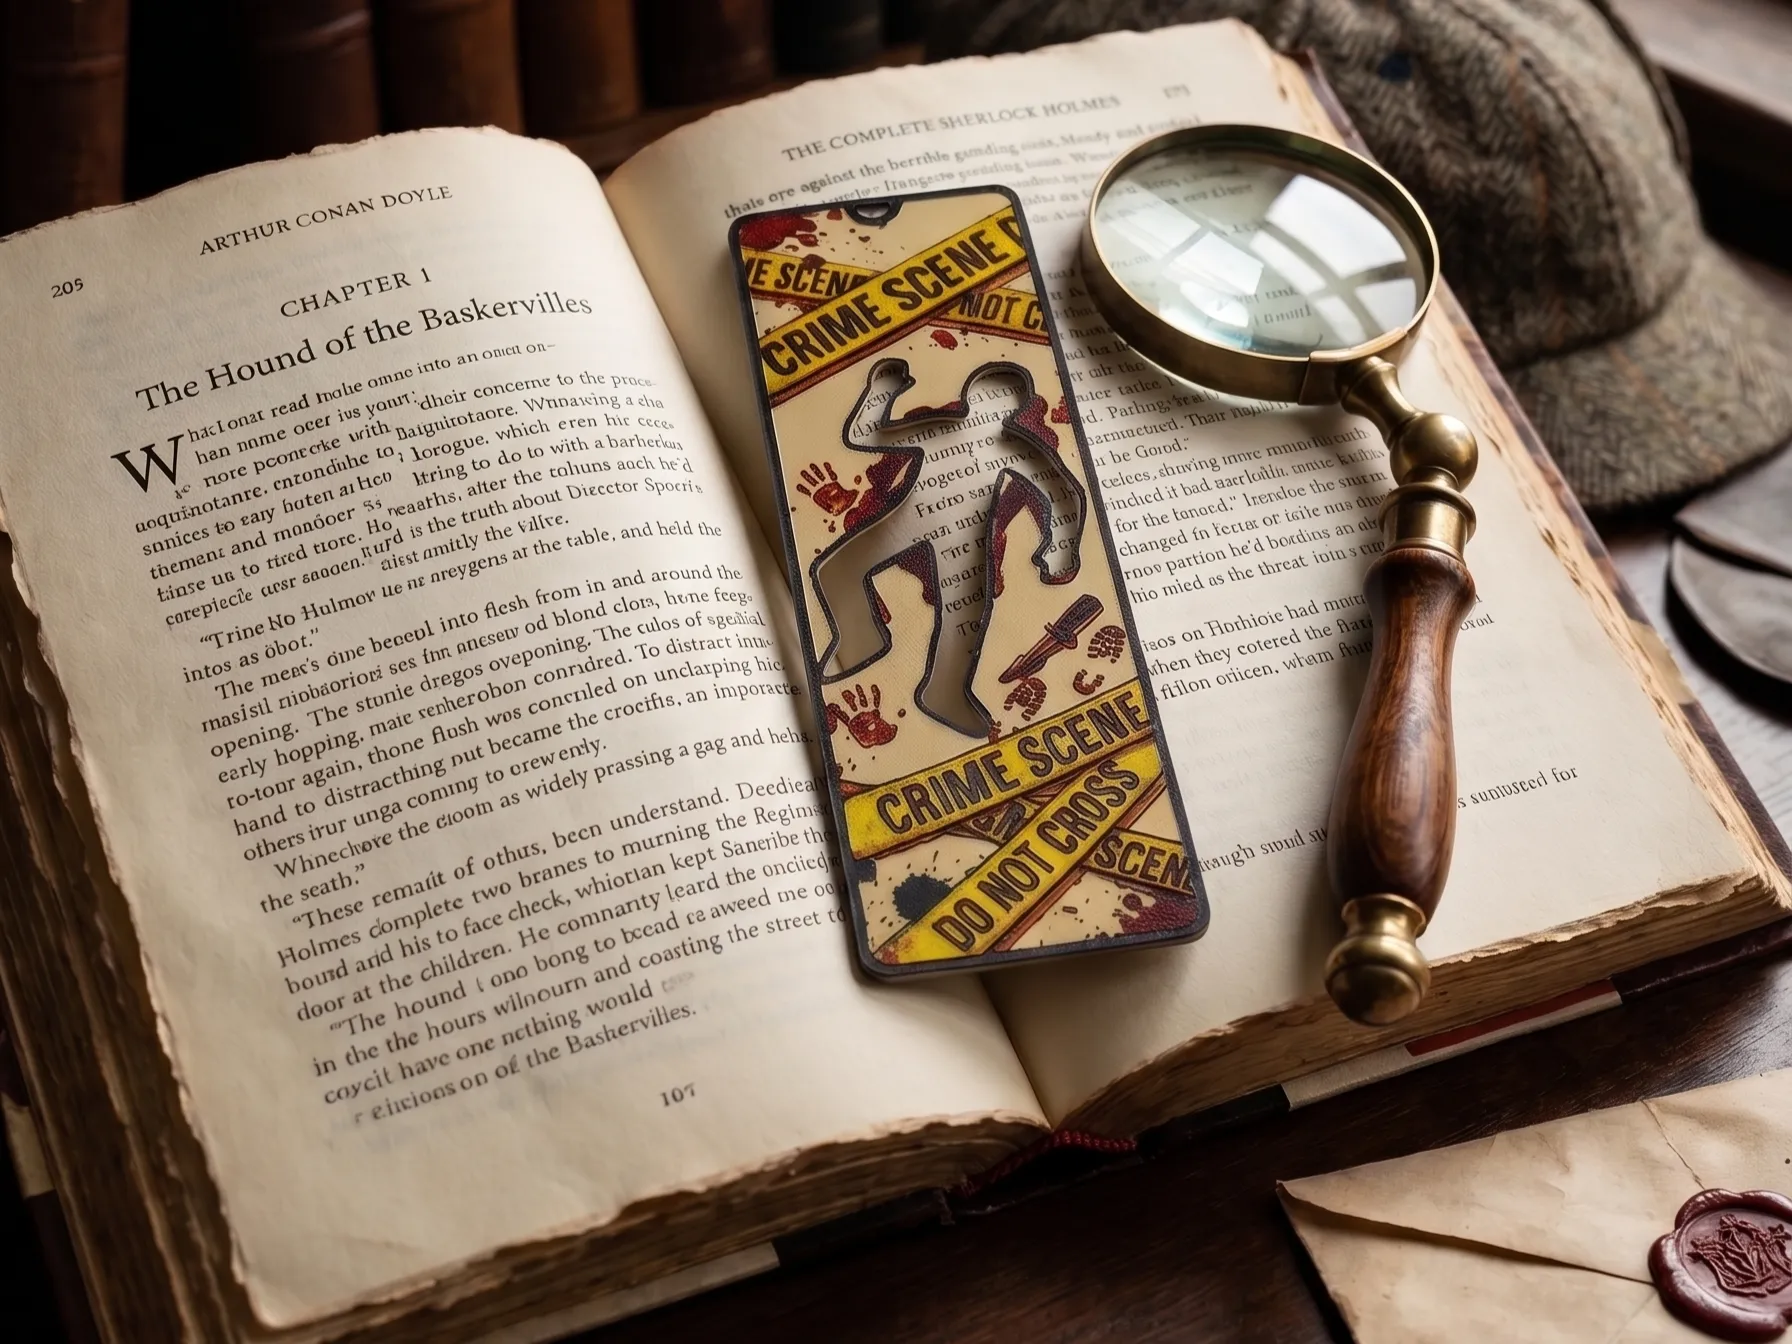
Best 3D Printed Bookmarks for HueForge: Fandom, Dragons, Animals & More
The 3D printed bookmarks worth printing as HueForge filament paintings — fandom, dragon, animal, floral, and gothic designs, and why they make the ideal first print.
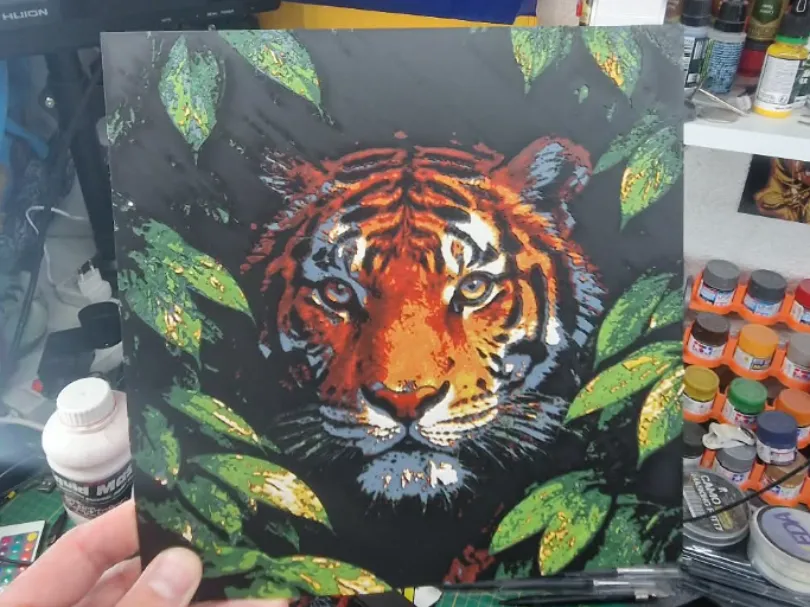
Best 3D Printed Animals for HueForge: Cats, Dogs, Birds & Wildlife
The 3D printed animals worth printing as HueForge filament paintings — cats, dogs, birds, wildlife, and ocean life, with the position the catalog takes on each.