
Vikings Lagertha II
by Asgar3D
The legendary shieldmaiden emerges in striking profile, her fierce gaze fixed on distant horizons. Lagertha's weathered features tell tales of countless battles, rendered in dramatic contrast through bold blacks and deep crimsons that evoke both blood and fire. Intricate braided hair flows around her scarred face, while splattered red accents suggest the brutal realities of Viking warfare, creating a haunting tribute to Norse mythology's most formidable warrior woman.
View on MakerWorldRequired Filaments3
Bambu Lab Basic Black
Bambu Lab Matte Scarlet Red
Bambu Lab Matte Ivory White
Why filament details may vary
Filament details (brand, color, and TD value) may not exactly match the designer's original specification. In some cases, the designer didn't specify exact filaments and we've matched the closest options we could find. Always check the original listing for full details.
Some filament links are affiliate links — we may earn a small commission at no extra cost to you. Learn more
Sign up to track your filament inventory and check your matches.
Create accountYou Might Also Like

Cosmic energy that courses through the human body giving Power - Set of 3 Bookmarks
by BooneCo3d

In the Wild with Her sister Wolf By Her Side - Set of 3 Bookmarks
by BooneCo3d
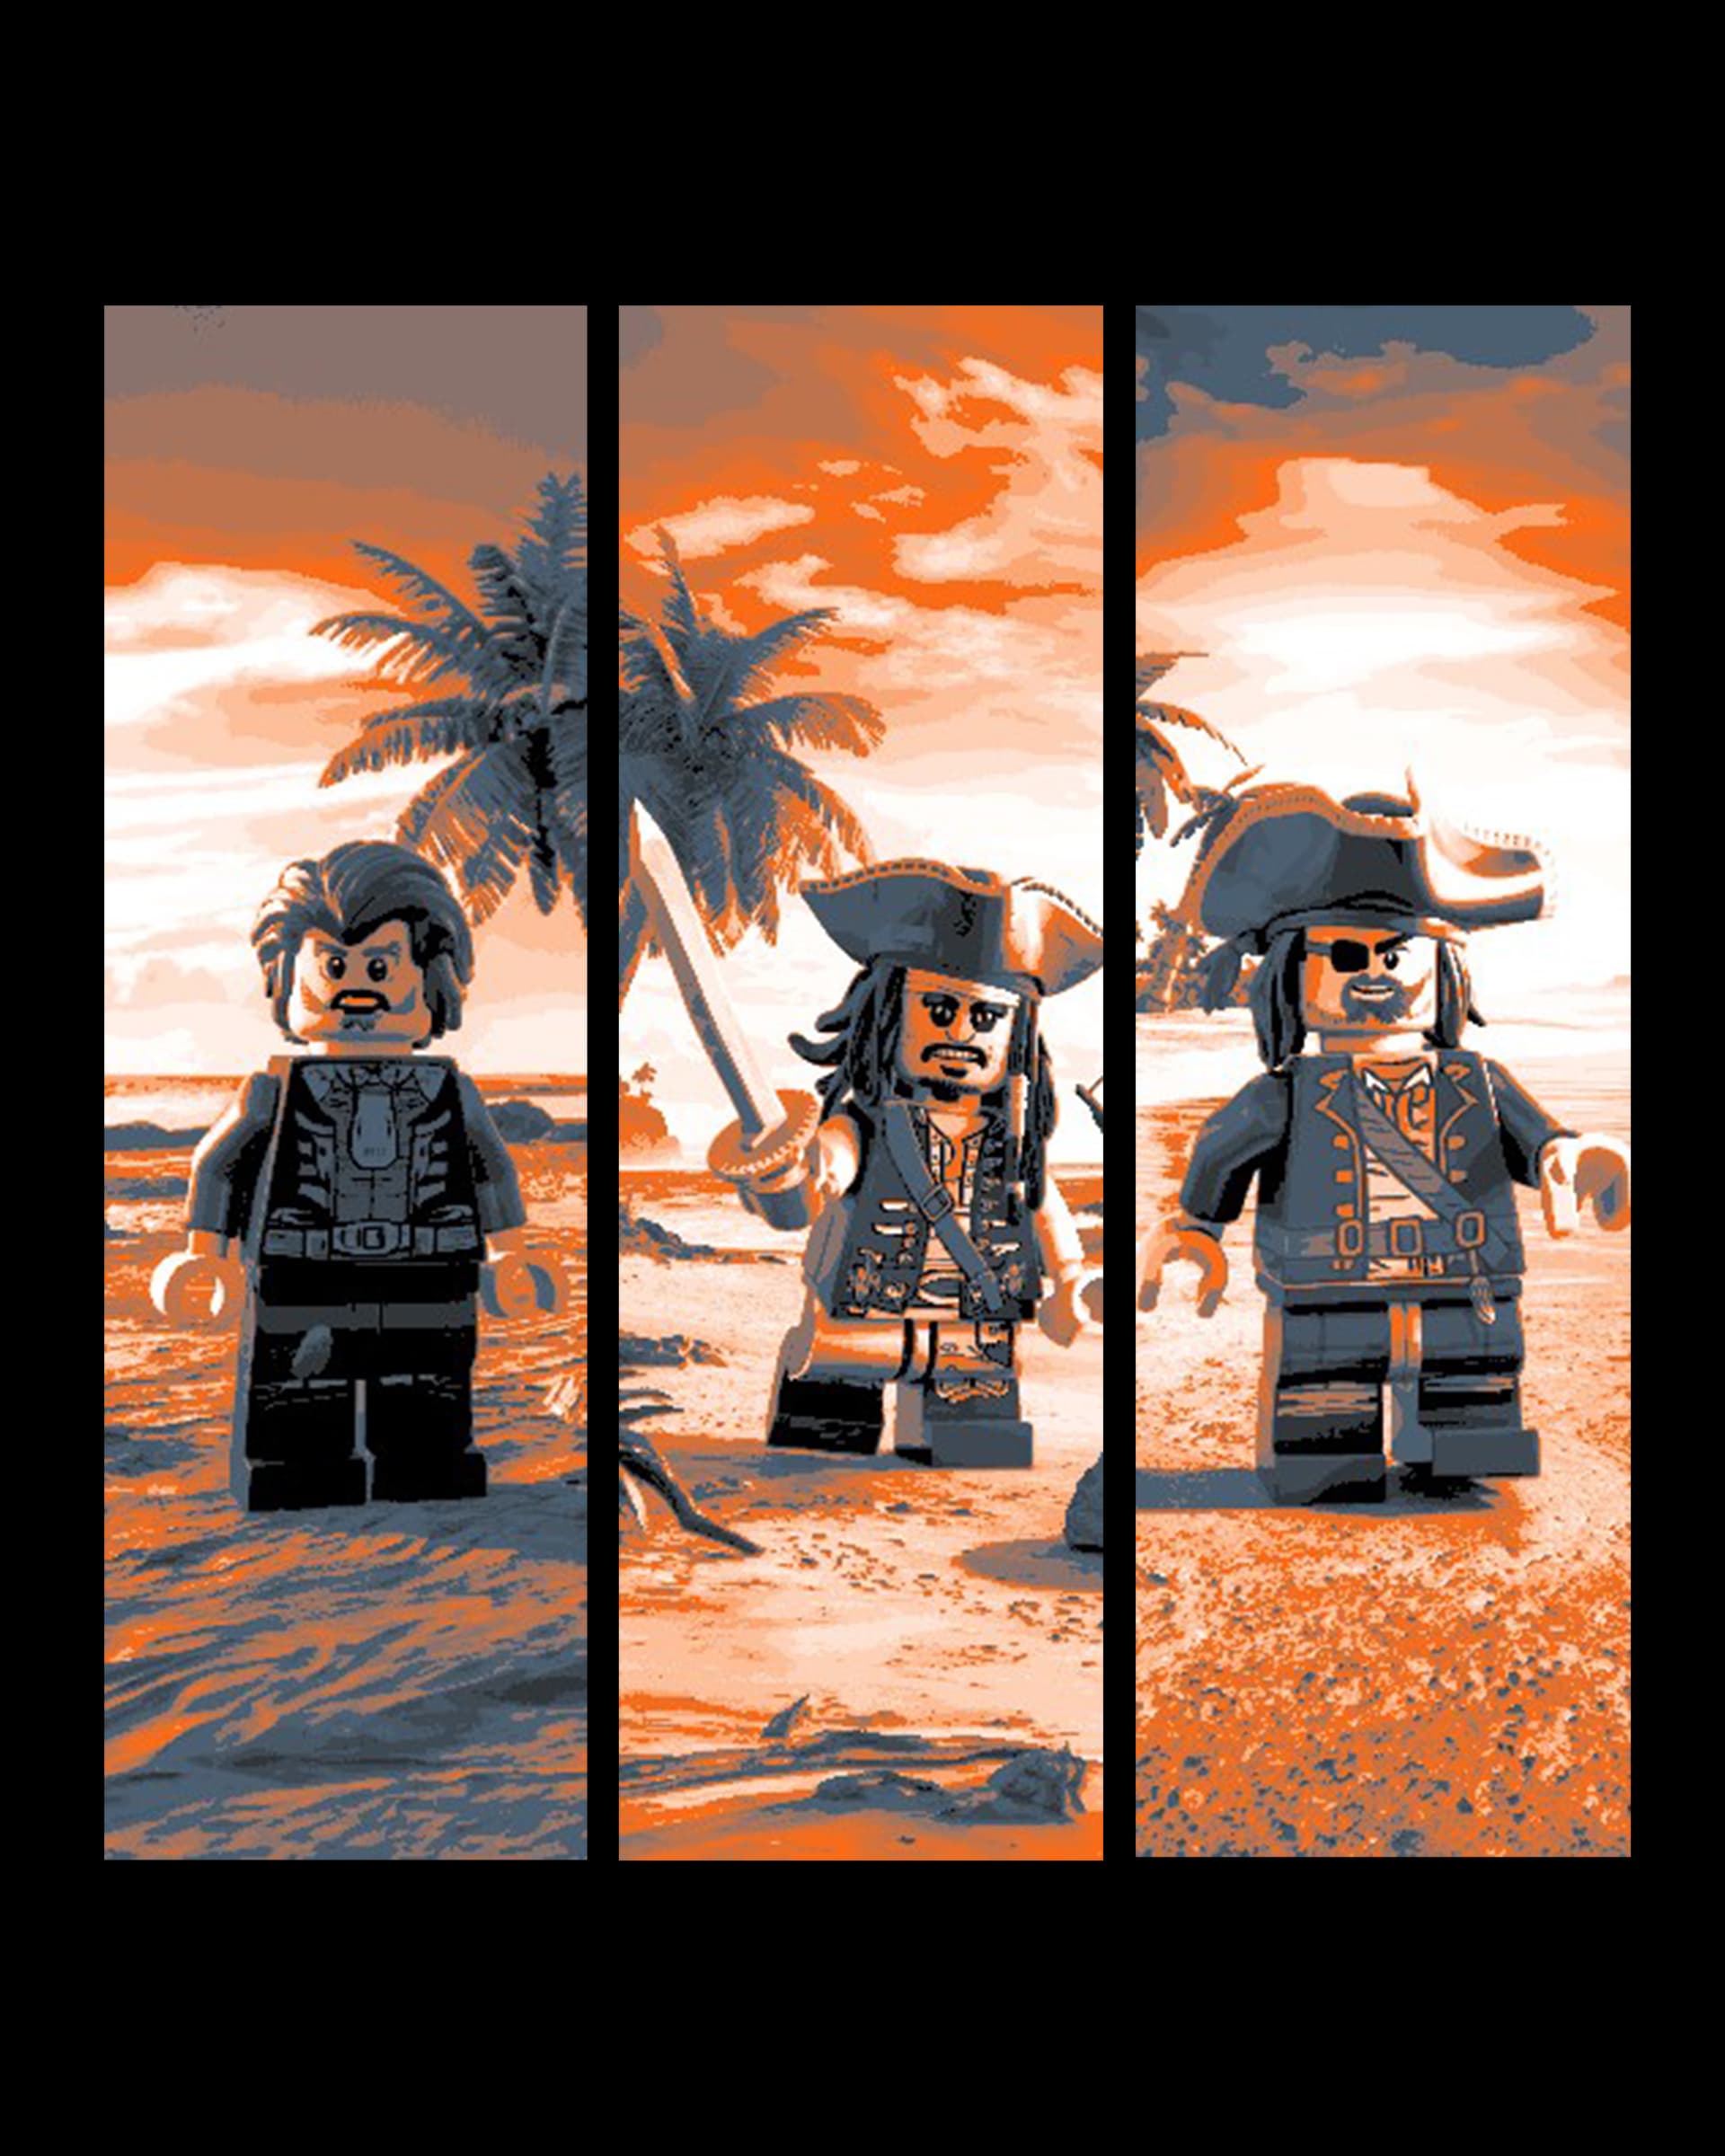
Brick Pirates Stranded on a Desert Island with at least 1 palm tree - set of bookmarks
by BooneCo3d
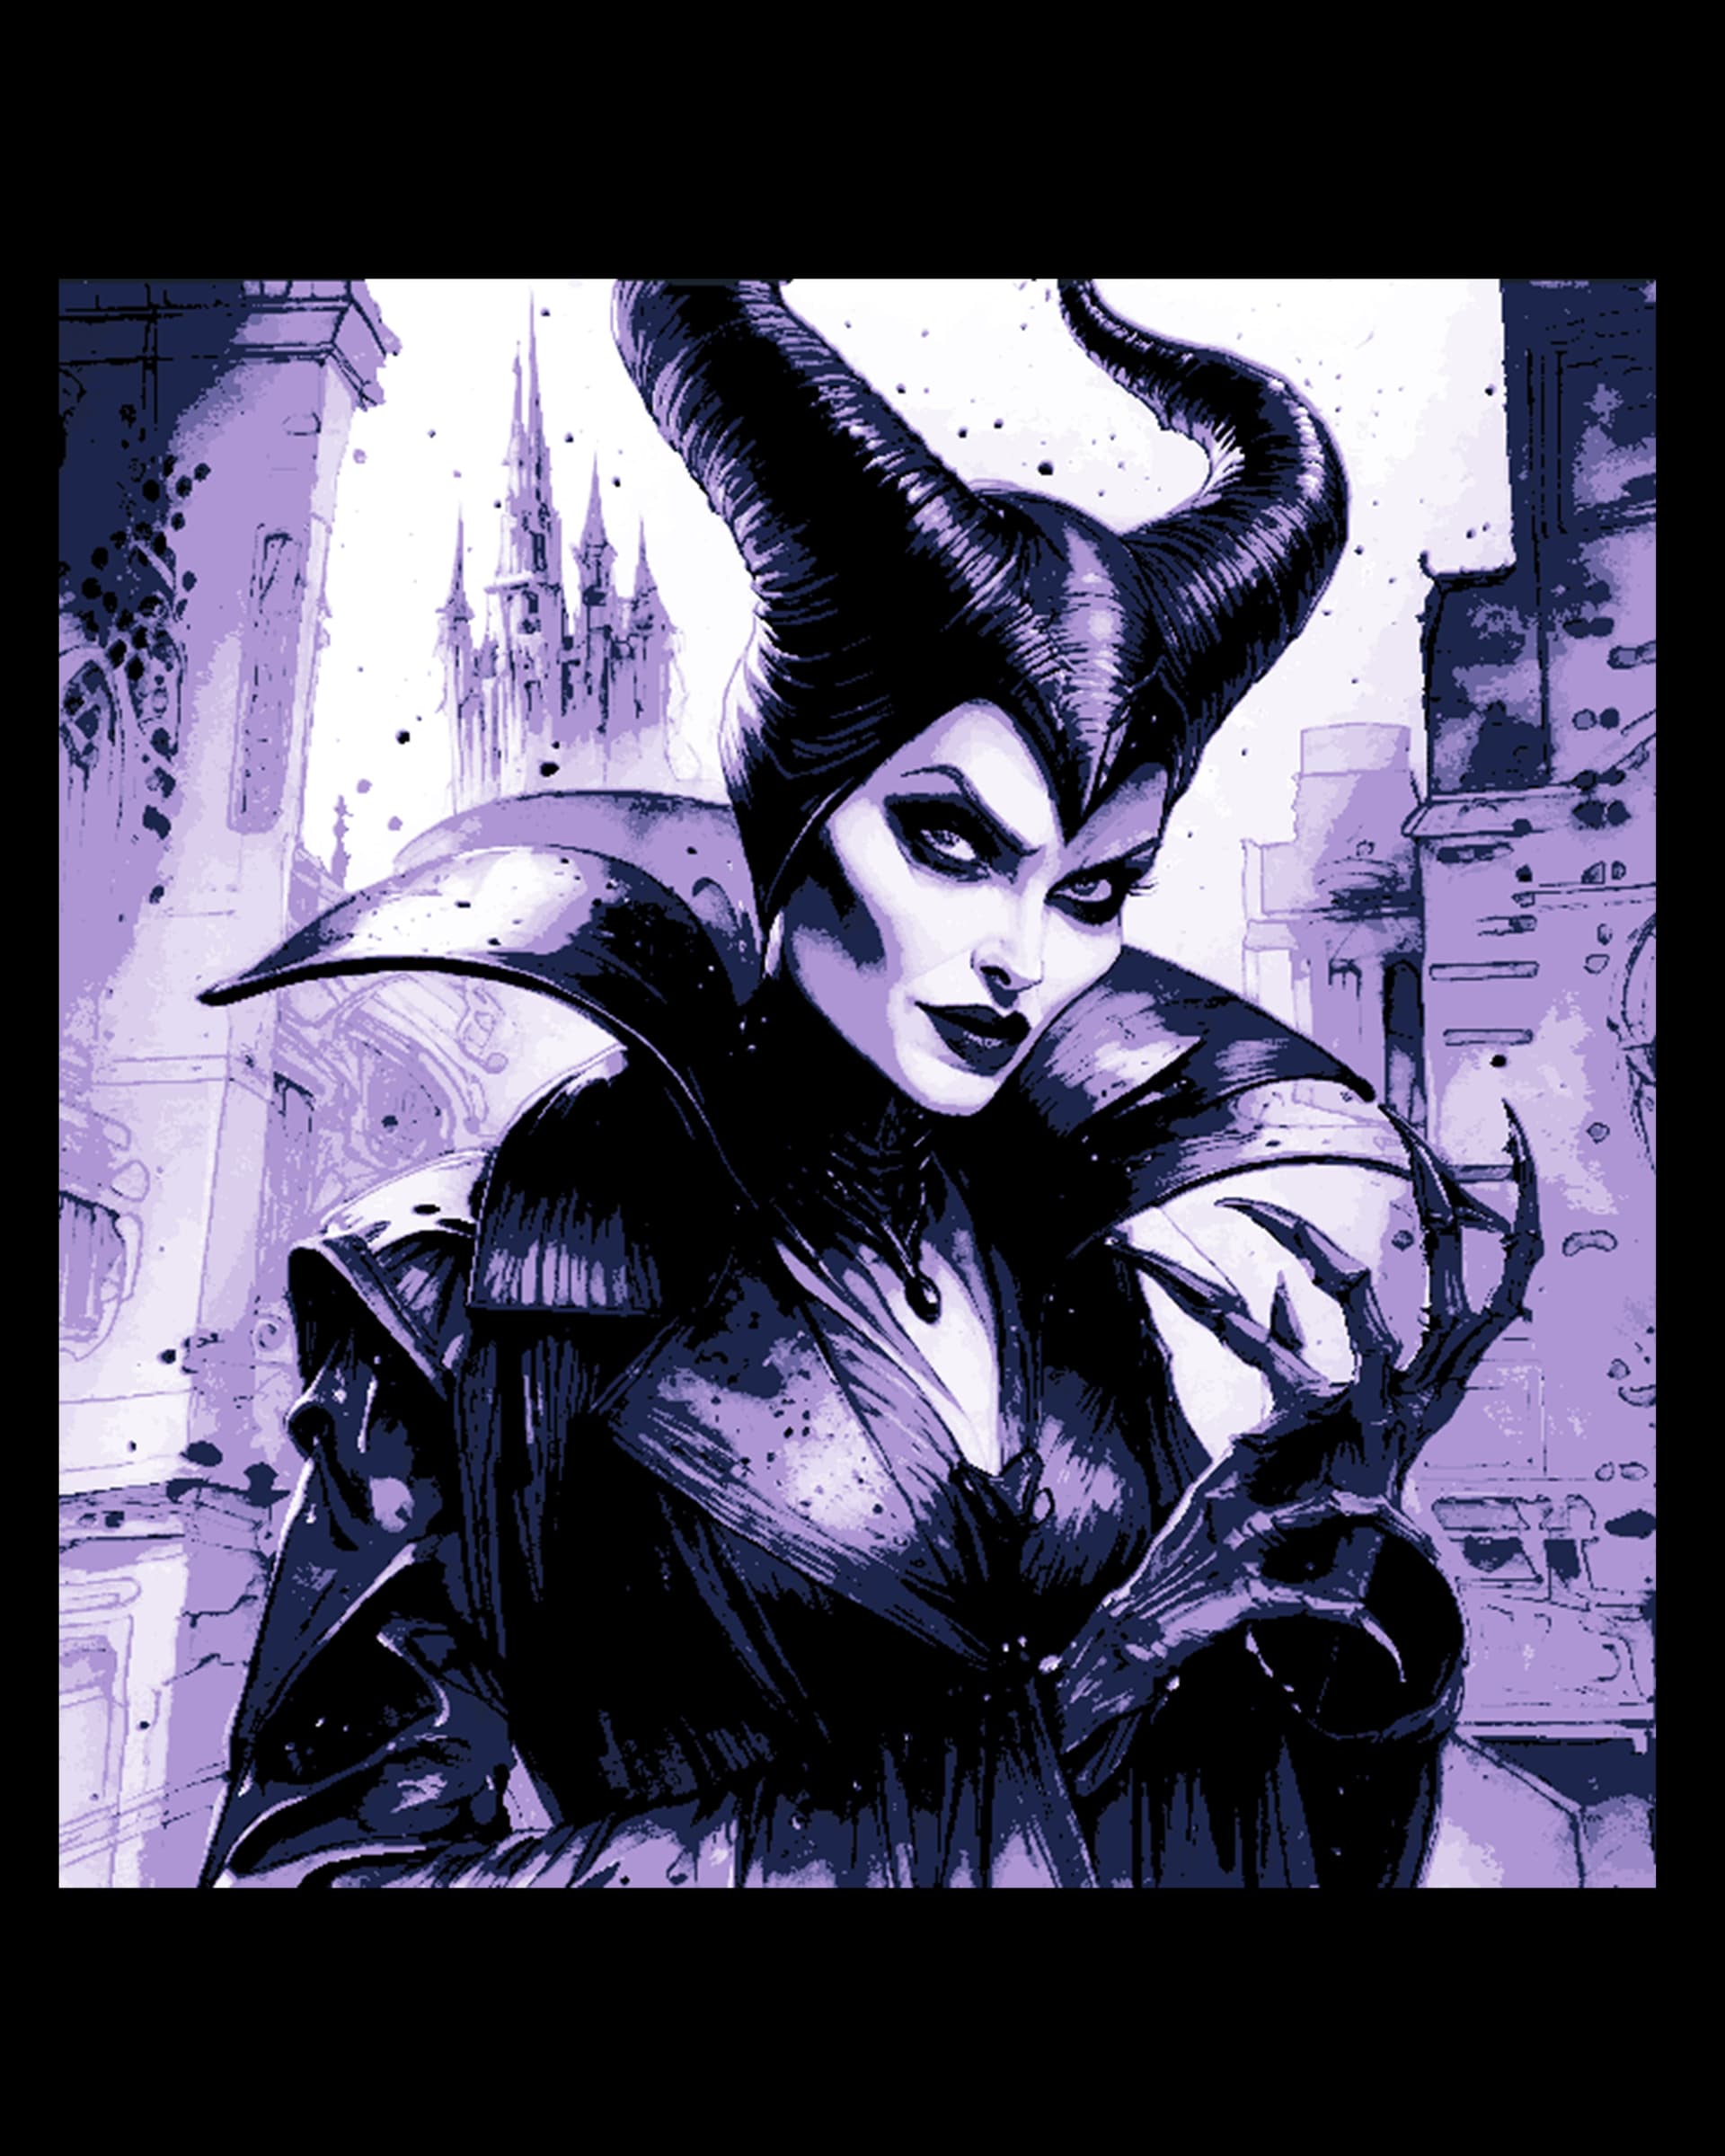
Fanart - Evil Queen Maleficent hatching her evil plan
by BooneCo3d
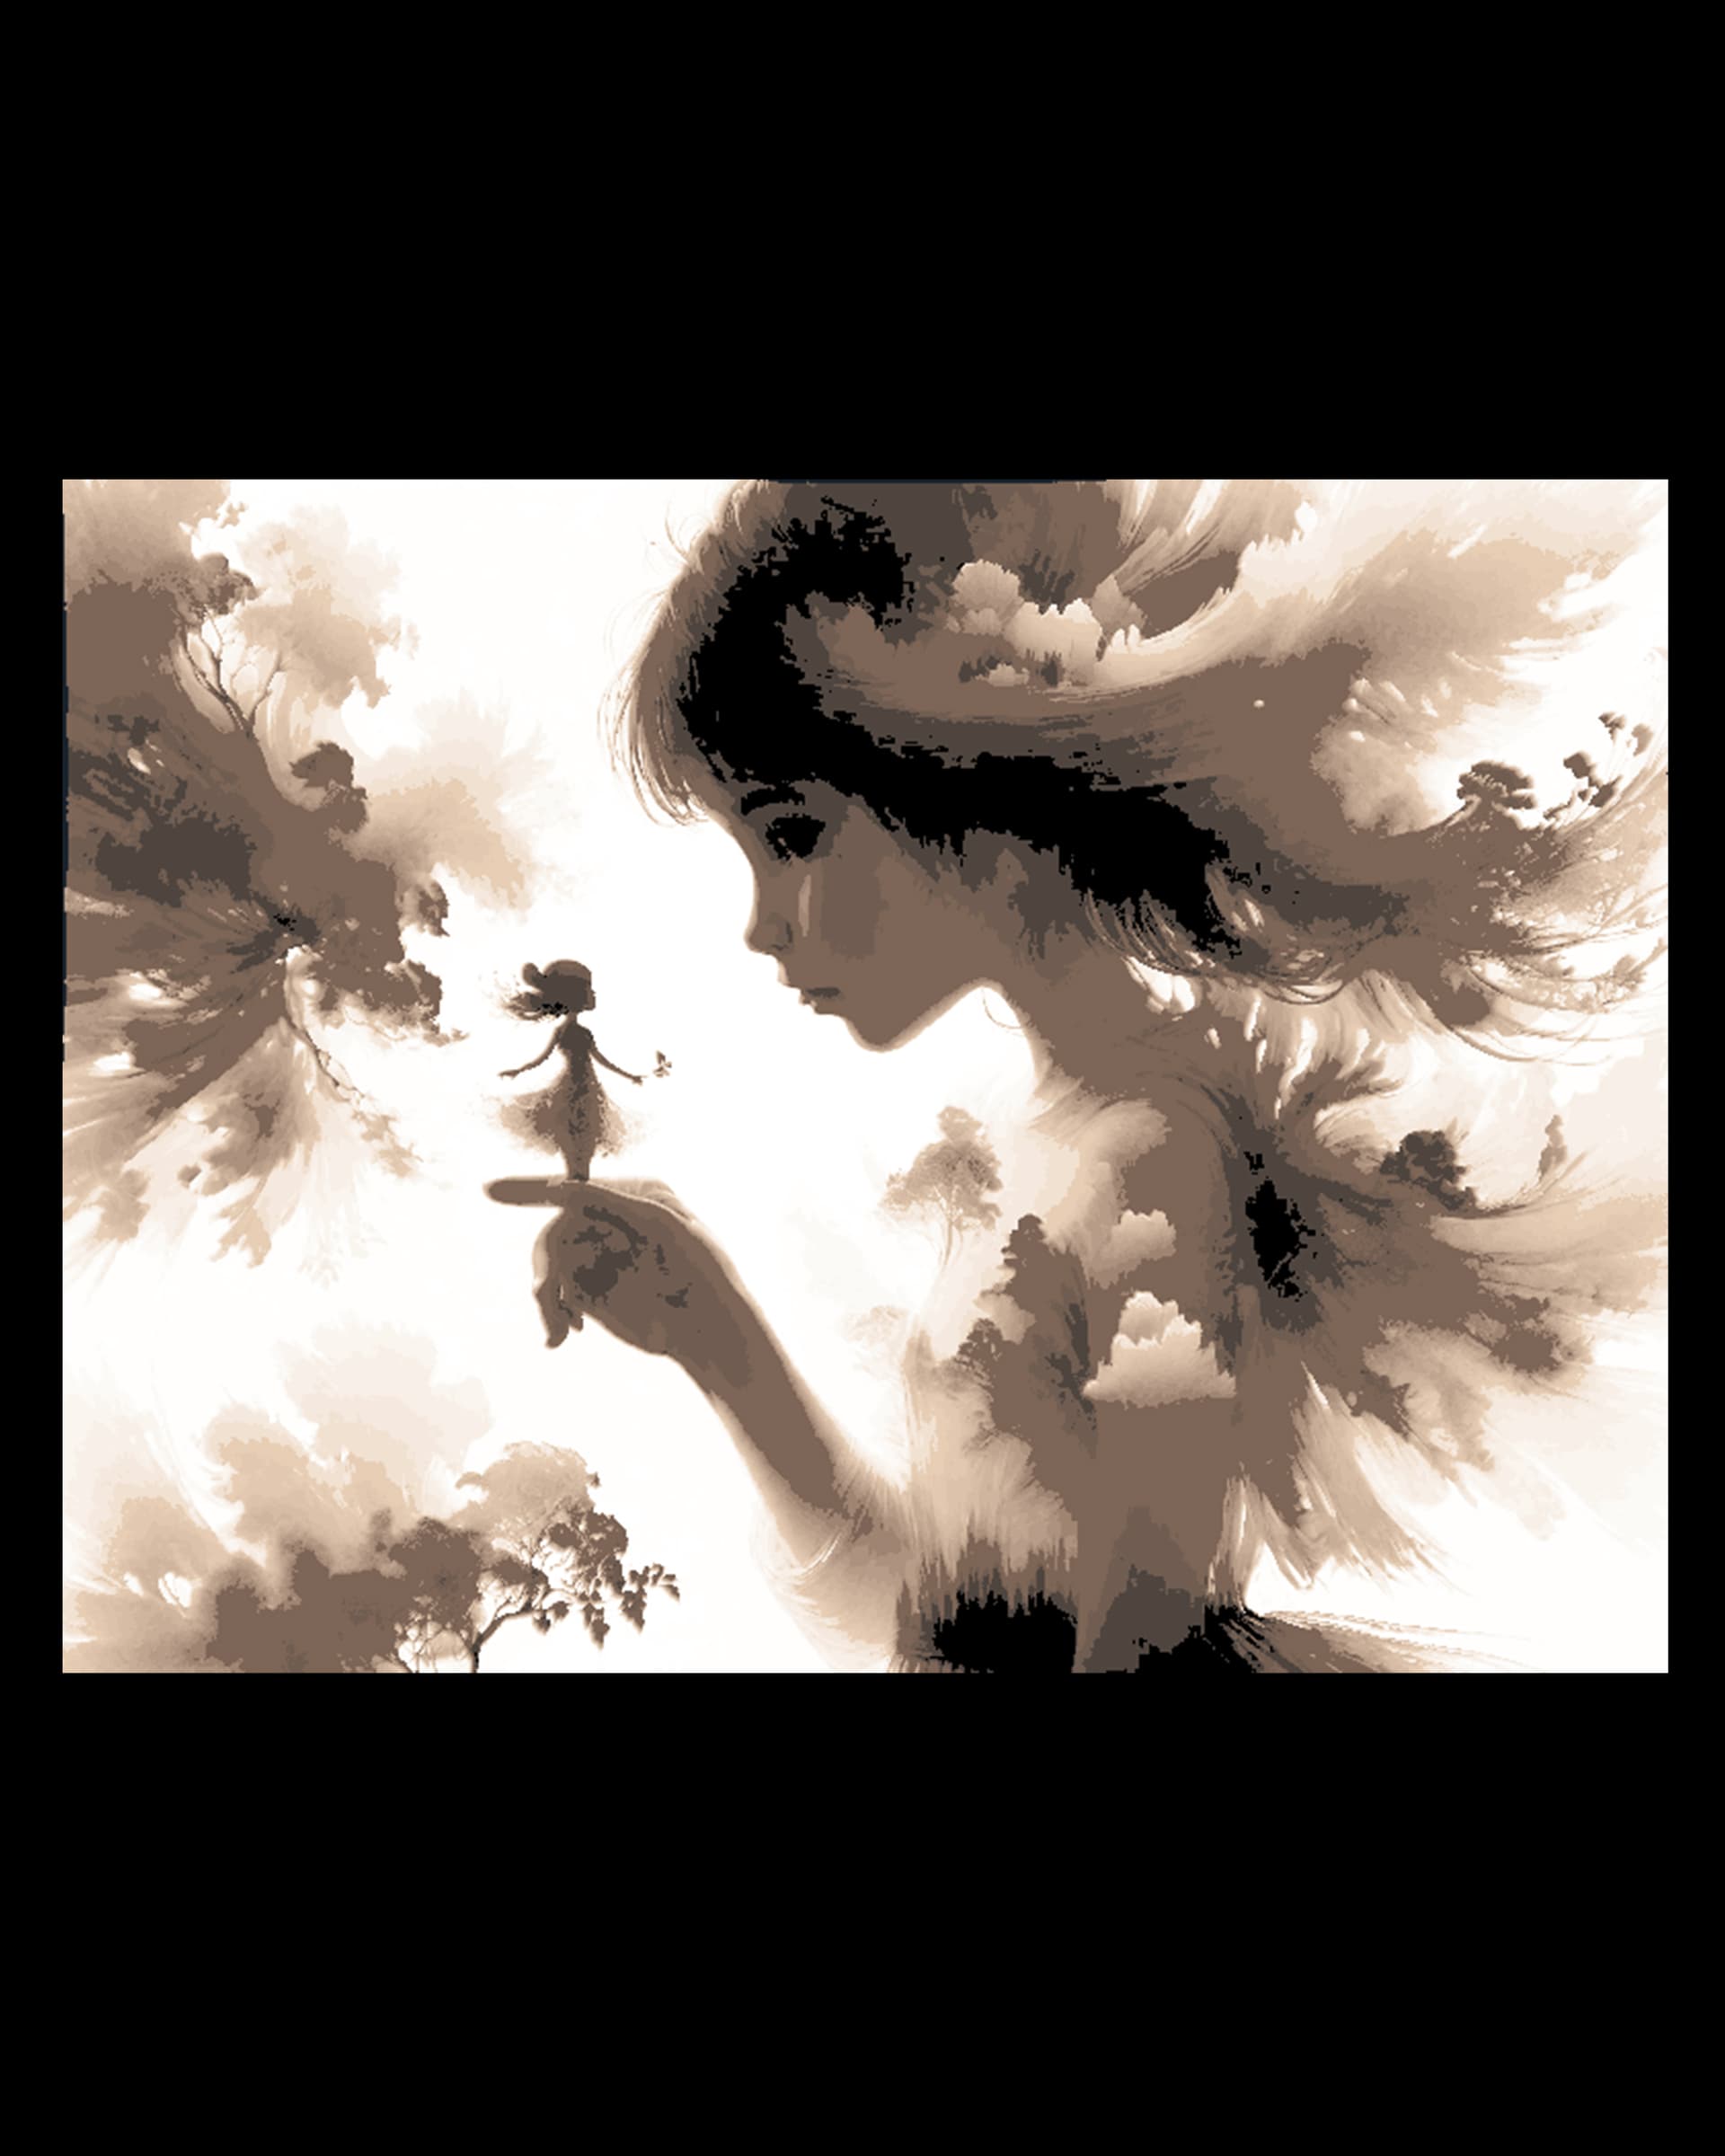
Friends don't see differences as problems - Hueforge Art
by BooneCo3d

Biker Beauties with their Leather Jackets and Ride - Set of 3 Bookmarks
by BooneCo3d
Recent Articles
View all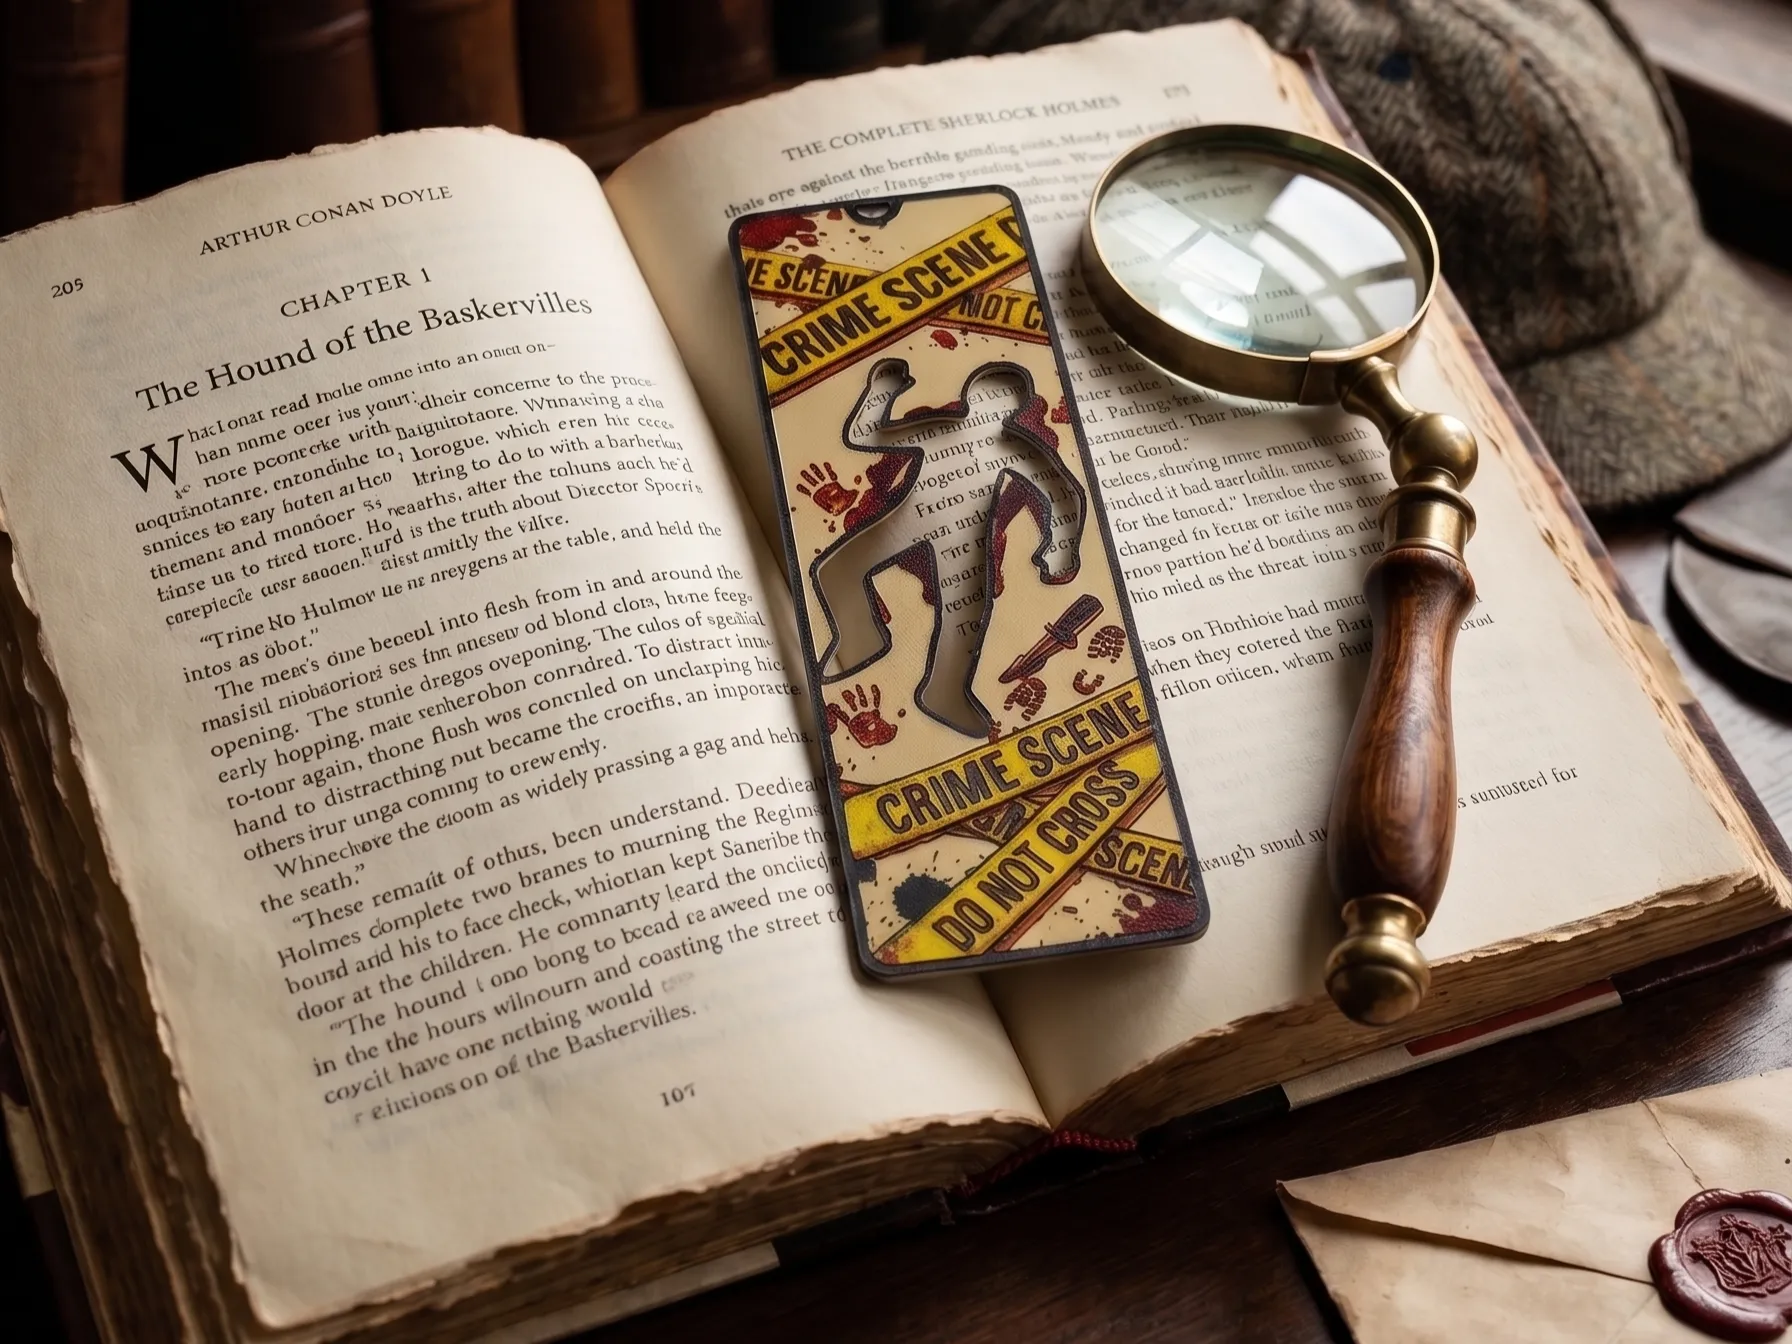
Best 3D Printed Bookmarks for HueForge: Fandom, Dragons, Animals & More
The 3D printed bookmarks worth printing as HueForge filament paintings — fandom, dragon, animal, floral, and gothic designs, and why they make the ideal first print.
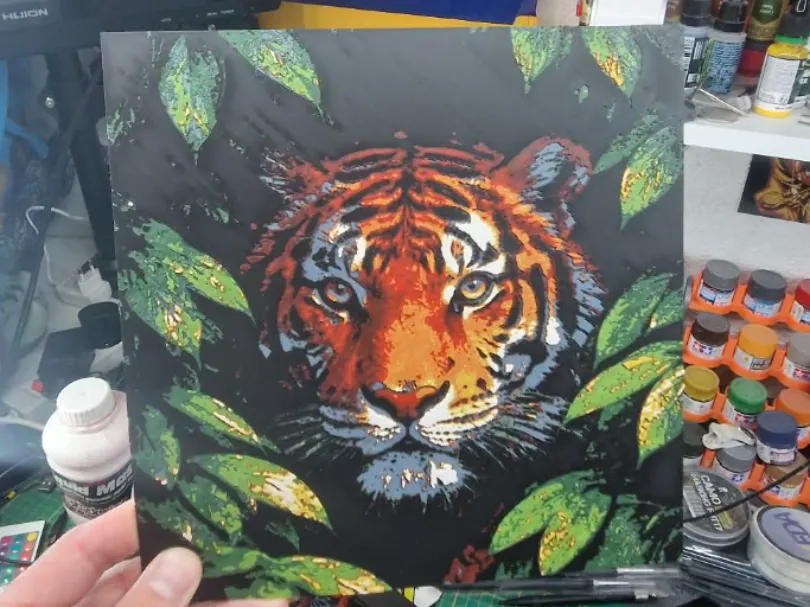
Best 3D Printed Animals for HueForge: Cats, Dogs, Birds & Wildlife
The 3D printed animals worth printing as HueForge filament paintings — cats, dogs, birds, wildlife, and ocean life, with the position the catalog takes on each.
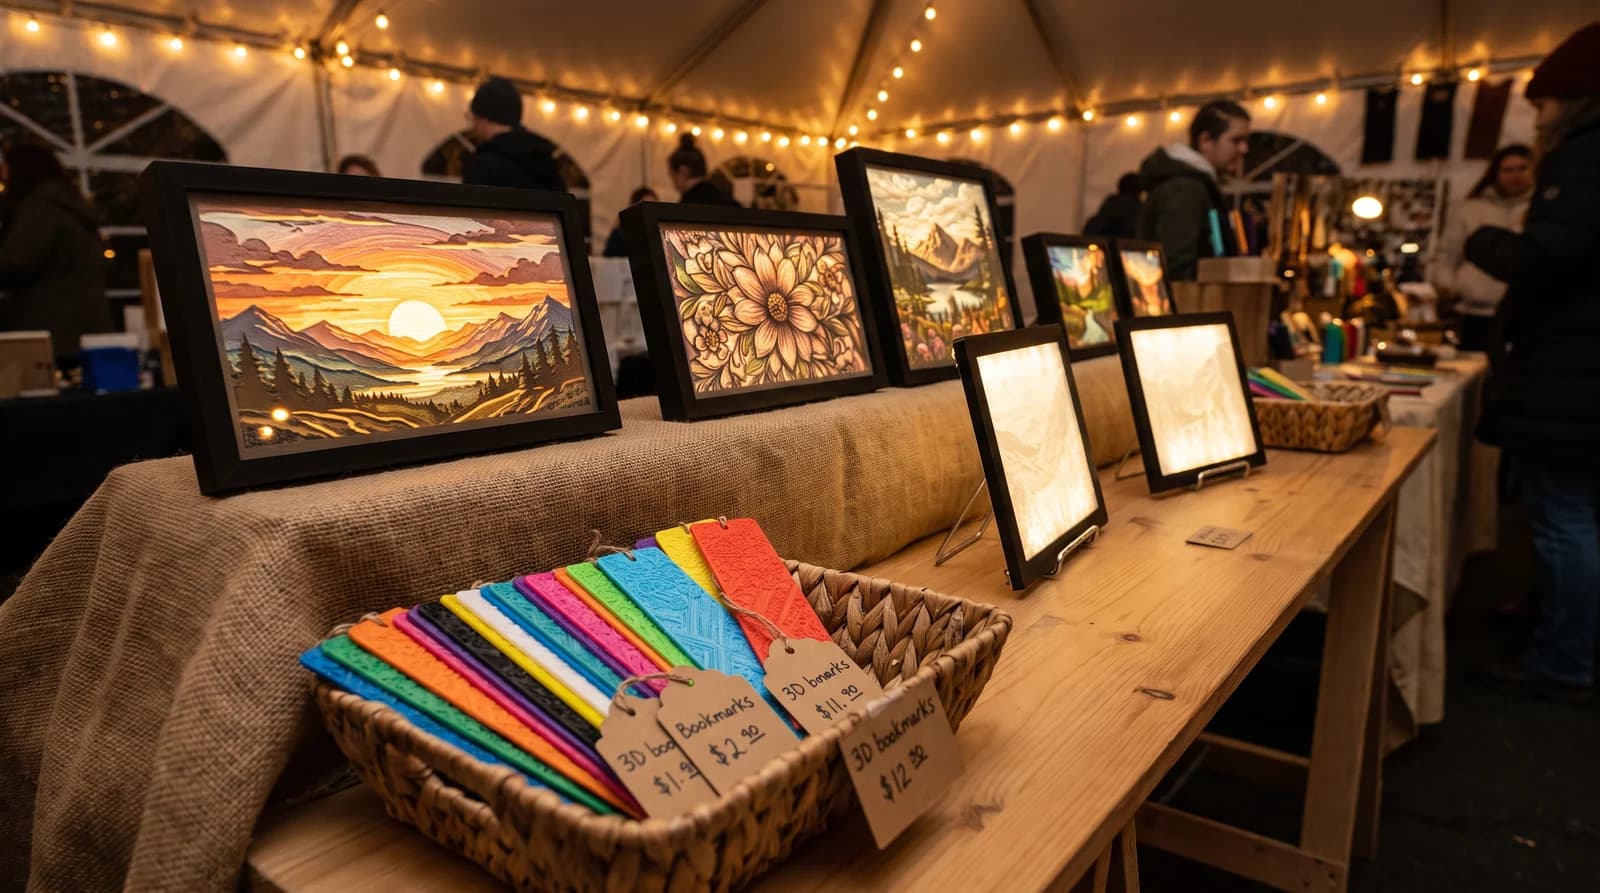
Best 3D Prints to Sell: What Actually Moves for HueForge Makers
The 3D prints that actually sell for HueForge makers — pets, landscapes, and personalized wall art — plus the subjects you can print but legally cannot sell.