How to Use HueForge: A Software Walkthrough
How to use HueForge step by step — importing an image, setting your filament stack and TD values, tuning layers, reading the preview, and exporting a print file.
Quick Answer
HueForge is desktop software that turns an image into a layered, multi-color 3D print by mapping tones to filament colors and thicknesses. Using it is a repeatable loop: import an image, set your filament stack and their TD values, tune the layer heights, read the live preview, and export a print file with color-swap pauses baked in.
You've seen the prints and maybe already bought the software, and now you're looking at an interface that doesn't behave like a slicer. HueForge isn't hard, but it's its own workflow — less "slice this model" and more "paint this image in filament." Once the loop clicks, it's the same handful of steps every time.
This walks that loop end to end: from an image on your desktop to a print file your slicer can run.
What Does HueForge Actually Do?
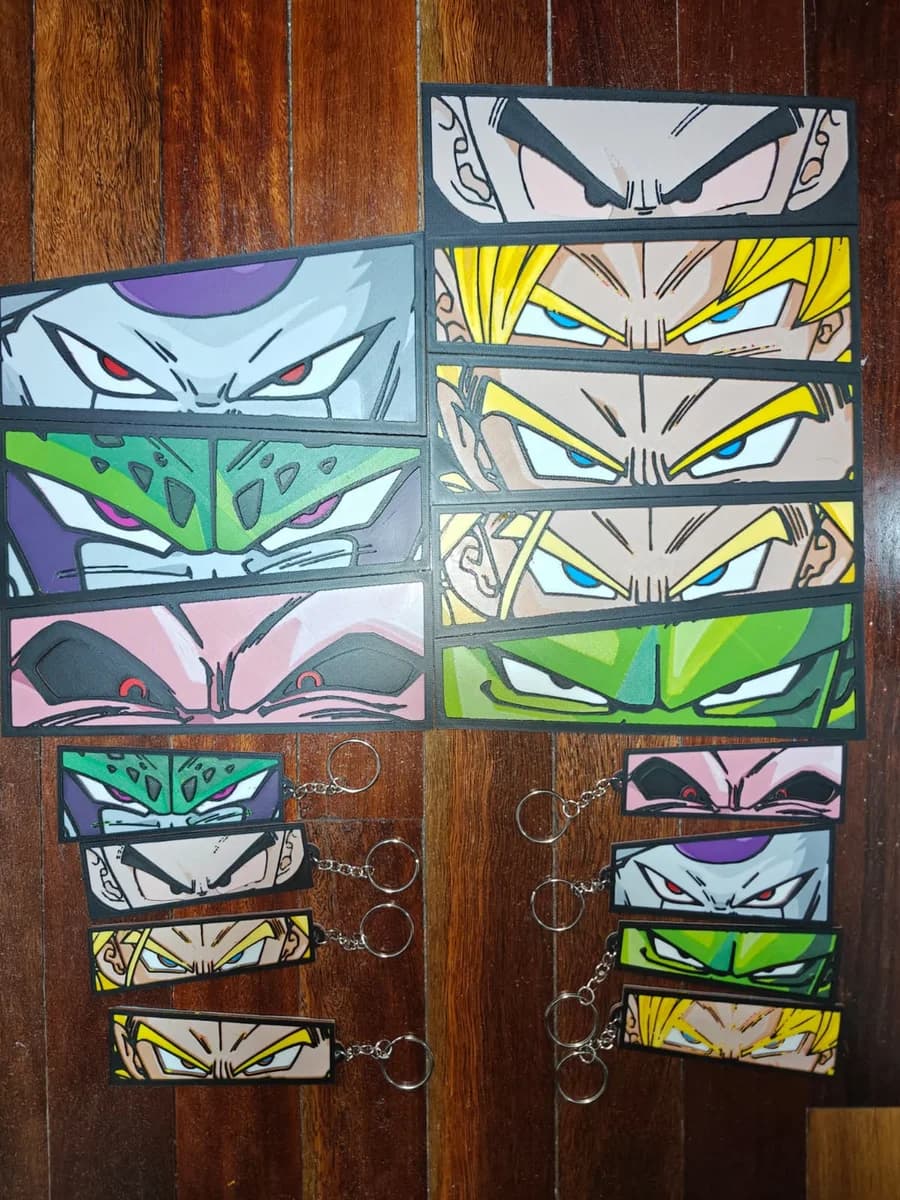
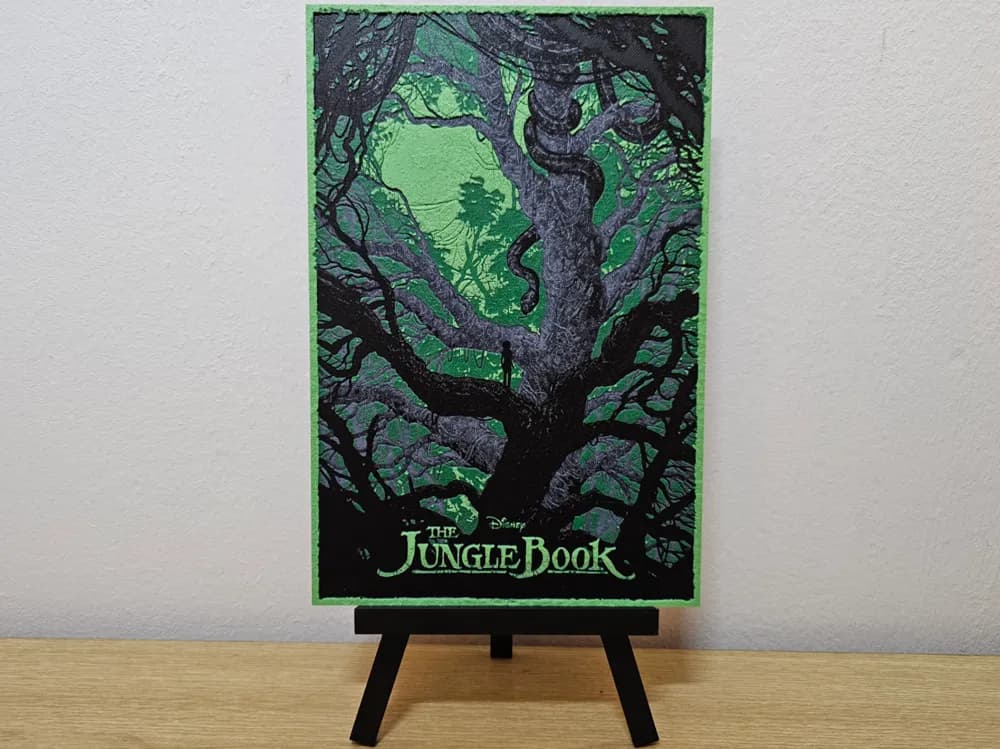
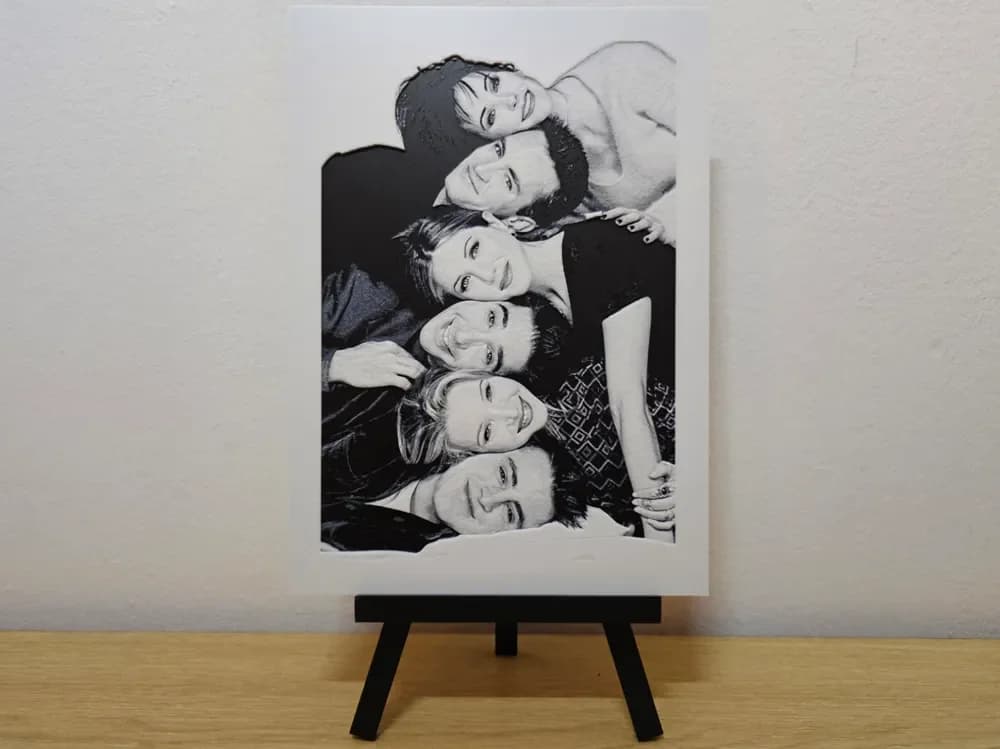
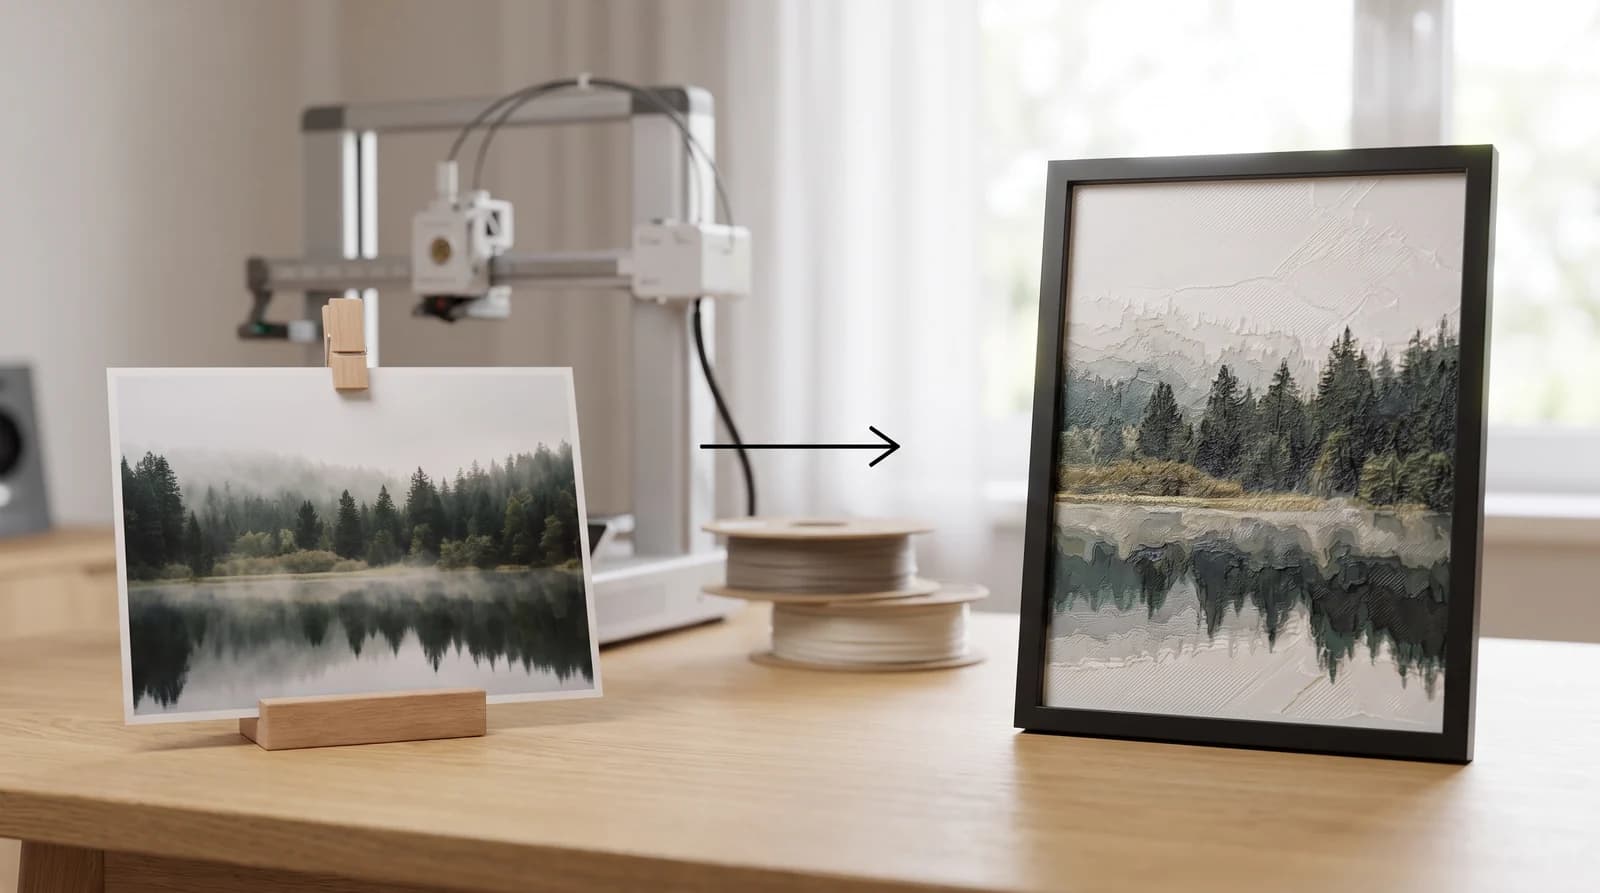
HueForge converts a 2D image into a 3D-printable model by using stacked layers of colored filament to reproduce the image's tones and colors. Instead of printing a picture on the surface, it varies the thickness of each color layer so light reflecting off the print blends the colors into a continuous image — a "filament painting."
The key idea is that filament is slightly translucent, and each color has a Transmission Distance (TD): how much material light passes through before that color fully takes over. HueForge does the math of turning your image into a precise stack of layer-height changes based on the TD of the filaments you choose. For the full background, see What Is HueForge? — this guide assumes you know the concept and want to drive the software. (HueForge can also produce backlit lithophanes, but its signature output, and the focus here, is the front-lit filament painting.)
How HueForge Works
What Do You Need Before You Start?
Three things: the HueForge software, an image with reasonable contrast, and a set of filaments whose TD values you know. A printer comes later — HueForge just produces the model and print file.
HueForge is paid software (made by Horn & Rhode LLC); if you're still deciding, Is HueForge Free? covers the license tiers and the free alternatives. Your image matters more than people expect: strong tonal range and a clear subject translate far better than a flat, low-contrast photo. And your filament palette is the real input — HueForge is only as accurate as the TD values you give it, which is why building a known palette pays off (the Choosing Filament Colors for HueForge guide helps here).
How Do You Turn an Image Into a HueForge Model?
The core loop is: import your image, choose your filament stack in order, confirm each filament's TD, tune the layer settings while watching the preview, and export. Everything else is refinement.
Start by importing the image. HueForge shows you a working preview immediately — this preview is your source of truth for the whole session, so trust what it shows over what you imagined. From there, you assign the filaments you'll use, in the order they'll print from the back of the image to the front. Order matters: a darker filament low in the stack behaves very differently than the same color on top.
Next, confirm the TD value for each filament. This is the single most important input in the whole process. Then you adjust the overall settings — the number of layers, the layer height, and how the tones map across your filament stack — and watch the preview update. You're looking for a result where the highlights, midtones, and shadows land where they should and the subject reads clearly. Expect to nudge these back and forth; that iteration is the work.
The one thing to internalize: the preview assumes your TD values are accurate. Garbage TD in, garbage print out — a gorgeous on-screen preview built on wrong TD numbers will print looking muddy.
How Do You Get Your Filament's TD Values Right?
TD is the make-or-break input, so it's worth getting right rather than guessing. Many filaments have published TD values (HueForge and the community maintain references), and you can also measure your own with a TD calibration print, which is the most reliable route for a filament you'll use a lot.
If a print comes out flatter or muddier than the preview promised, wrong TD values are the usual culprit — not the image and not the printer.
How Do You Export and Print It?
When the preview looks right, you export the model as a print-ready file (commonly a .3mf with the color-swap information included, or an .stl of the geometry). The file carries instructions to pause at each layer where the filament color changes.
From there it's a normal print, with one addition: at each color change, your printer pauses and you swap the filament by hand, then resume. If you have an AMS or multi-material system it can automate those swaps, but it isn't required — most HueForge prints in the wild are done with manual swaps on a single extruder. For the printing side end to end, HueForge Printing for Beginners covers setup, filament, and first-print mistakes to avoid.
Where to Go From Here
Once the workflow clicks, the two things that most improve your results are better source images and a well-understood filament palette — Choosing Filament Colors for HueForge covers building one. And when you're ready to print something real, browse the model catalog for pieces that already come configured with recommended colors.
Dial the TD values, trust the preview, and the rest is just printing.