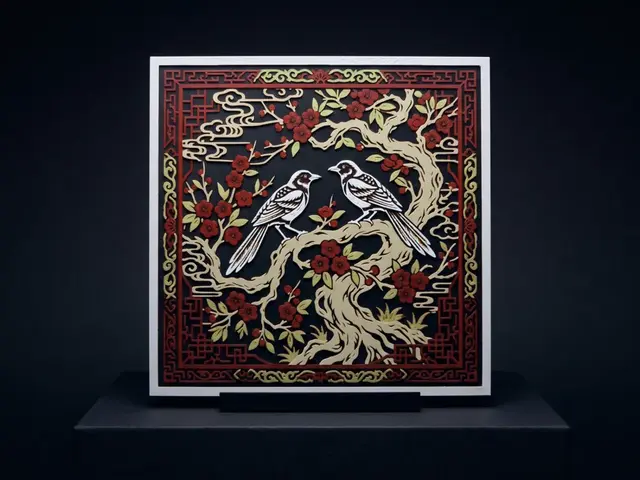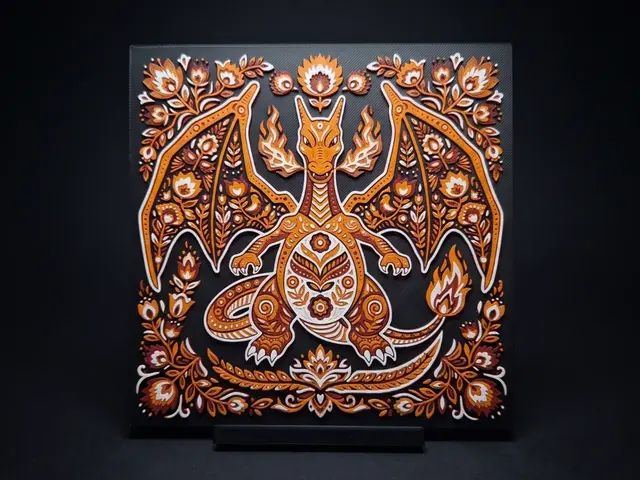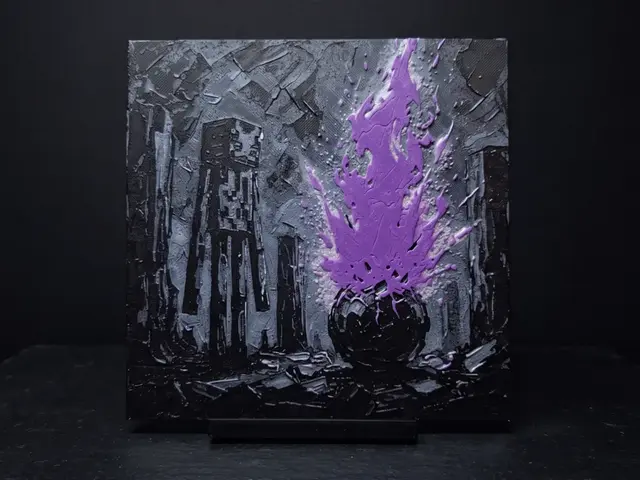
Displaying & Photographing HueForge Prints for Craft Fairs and Online
How to display and photograph HueForge prints for selling — booth lighting, slim frames, easels and stands, and listing photos that capture true color without glare.
Quick Answer
HueForge prints are a front-lit, reflected-light medium — displayed and photographed like a painting, not backlit like a lithophane. For selling, that means a booth lit with even, glare-free front light, slim frames that suit a painting, and listing photos that capture true color and layer texture without hot spots or reflections off the surface.
A HueForge print is a painting made of filament. It's meant to be seen the way any painting is — in reflected light, hung on a wall or stood up under a lamp — and that's exactly what makes selling one trickier than it looks. A folding table under flat fluorescent hall lighting drains the color and flattens the layer texture that make the piece worth buying. A phone snapshot under that same light turns a rich filament painting into a photo of gray plastic.
This isn't generic craft-fair advice, and it isn't lithophane advice either — HueForge doesn't want a backlight. It's specifically how to light, frame, and photograph a reflected-light filament painting so it reads as well on your booth table and in an online listing as it does on your wall at home.
The guide covers two things: displaying prints at a craft-fair booth, and photographing them for online listings.
Displaying prints at home — permanent wall setups for your own space — is a separate topic covered in How to Display 3D Printed Art at Home. This guide is about selling: the booth and the listing photo.
Why Is Displaying HueForge Different From Other Craft-Fair Products?
Because a HueForge print is a reflected-light art piece with fine surface texture, not a solid object. It reads best under even, slightly directional front light that brings out its color and layer detail, and it reads worst under flat overhead lighting or harsh direct sun — which is exactly what most booths get by default.
The color in a HueForge lives in reflected light. The image is built from thin layers of colored filament blended through the surface, and you see it the way you see a painting: light hits the front, bounces back, and carries the color to your eye. The physical layering also gives the piece a subtle texture that reads on a slight angle. Both of those — the color and the texture — depend on the light in front of the print, not behind it.
That's the one place makers get tripped up: HueForge is not a lithophane. A lithophane is carved to be lit from behind, and it looks like a faint white slab until you put a light through it. A HueForge is the opposite. Backlighting one usually washes out the color or shifts it, because the print was never designed for light passing through it. If you've heard "backlight your prints," that advice belongs to lithophanes — set it aside here.
You don't need studio lighting to sell HueForge at a booth. In good ambient daylight the medium is forgiving. What you're avoiding is the bad stuff — dead-flat overhead fluorescents and direct glare. Aim a little light at the piece; don't floodlight the whole table.
What Frames Work Best for Selling HueForge Prints?
Slim matte-black plastic frames or clean frameless mounts on a stand. Enough to hold the print flat, hide the edges, and look finished — without a wide mat border or fussy molding that competes with the image. The frame's job for a HueForge is the same as for any painting: present it, don't upstage it.
A slim black or frameless mount keeps the eye on the image and the layer texture, prints in the same PLA workflow you already run, and reads as finished art at a price point rather than a hobby project loose on the table. Traditional wooden frames with mat borders work against you here: they add cost and bulk, and a mat interrupts a filament image that's meant to run edge to edge.
The easy win is a purpose-built 3D-printed HueForge frame, sized to standard prints (150×150mm, 200×200mm) and assembled without hardware. A few popular options on MakerWorld:
- Slim & Square - Friction Fit Frame — our preferred frame style; it comes in 7 sizes and prints quickly. Use Connectors and Hangers for Canadian Gamer Frames to join multiple frames for HUGEforge-style or multi-panel prints.
- The Ultimate HueForge Frame | Fully Modular System — our second favorite; fits standard prints, single or multi-panel, and built with selling in mind. Connecting multiple frames is standard with these.
A printed frame keeps your cost near zero and matches your medium. That said, for a premium commission a real thin aluminum frame can justify a higher price — match the frame's perceived value to the piece's price tier rather than framing everything the same way.
How Do You Light and Arrange Prints at a Craft-Fair Booth?
Get good, even, slightly directional front light across your display, and get the pieces off the flat of the table. You don't need a spotlight on every print — a couple of well-placed lights covering your hero display do more than any amount of flat overhead hall light, and easels or tiered stands lift prints to eye level and onto a viewing angle that actually shows color and texture. The goal is a lit, angled painting — not a flat object under the fair's ceiling.
Event lighting is usually working against you. Hall fluorescents are flat and often slightly green; outdoor sun is harsh and throws glare straight off the print surface. A light or two aimed across your best pieces cuts through both and makes the color pop — one warm, directional source in the right place beats a ceiling's worth of flat white. Most booths have no reliable power outlet, and outdoor spots have none at all, so plan to run your lighting off a rechargeable battery or USB power bank, and bring more capacity than a single day seems to need.
Height and angle matter as much as the light. A print lying flat on the table is the worst possible way to show it — get pieces vertical and near eye level so a browser can see them from across the aisle. Give your booth a hierarchy, too: one or two well-lit hero pieces to stop foot traffic, and cheaper pieces set up for hands-on browsing. The fixtures that do both are worth getting right, which is the next section.
Aim for balance, not brightness. A few good lights placed to graze across your display beat both extremes — the flat overhead wash that kills the color, and a battery-draining rig with a fixture for every print. And skip the backlight setups entirely; that's effort spent on the wrong medium.
What Should You Use to Hang and Browse a Table of Prints?
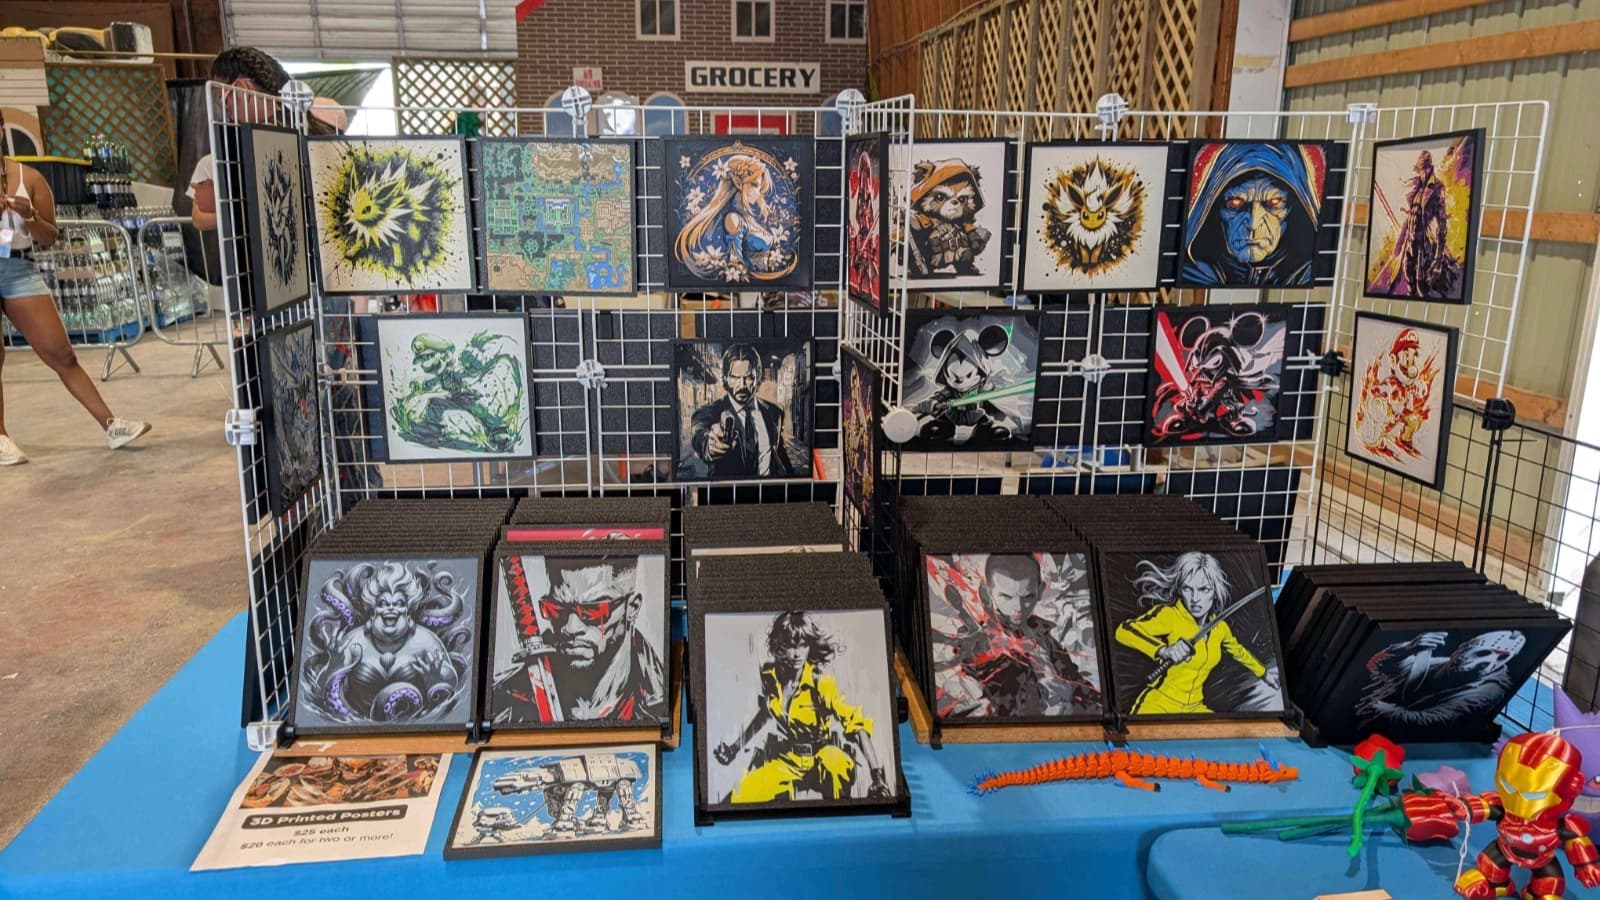
Two jobs. Hang your framed hero pieces vertically at eye level, and give buyers a way to browse the cheaper unframed prints by hand. A gridwall panel or a set of cube shelves handles the first; a flip-through bin and a few baskets handle the second. Then divide everything by subject so a shopper can find "the landscapes" without digging through the whole table.
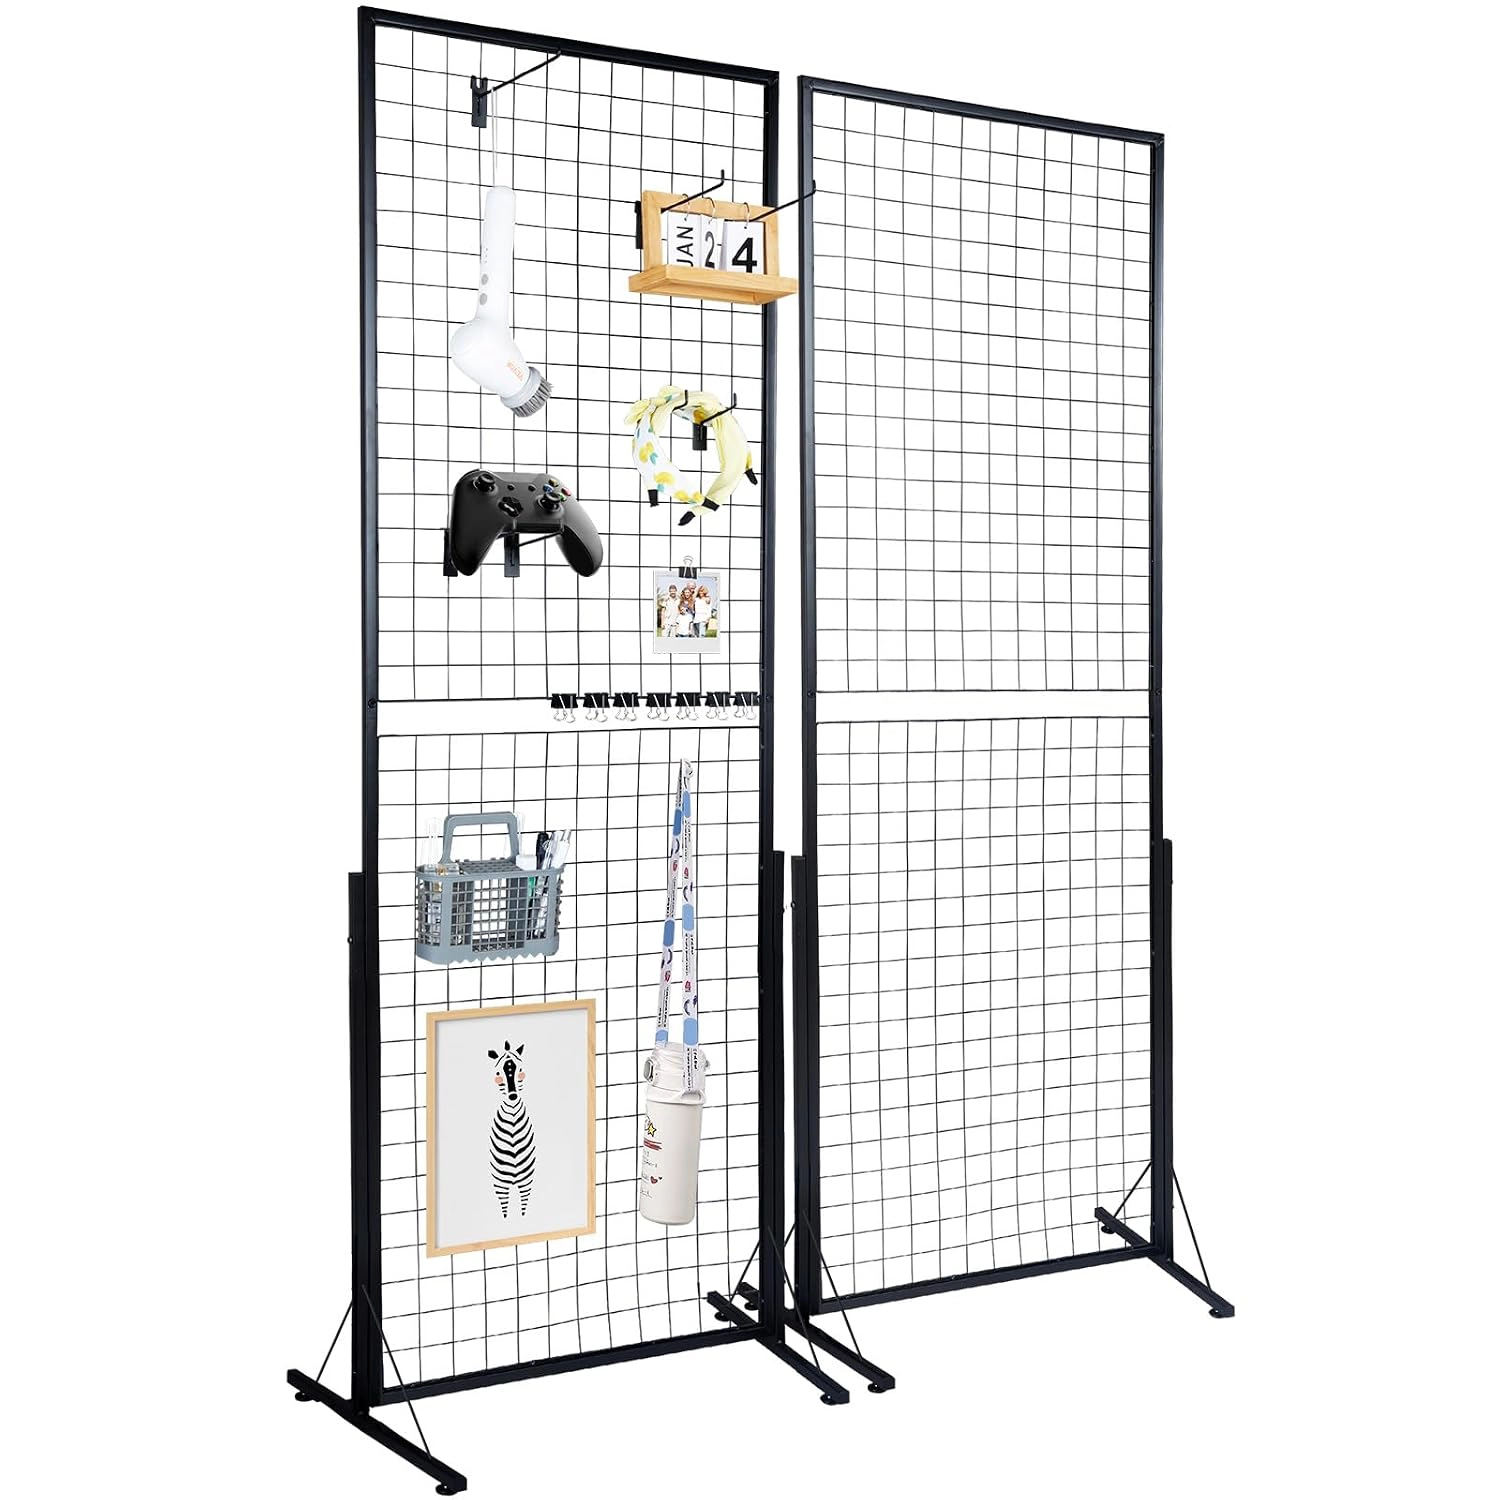
Hang the framed pieces vertically. A free-standing gridwall panel with custom printed hooks turns vertical air into display space. Hang prints at your buyers' eye level — kids' picks near the bottom, grown-ups' up top — rearrange them in seconds, and pack the panel flat between shows. These panels are popular and versatile, and they're a great option when you have the floor space, whether alongside a table or instead of one.
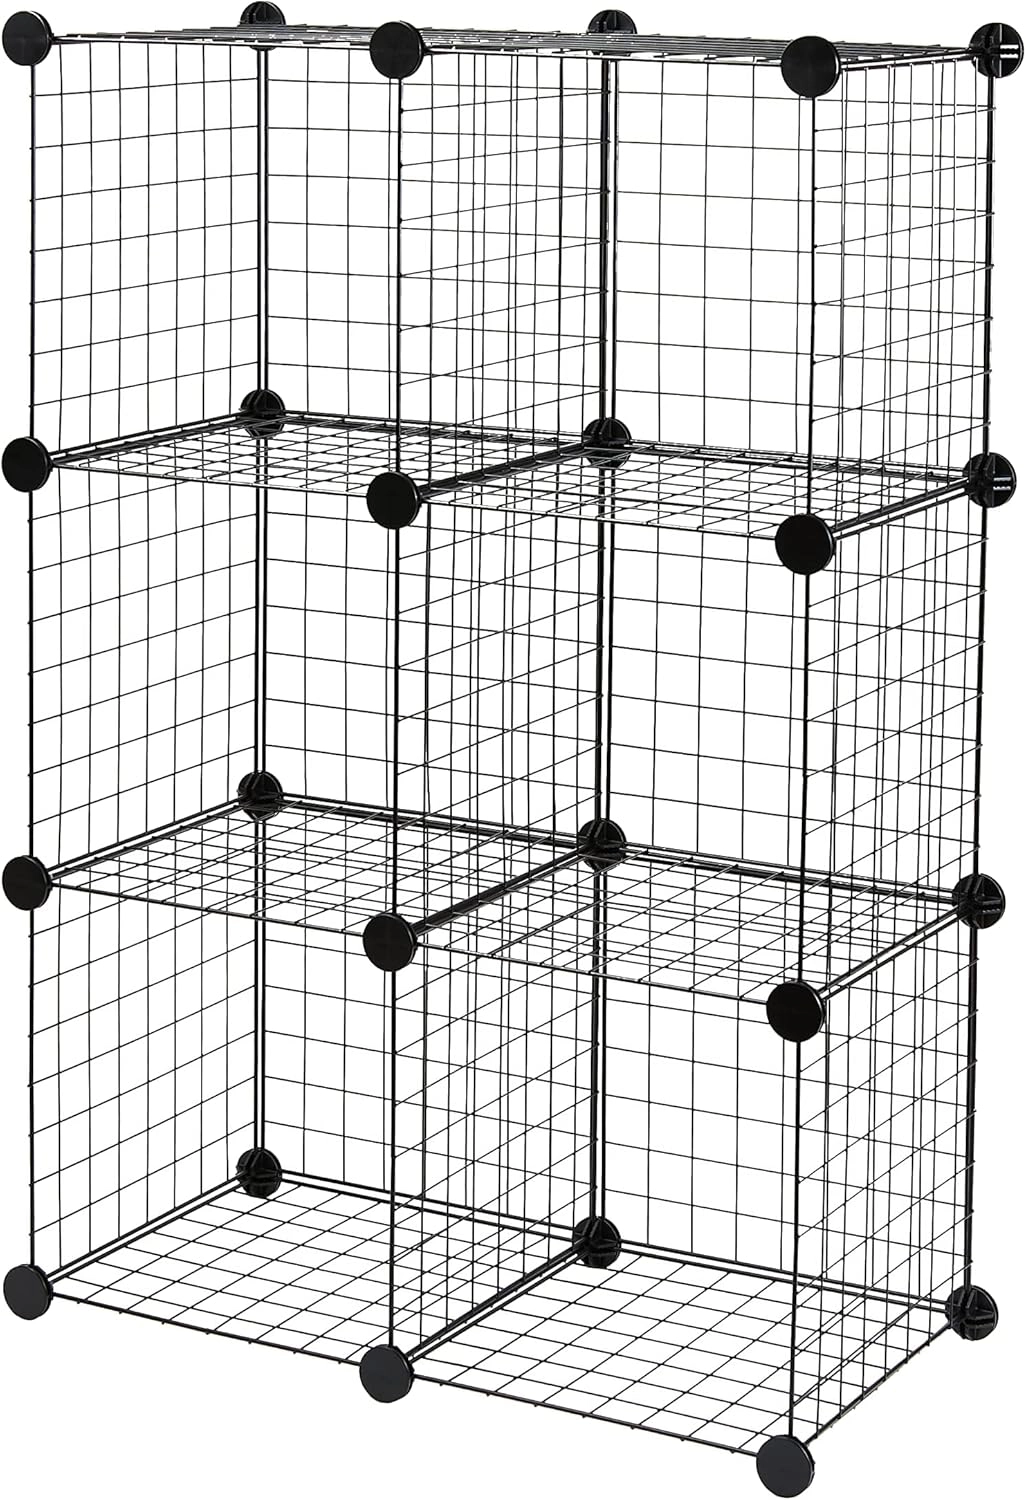
A wire grid cube set, reconfigured, gives you another option. If you don't have floor space, you can build a wall right on your table, as big as you need. These cubes come in various sizes — 6-cube sets and up — and even several colors, and some have fabric or plastic inserts for the "shelves" that let you stand HueForge prints or other items upright. The catch is setup time: assembling and breaking down the grid each show takes a while, so factor it into your prep if your shows are tightly timed. If you have the space, storing it partly built makes setup easier.
Let buyers browse the unframed prints. Loose prints sell when people can handle them, so slip each one into a clear sleeve and stand them upright in a flip-through browse bin — shoppers thumb through it like a crate of records, and the sleeves keep fingerprints and curl off your work.
For bookmarks, coasters, magnets, and overflow from the browse bin, a couple of wire baskets or plastic bins near the front of the table invite impulse grazing and keep the cheap buys visually separate from the framed art. You can find baskets cheaply at a dollar store, and many look surprisingly good — just bring a couple of prints along to check they sit at a comfortable height and width before you buy.
We use these printable bookmark frames for sets and this Bookmark Retail Display on our table, but there are plenty of options on MakerWorld and elsewhere.
Divide it all by subject. Whether it's the flip bin or the gridwall, category dividers by theme — landscapes, pets, florals, abstract — let a browser go straight to what they came for instead of flipping past everything else. It also quietly tells people the range of what you make.
These simple tabbed Basket Dividers drop into any basket to separate prints by category.
The framed pieces on the grid earn the margin and pull the eye; the browse bin and baskets do the volume. A table that's all framed art on a panel gives a casual browser nothing to thumb through, and a table that's all bins buries your best work. Run both.
How Do You Photograph HueForge Prints for Online Listings?
Light the piece from the front with soft, even, slightly directional light — enough to show true color and the layer texture, without hot spots or reflections off the semi-glossy surface. The two things to beat are glare on the layer lines and flat, color-shifted lighting. You're photographing a painting, so shoot it like one. There's no backlit glow to chase.
Glare is the first problem. Raking or direct light catches the layer lines and blows the surface into white streaks that hide the image. The fixes are simple: use soft, diffused light — a window, a softbox, or a light box — rather than a bare bulb; position the light at roughly 45 degrees; add a polarizing filter if you have one; and lean toward matte filament, which photographs more cleanly than glossy.
True color is the second. Household and hall bulbs shift everything warm or green, and a HueForge's entire value is its color — a bad-color photo undersells the piece before anyone reads the price. Shoot in daylight or set a white balance so the greens are actually green and skin tones look right. Then take a second shot from a slight side angle to catch the physical layering; that texture is what separates a filament painting from a flat printed poster, and it's worth showing off.
A DIY light box is the right tool for this. A basic light box diffuses front light and controls glare for both small prints and wall pieces, and you can build a portable one cheaply for craft-fair-season restocking. (This is the opposite of lithophane photography, which lights the piece from behind — a different setup you don't want here.) You don't need a real camera, either: a modern phone is fine, and lighting matters far more than the sensor. Just lock your exposure so the highlights don't clip.
One last thing worth doing: shoot two kinds of photo. A clean white-background shot proves the product, but a warm in-context photo — the framed piece on a shelf in normal room light — often converts better, because it shows the buyer exactly what they'll get on their wall. Do one of each.
Where to Go From Here
Displaying and photographing are the last steps of the selling workflow. If you're earlier in it, the rest of the Selling guides cover the ground before this: Best 3D Prints to Sell for what to make, How to Start a 3D Printing Business for the setup, and How & Where to Sell 3D Prints for choosing a channel and pricing.
For permanent display in your own home rather than at an event, see How to Display 3D Printed Art at Home. And because a print that reads well starts with the print itself, Choosing Filament Colors for HueForge covers building pieces with the contrast and color that hold up under booth and camera light.
Light it from the front, frame it so it disappears, and photograph the color — not a glare off the plastic.